Raise your hand if you like chicken tenders!

Every time I make these, I wonder why I don’t do it more often. They’re super tasty, the kids love them, and they’re perfect for the freezer. That part about my apartment and my clothes smelling like chicken tenders can be a plus or a minus depending on the day.

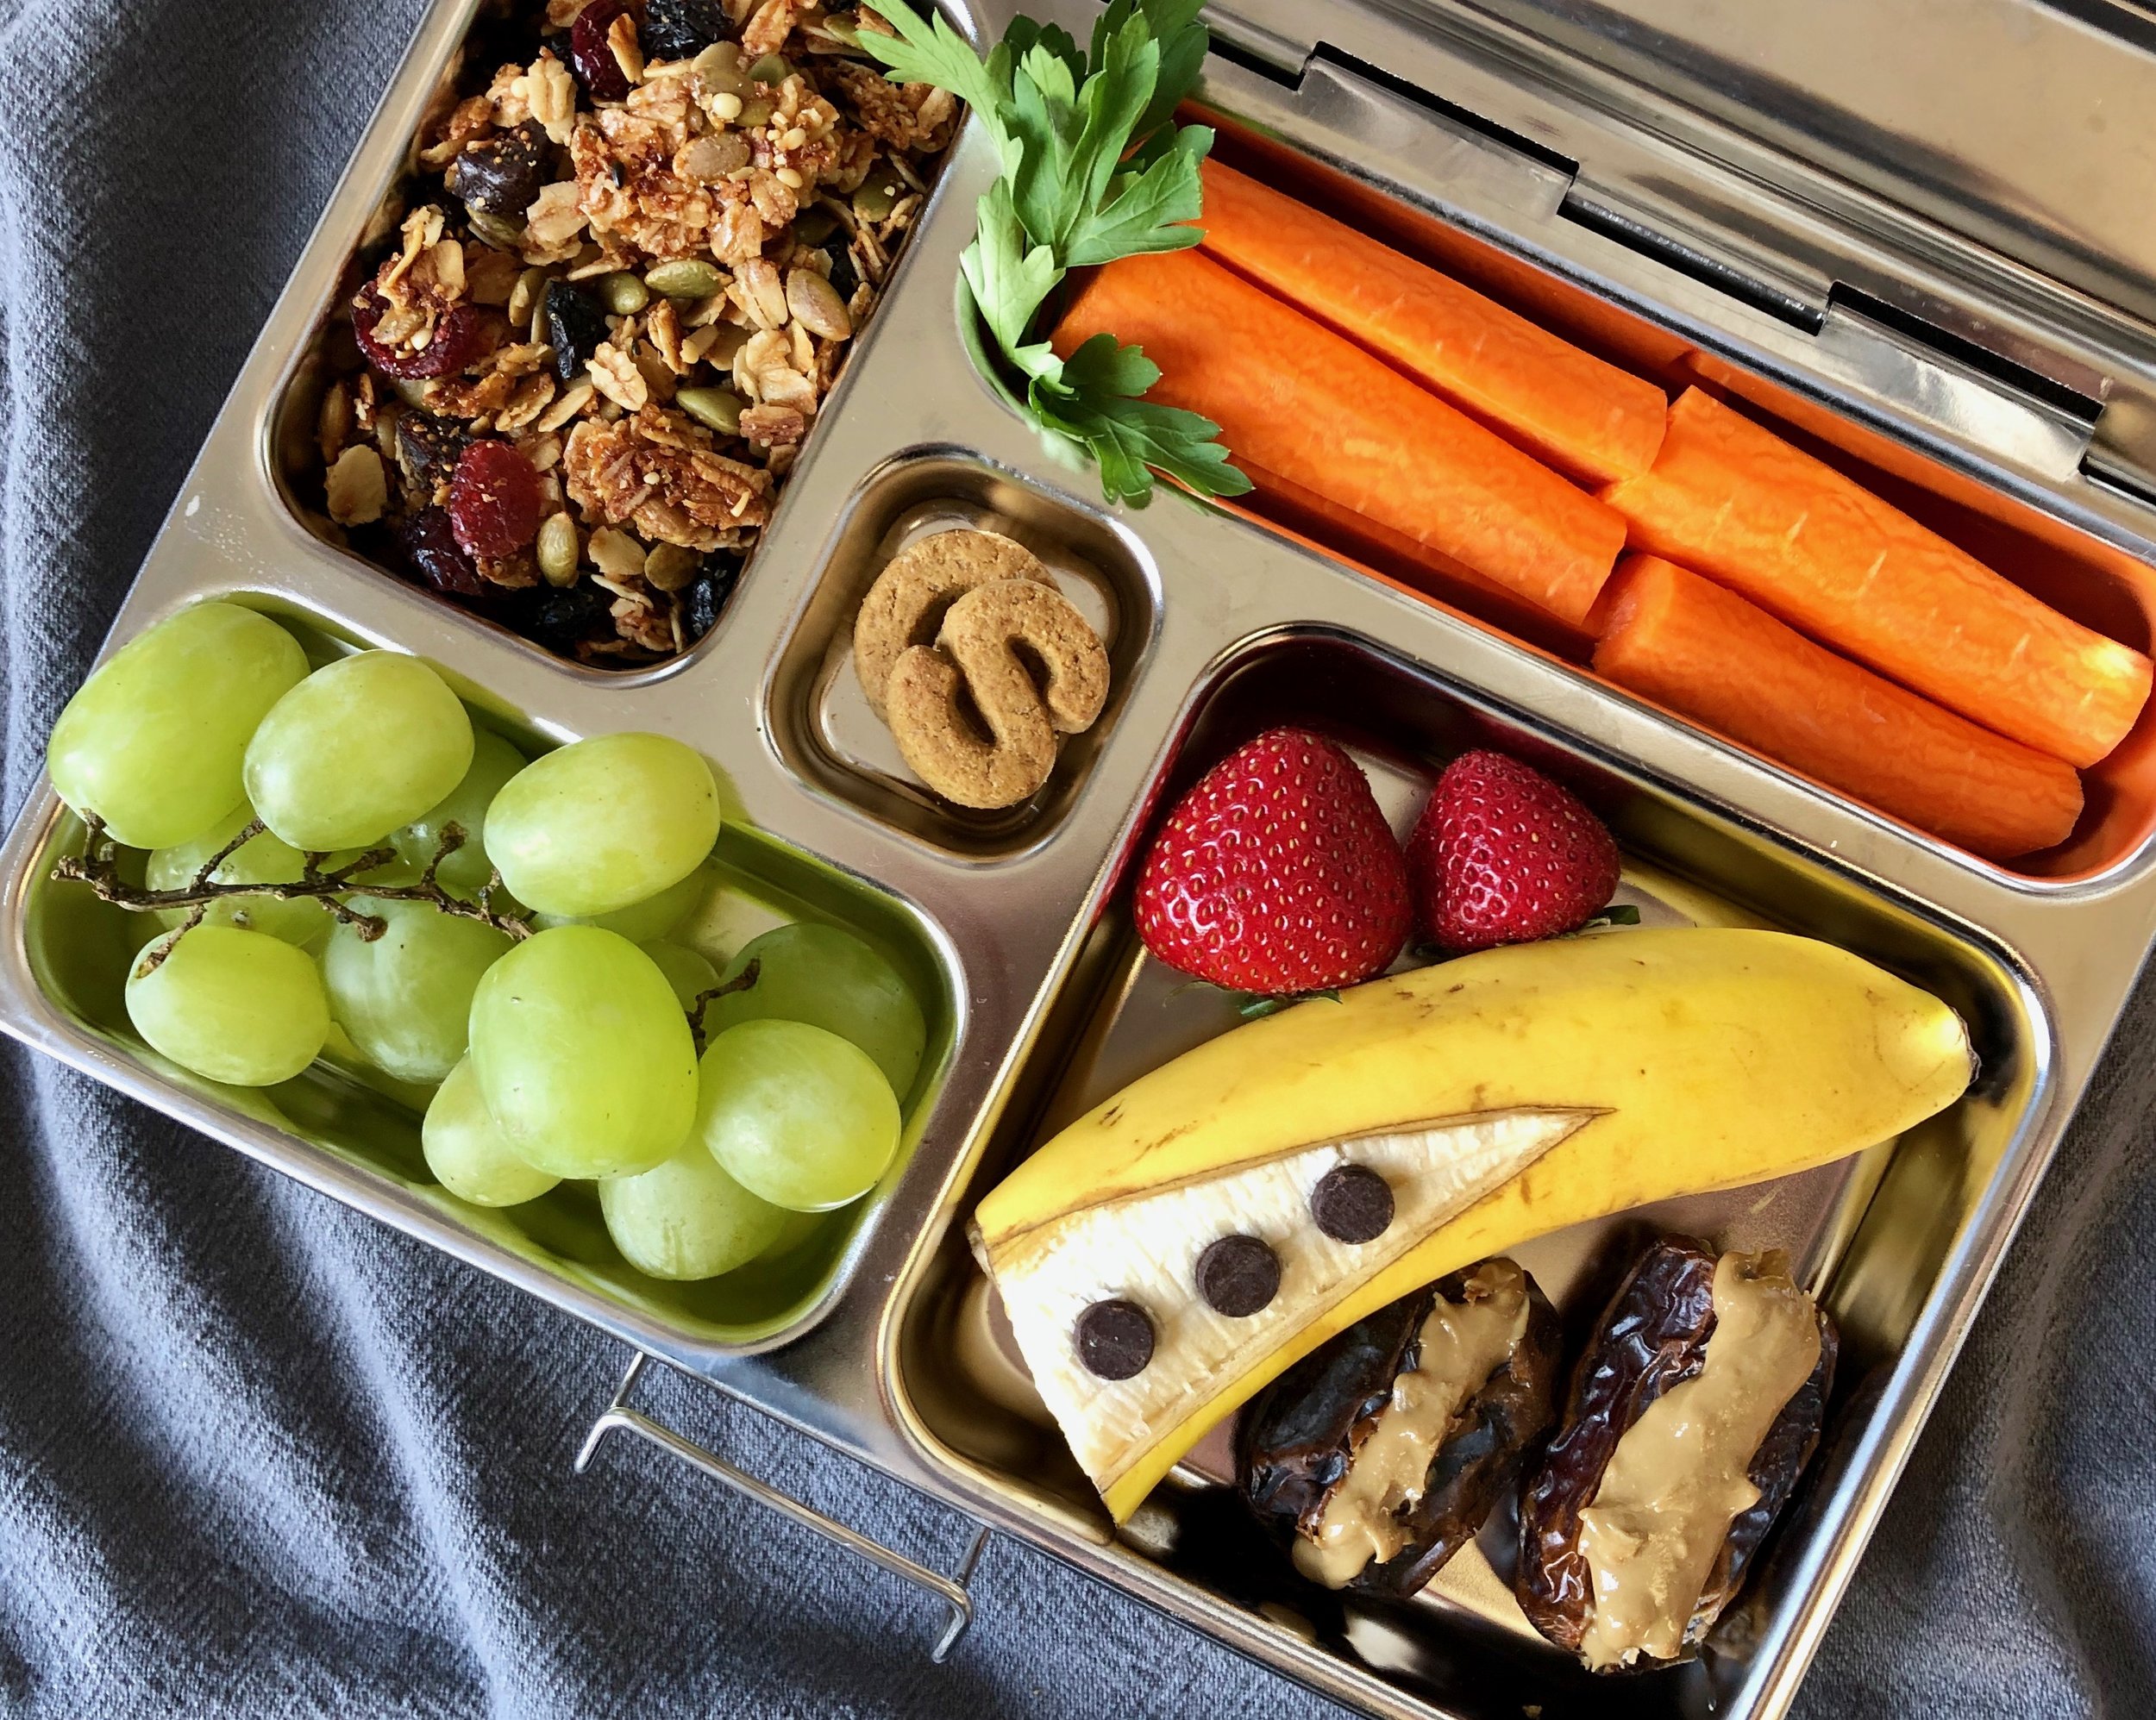
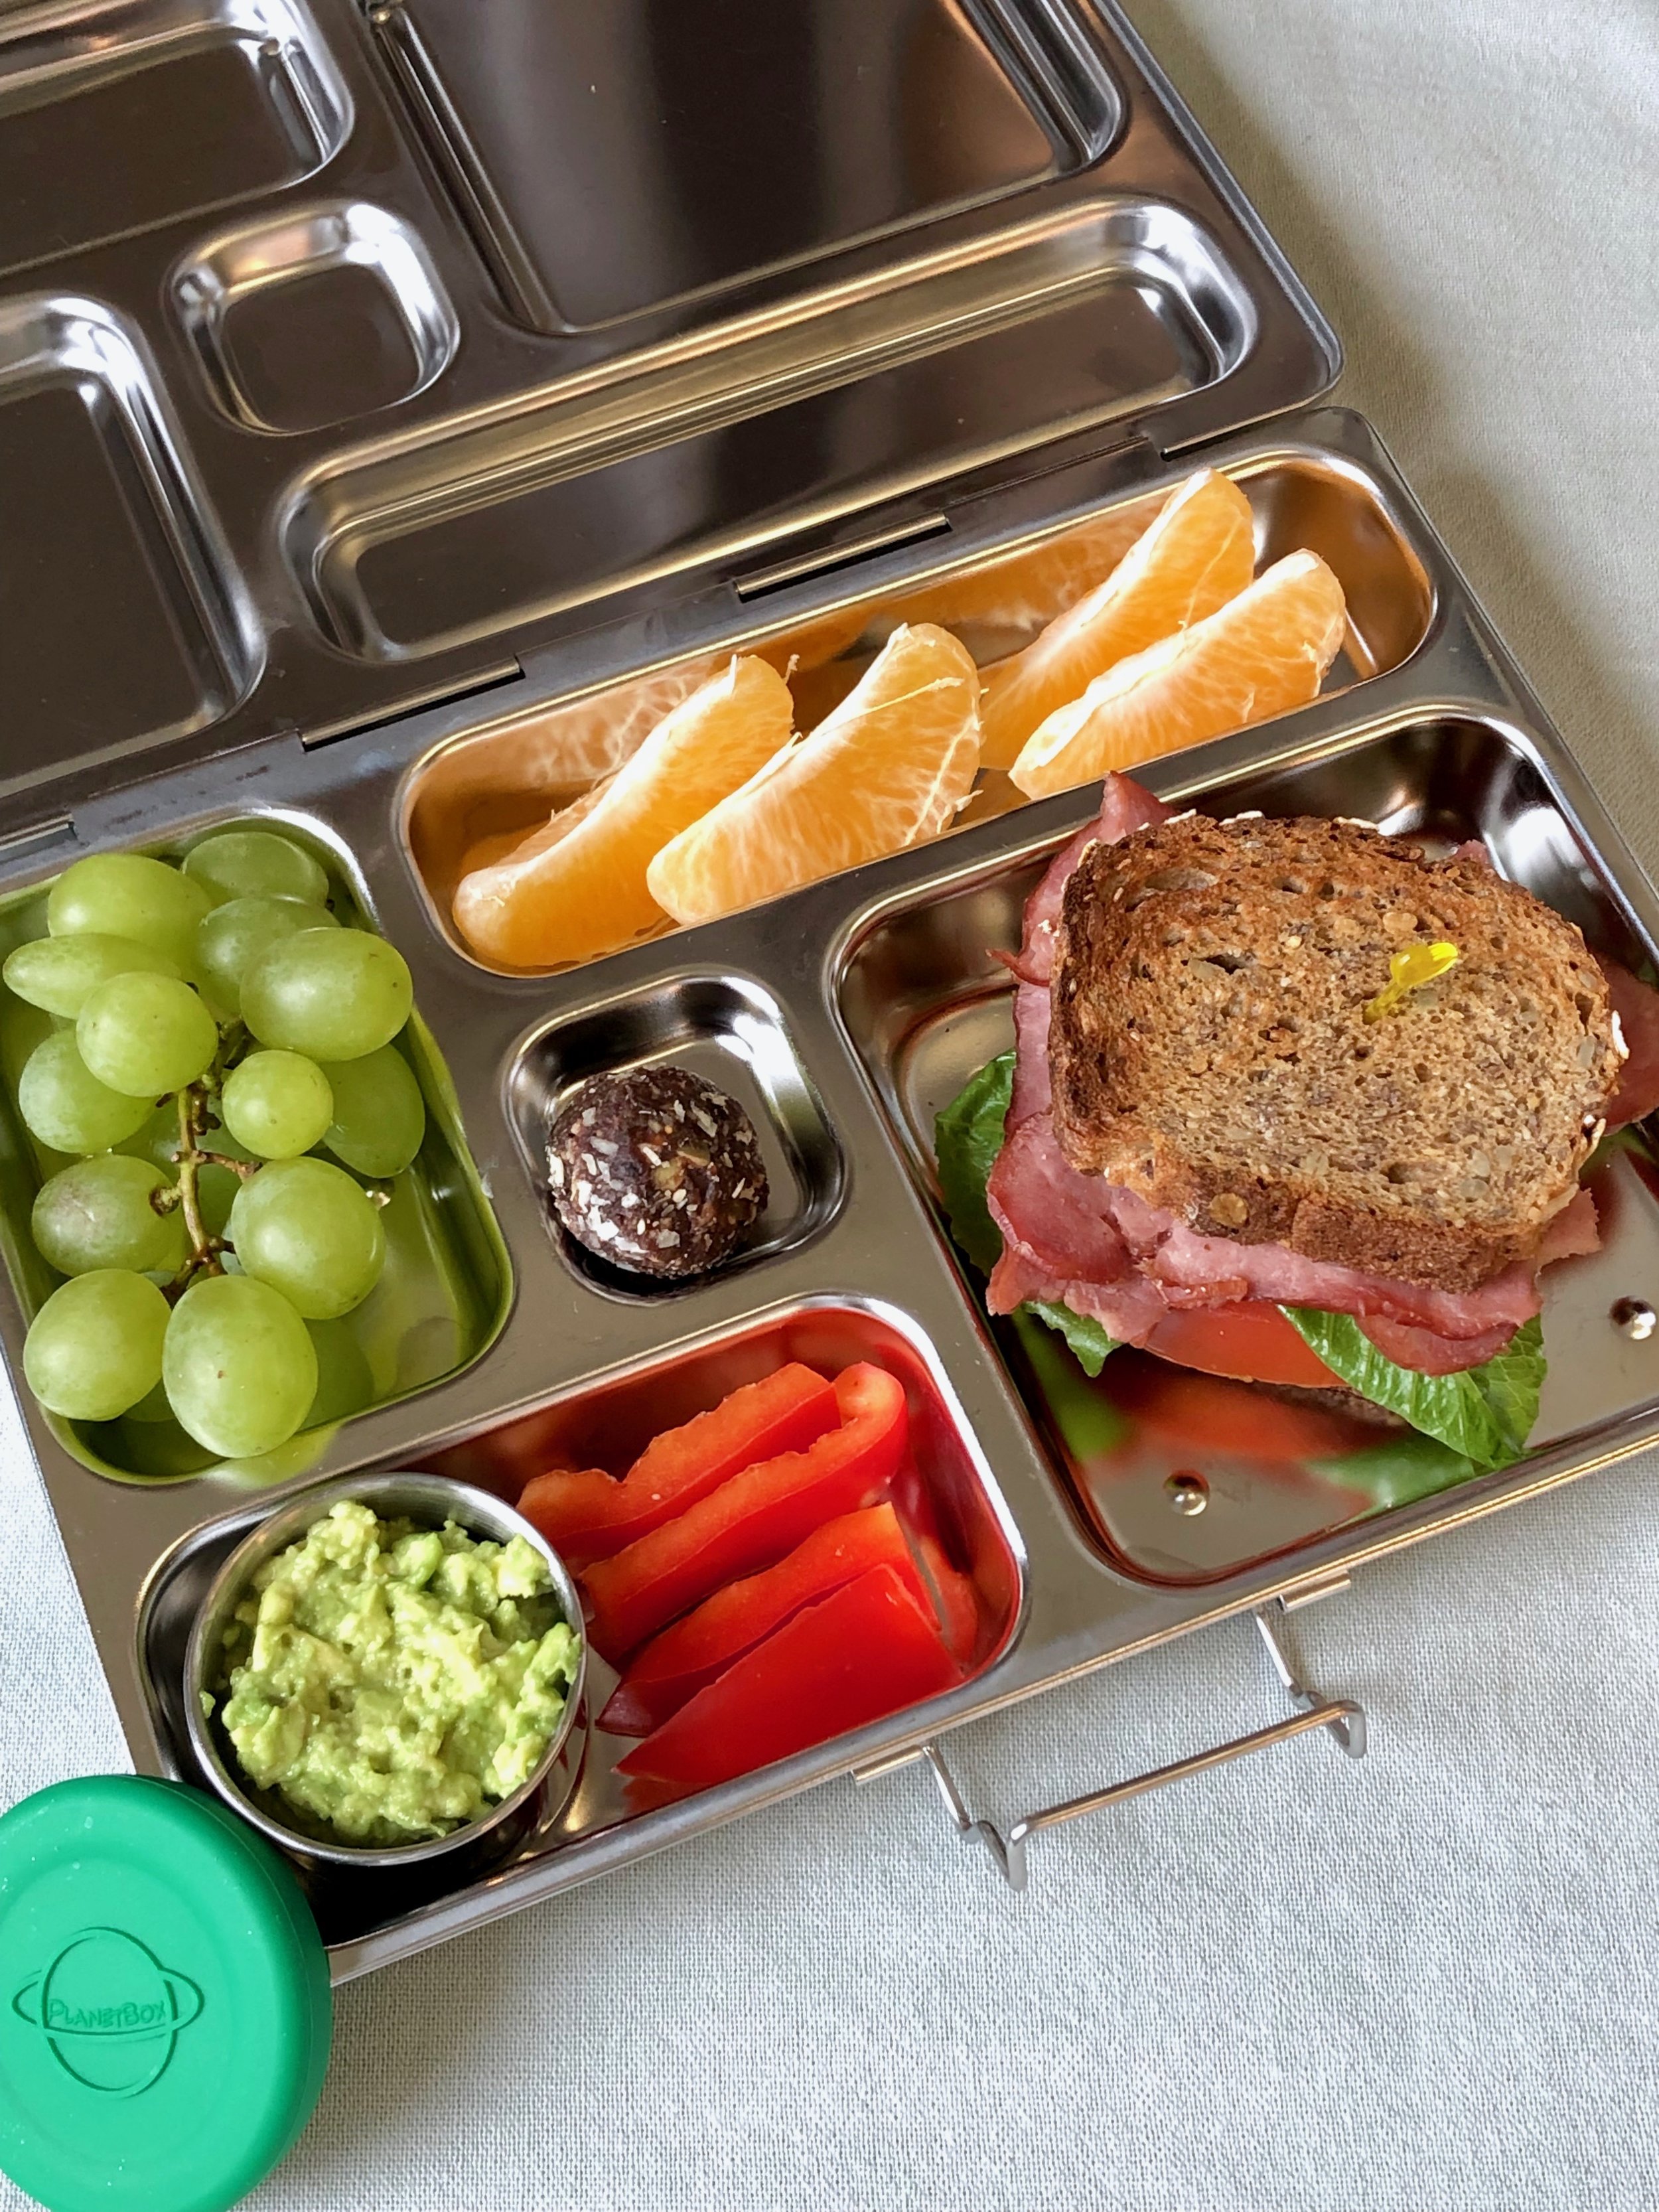
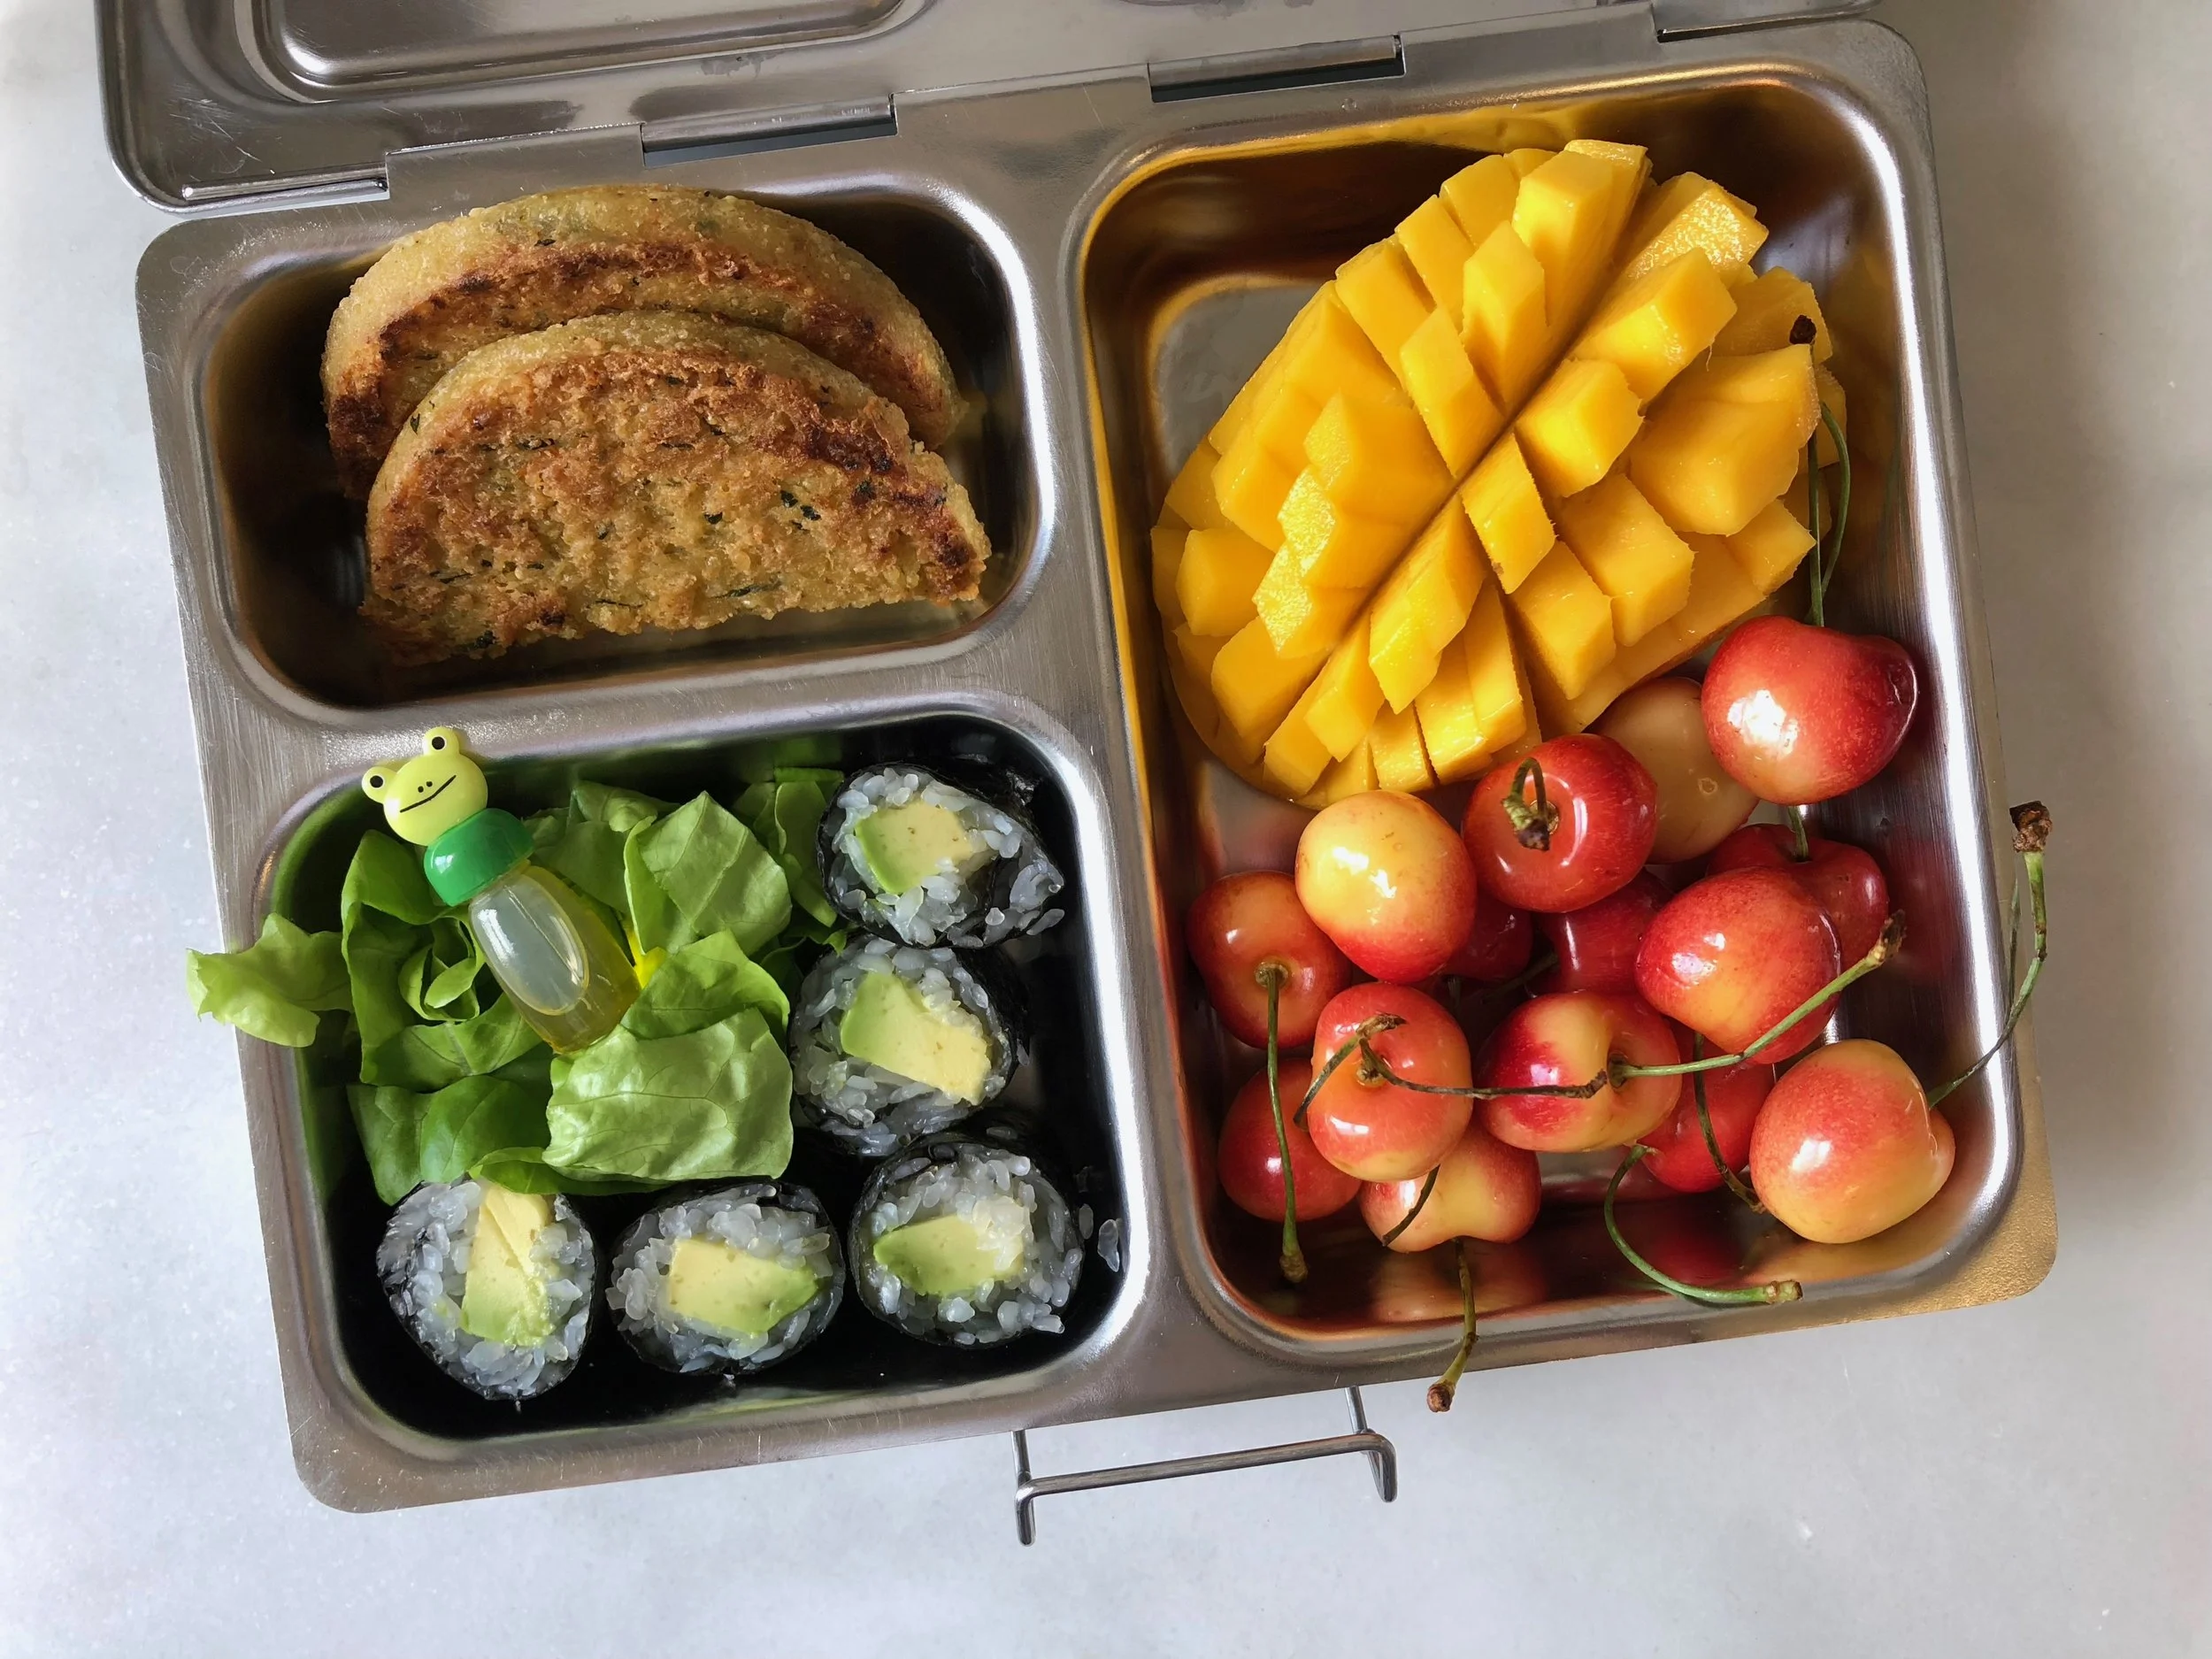
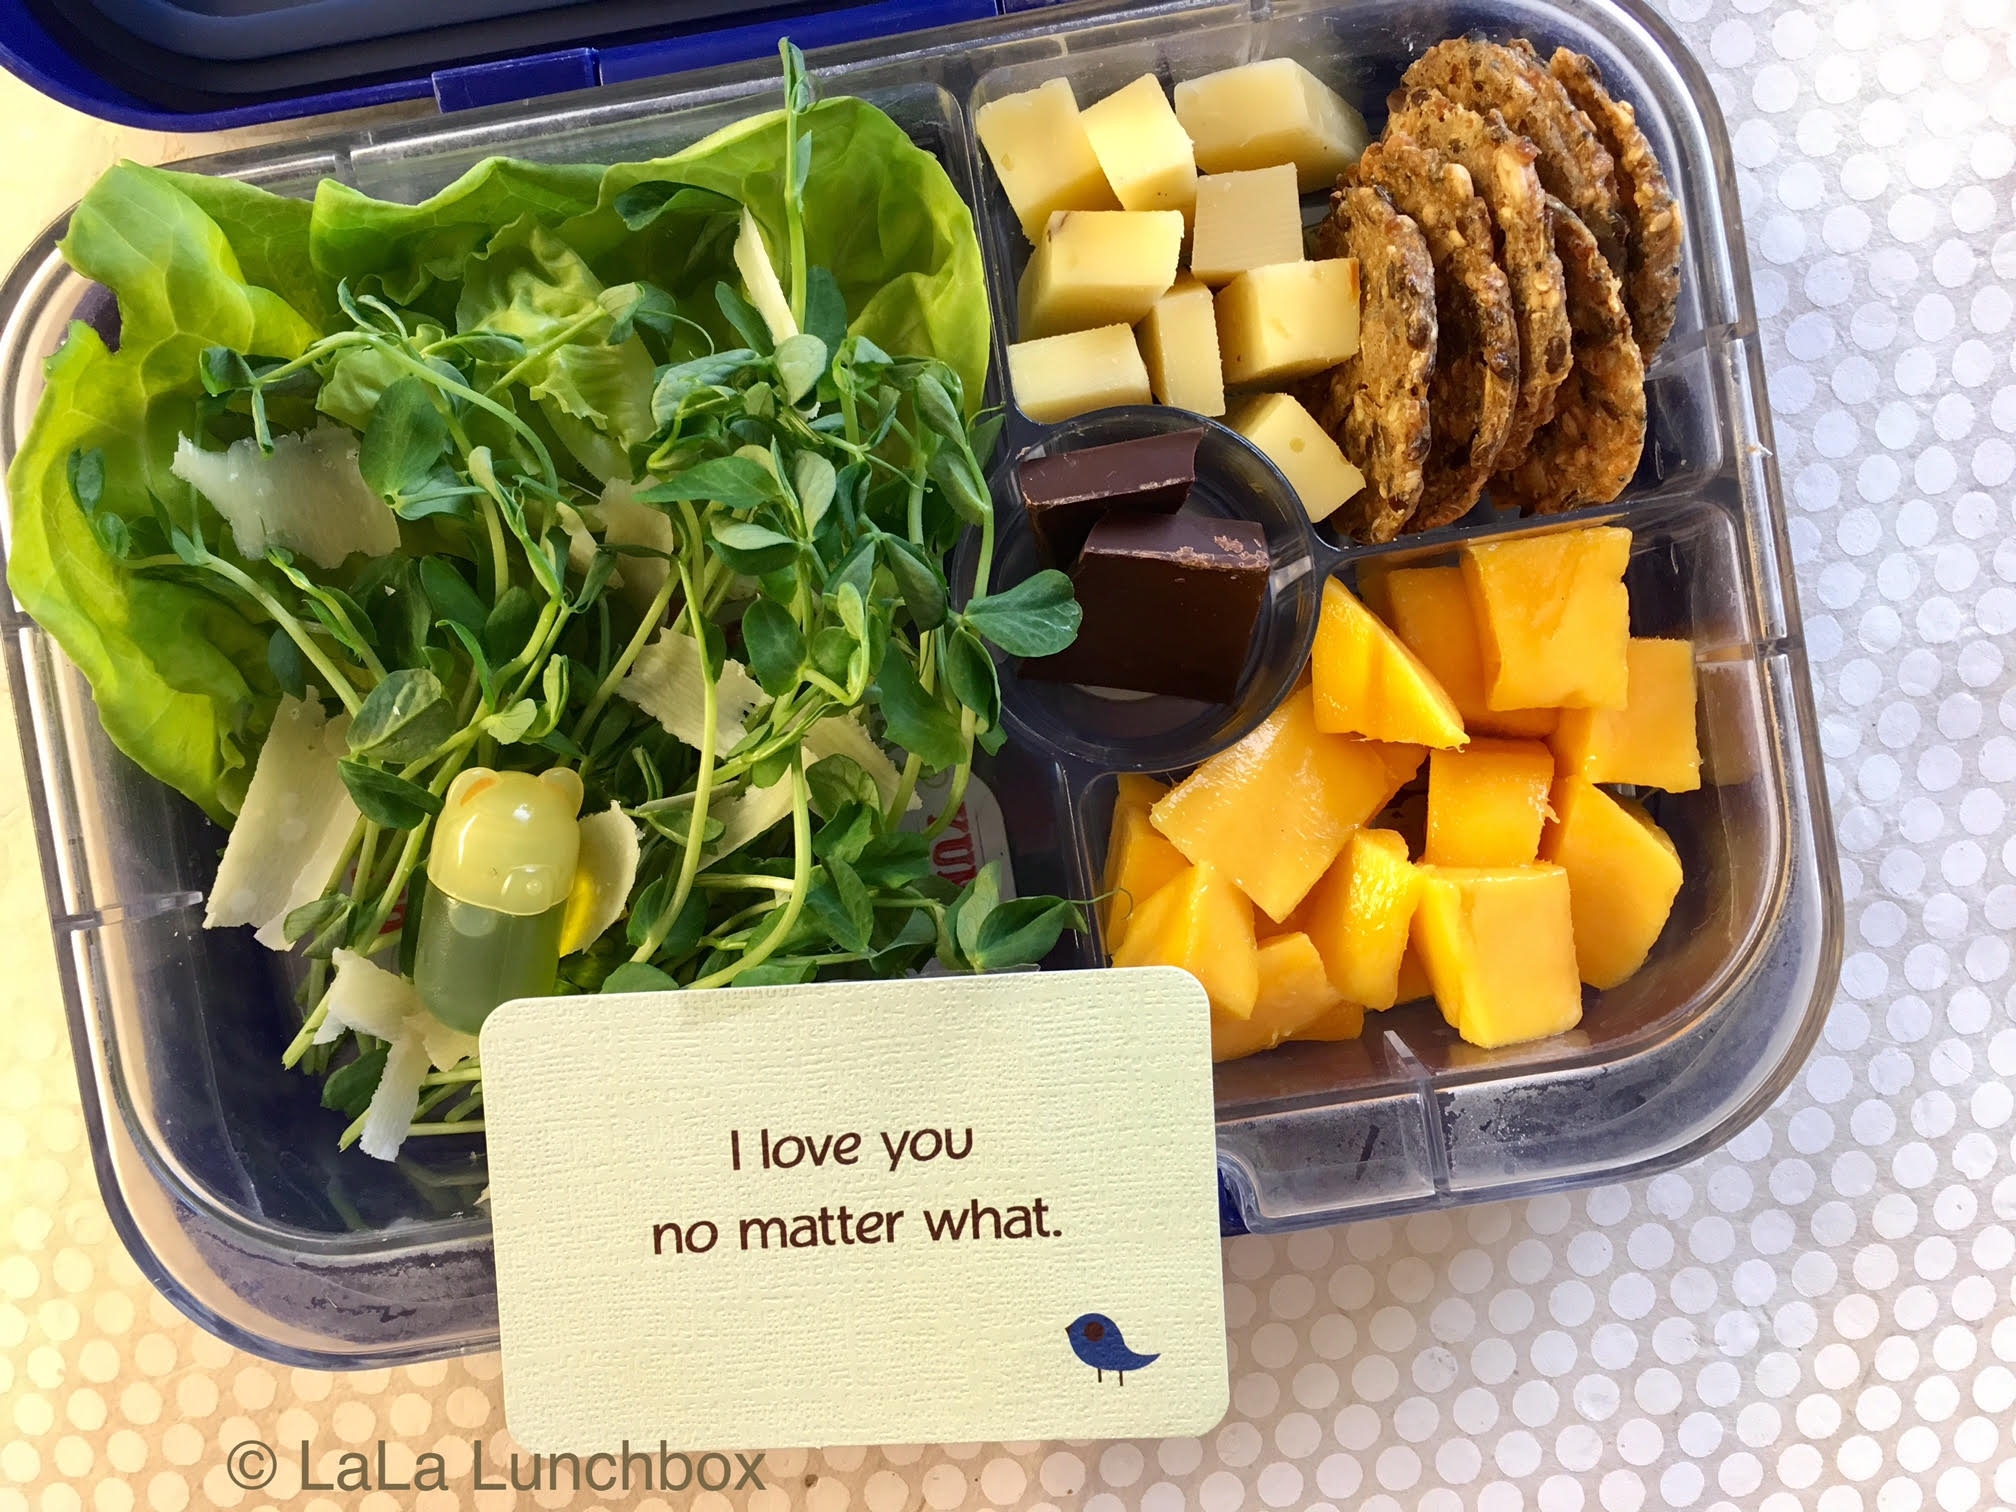
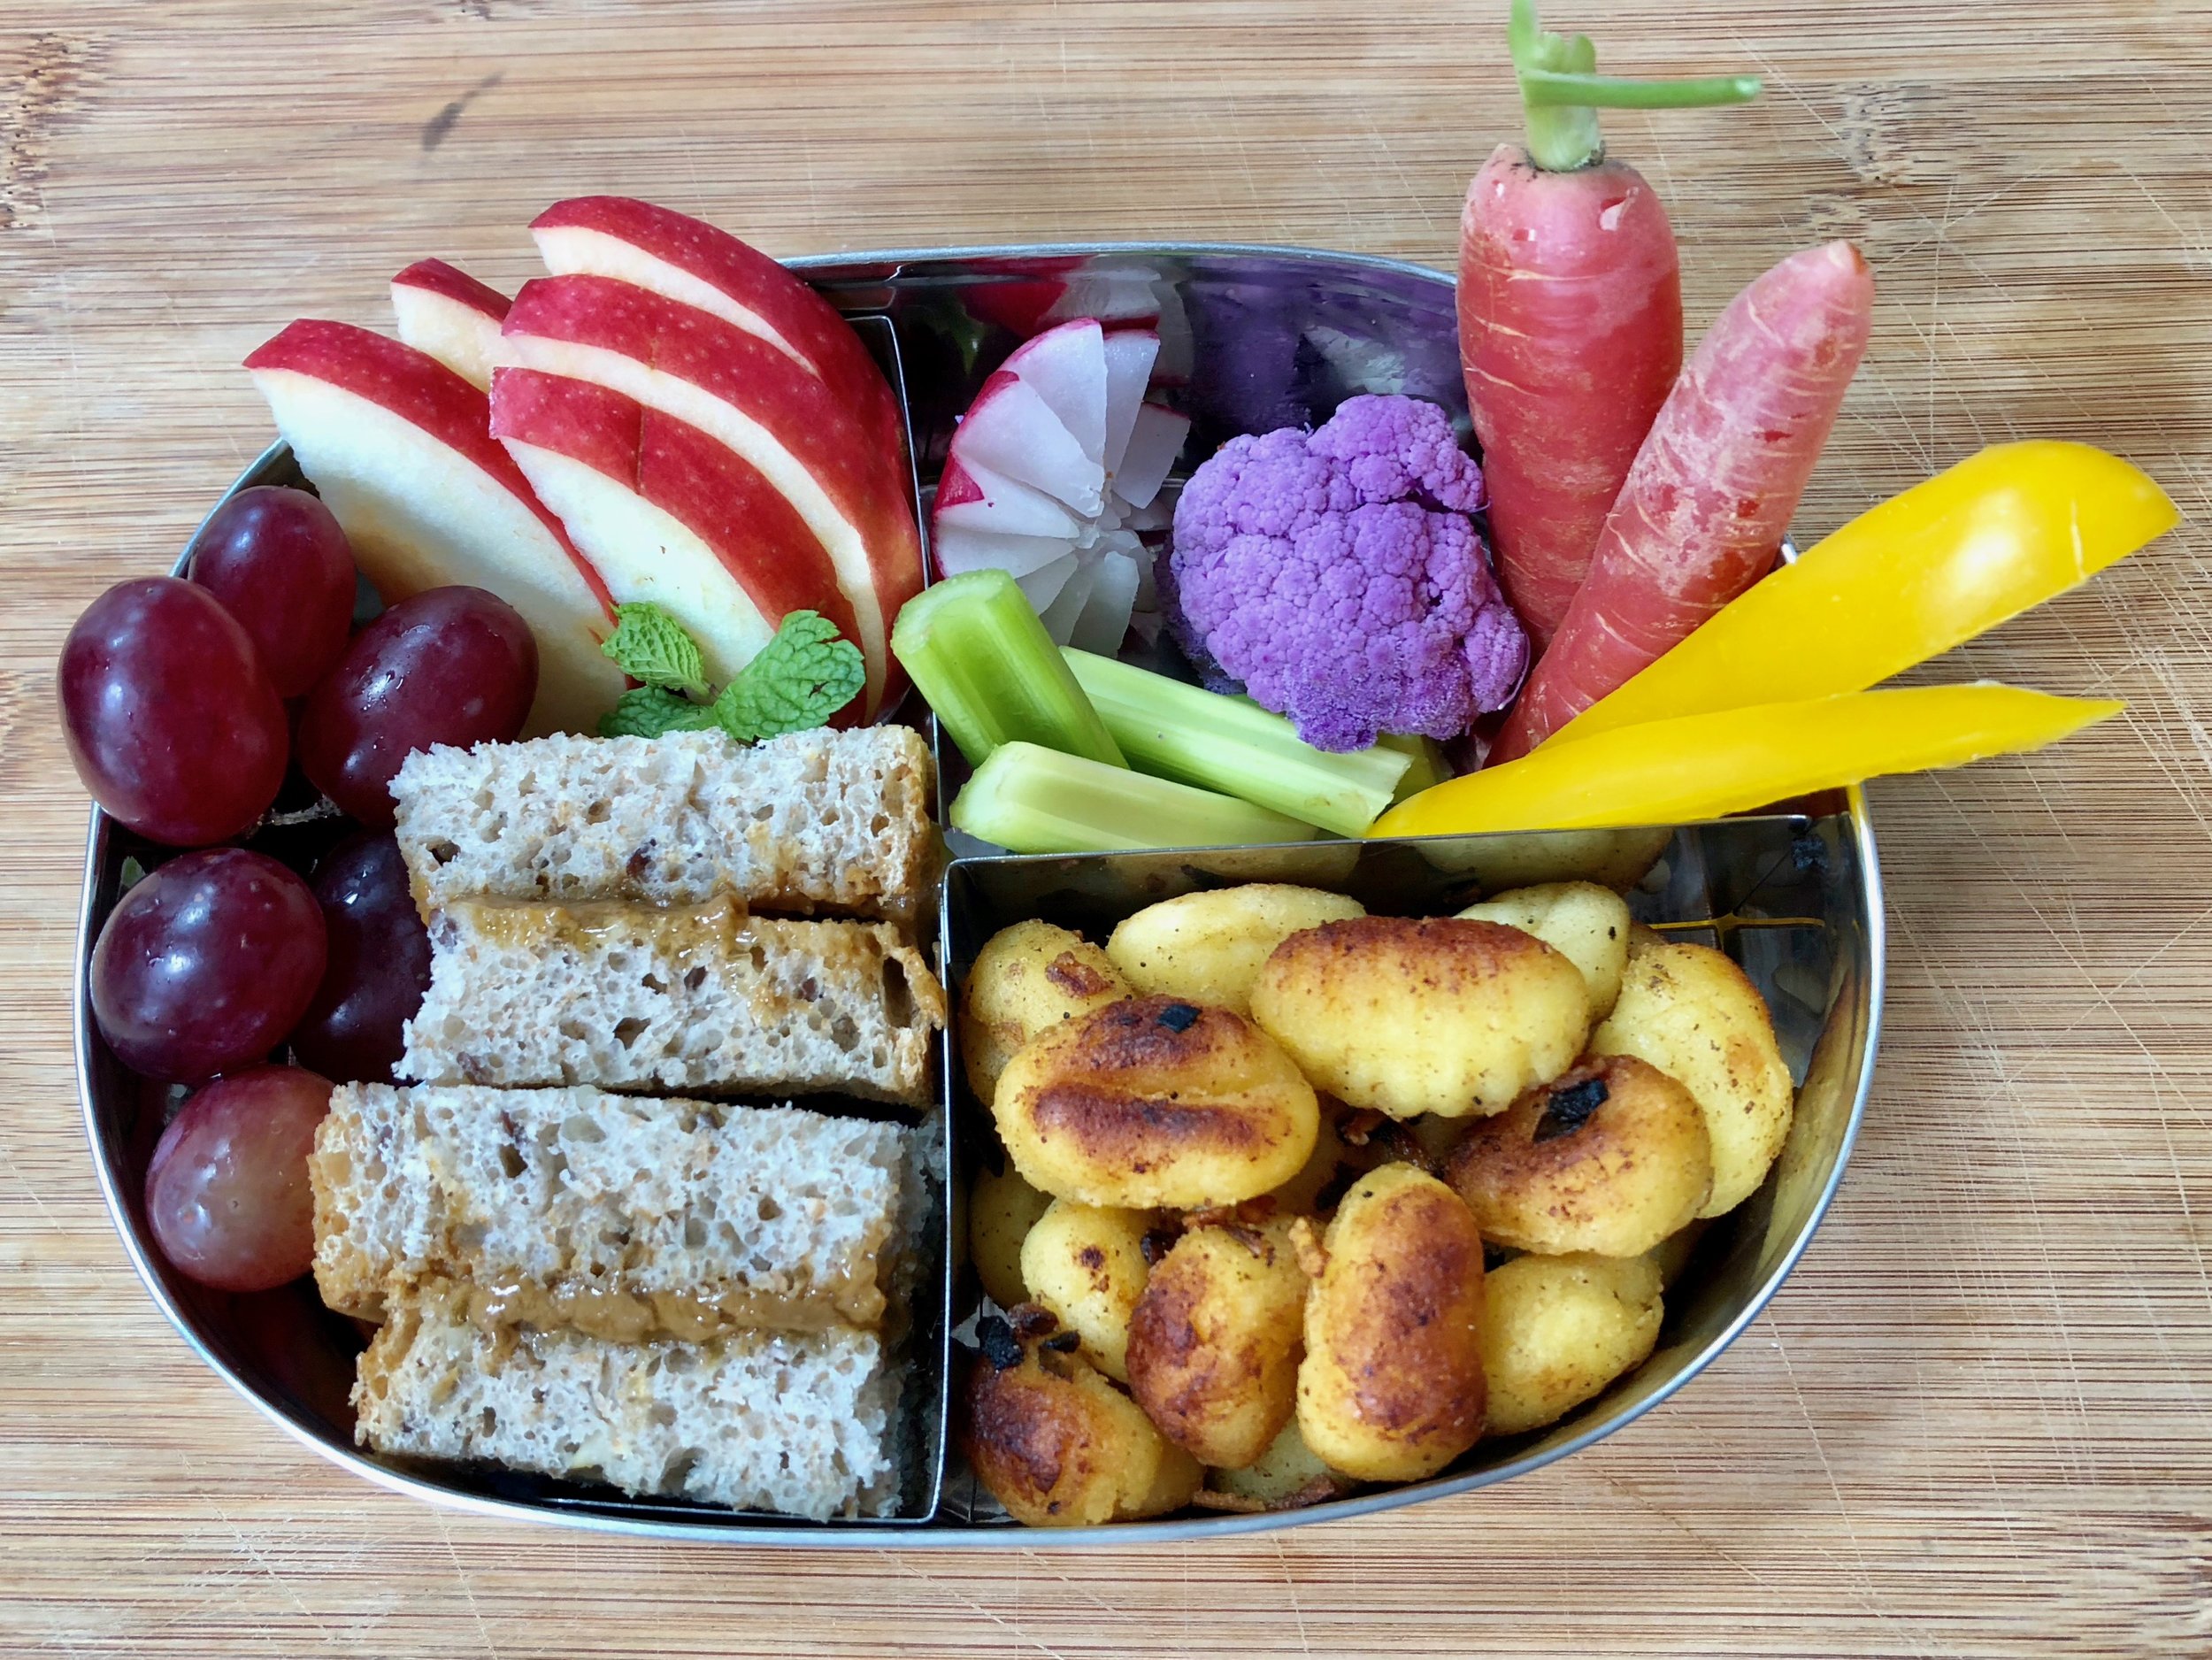
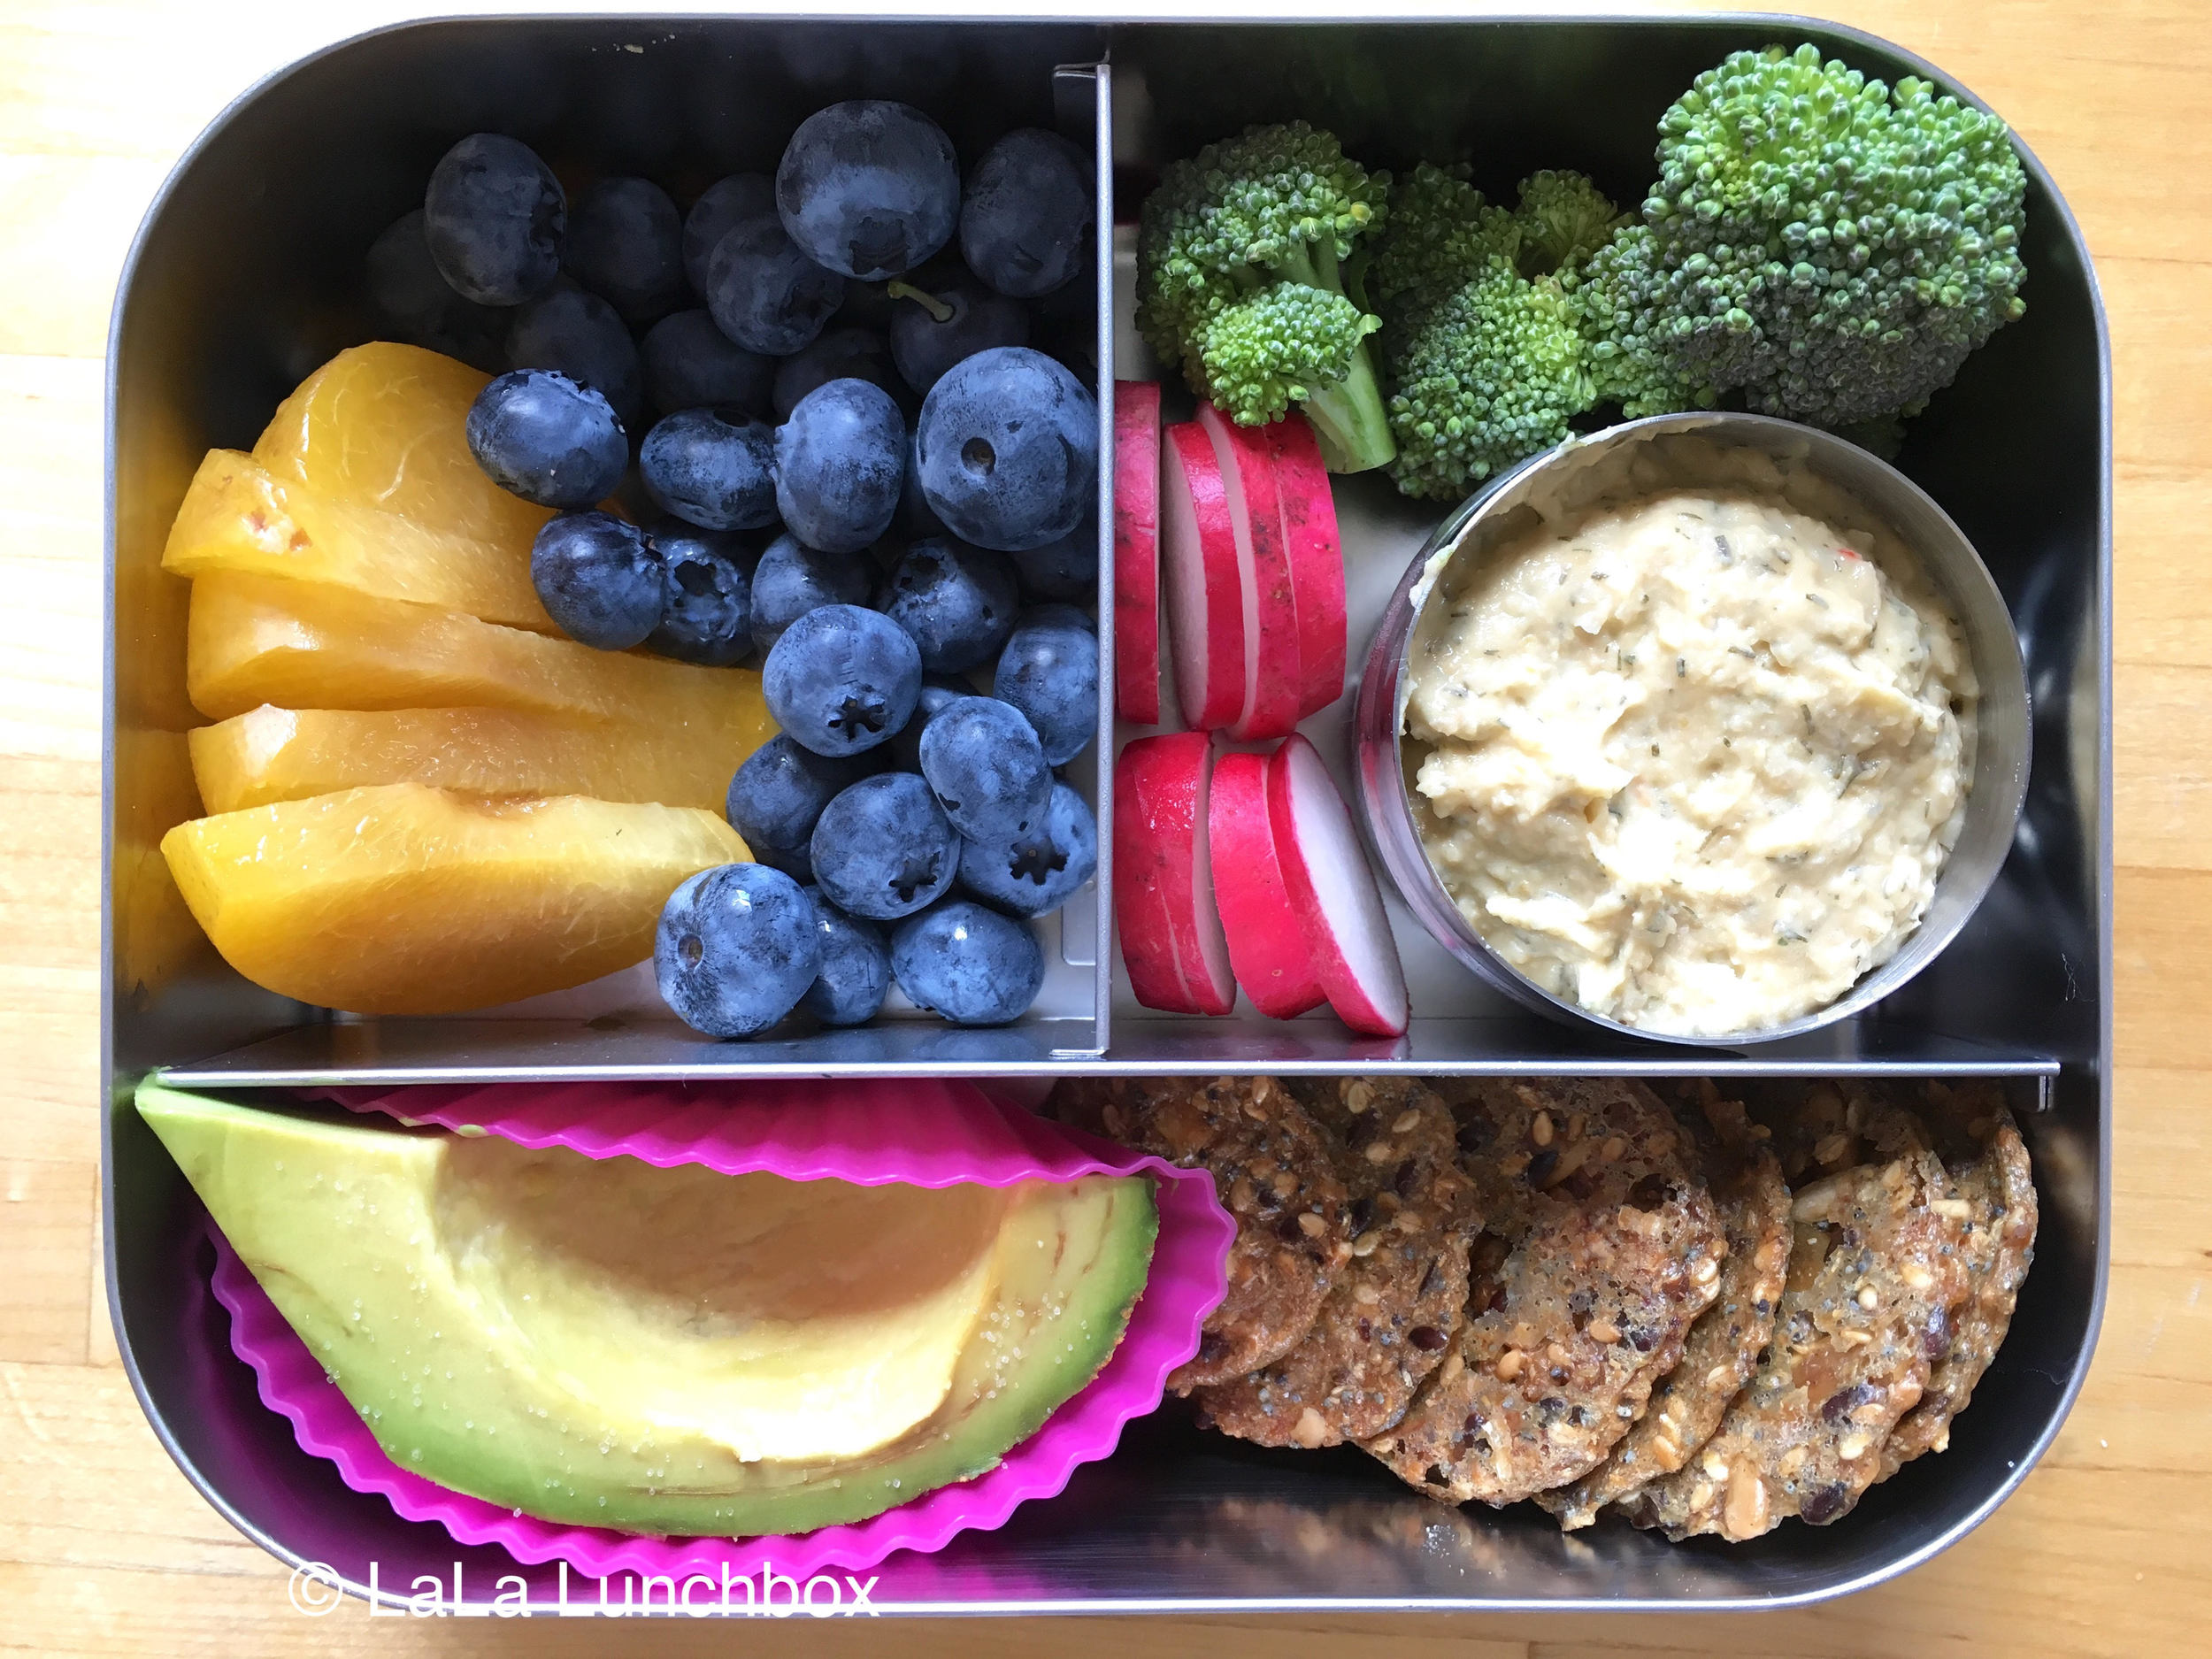
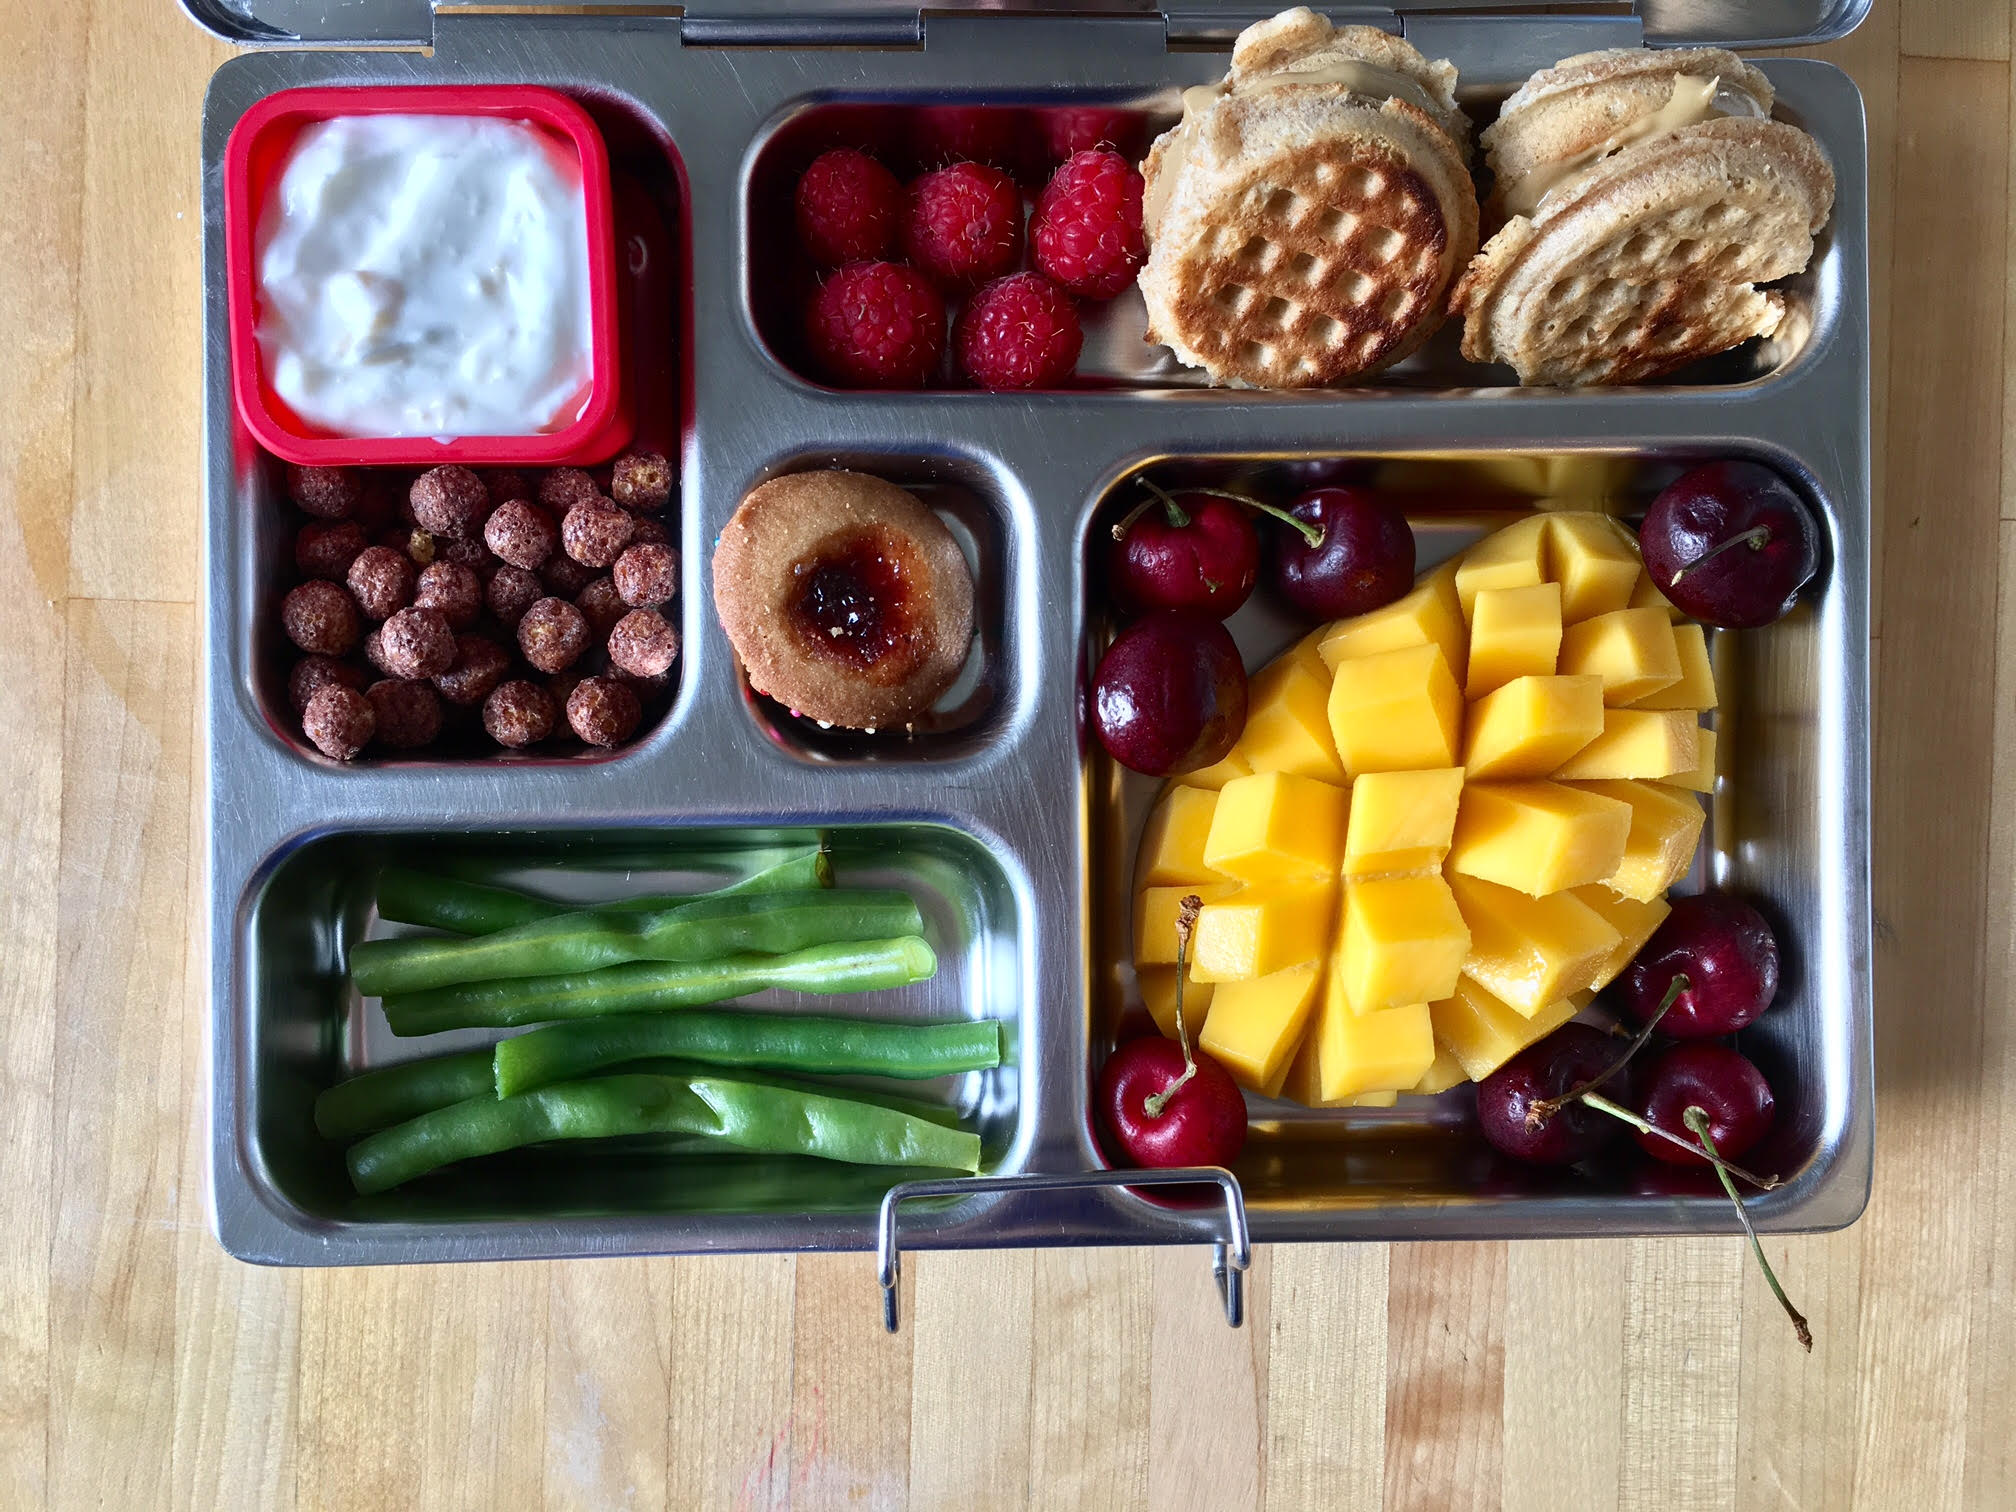
homemade dairy free chicken tenders in a lunchbox
I like to make mine dairy free lately, using oat milk and I don’t add cheese to the process. Most of the ingredients here are pantry staples, so it’s a great go-to for when you pick up some chicken breasts and don’t know what you want to do with them. This recipe makes enough for all 5 of us with dinner, or enough for dinner and a lunchbox for my 3 kids.
If you make this, tag me @lalalunchbox and let me know how it went!
Homemade Chicken Nuggets (Dairy Free)
4 skinless, boneless chicken breasts (4 halves)
1 cup panko
1/2 cup flour
1 teaspoon dried basil
1 teaspoon dried oregano
1 teaspoon granulated garlic
1 teaspoon sweet paprika
1/2 teaspoon salt
2 tablespoons milk (I used unsweetened oat milk here)
3 eggs
1 tablespoon lemon zest
neutral oil for frying
Cut the chicken breasts into roughly even pieces and set aside.
Place all dry ingredients into a shallow baking dish and combine thoroughly.
In a separate medium sized bowl, beat the eggs and add the milk. Lightly beat with a fork to combine.
These are your three stations: raw chicken, dry + wet.

Fresh lemon zest makes these homemade chicken tenders bright and delicious
Place raw chicken pieces into the egg mixture and give them a 15 second soak before taking them out and adding to the dry mixture. Use your fingers to flip the chicken pieces to make sure all of the area is covered with the flour/panko/herbs. Place on a baking sheet lined with parchment paper. Repeat until all of the chicken is coated.
Heat a cast iron pan to medium high. When hot, add the oil and wait about 30 seconds to a minute for the oil to heat. You’ll need enough oil in the pan to cover the entire bottom, but not so much that these are deep fried. I used about 1/4 cup. Add the chicken pieces, making sure not to crowd the pan. Time to flip them will vary depending on the size of your pieces and the heat of your pan. Mine took about 2 minutes per side. Repeat in batches. If your pan needs more oil, add the oil when there are no pieces of chicken in the pan and wait for it to come to temperature before adding more chicken.

Pin it for later! Easy homemade dairy free chicken tenders.