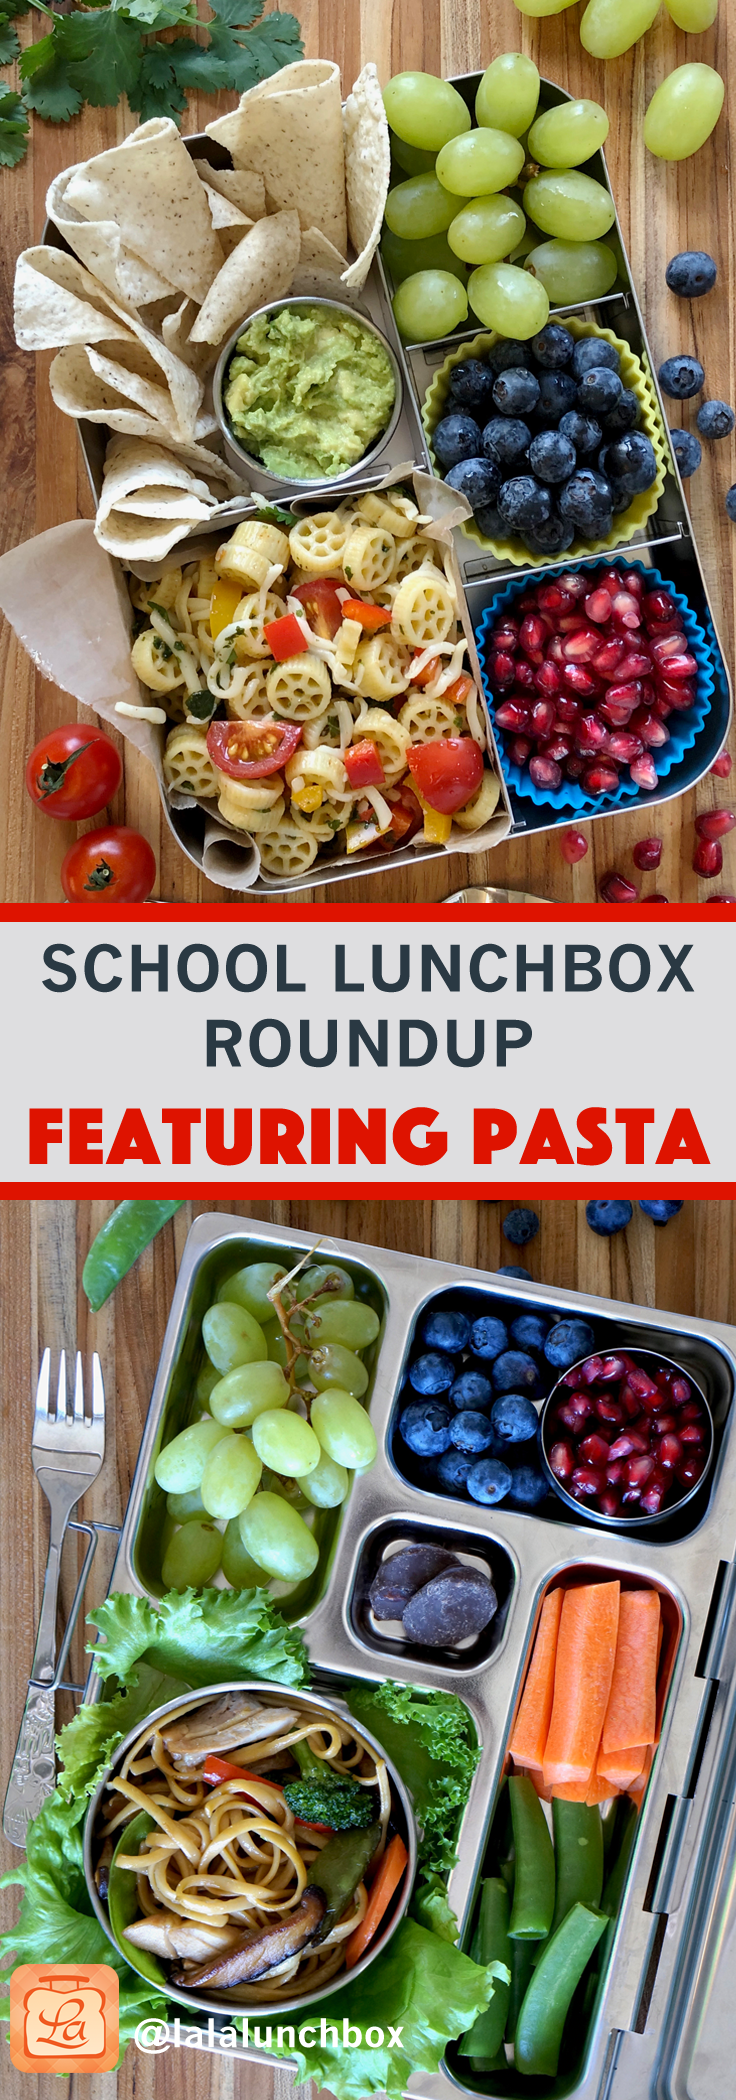
It’s that time of year again…
The holidays feel long gone, the January slog is over, but there’s no end to lunchbox packing in sight. Enter: the lunchbox rut. If you’re feeling like you’re out of inspiration for packing that lunchbox, you are not alone. Here are some tips to getting over that hump and sailing through the end of the school year. If you find it helpful, share these ideas with others and tag me on Instagram when you post your lunchboxes using these ideas!
Don’t panic
Lunchboxes don’t have to be new and exciting every day. Are there a handful of foods that your child loves? Do they eat those foods reliably and happily? There is absolutely nothing wrong with packing the same lunchbox ideas over and over. I think that parents get bored with the foods in their children’s lunchboxes faster than kids do. There is no reason to reinvent the wheel every day. Remember: a fed kid is most important.
Switch it up
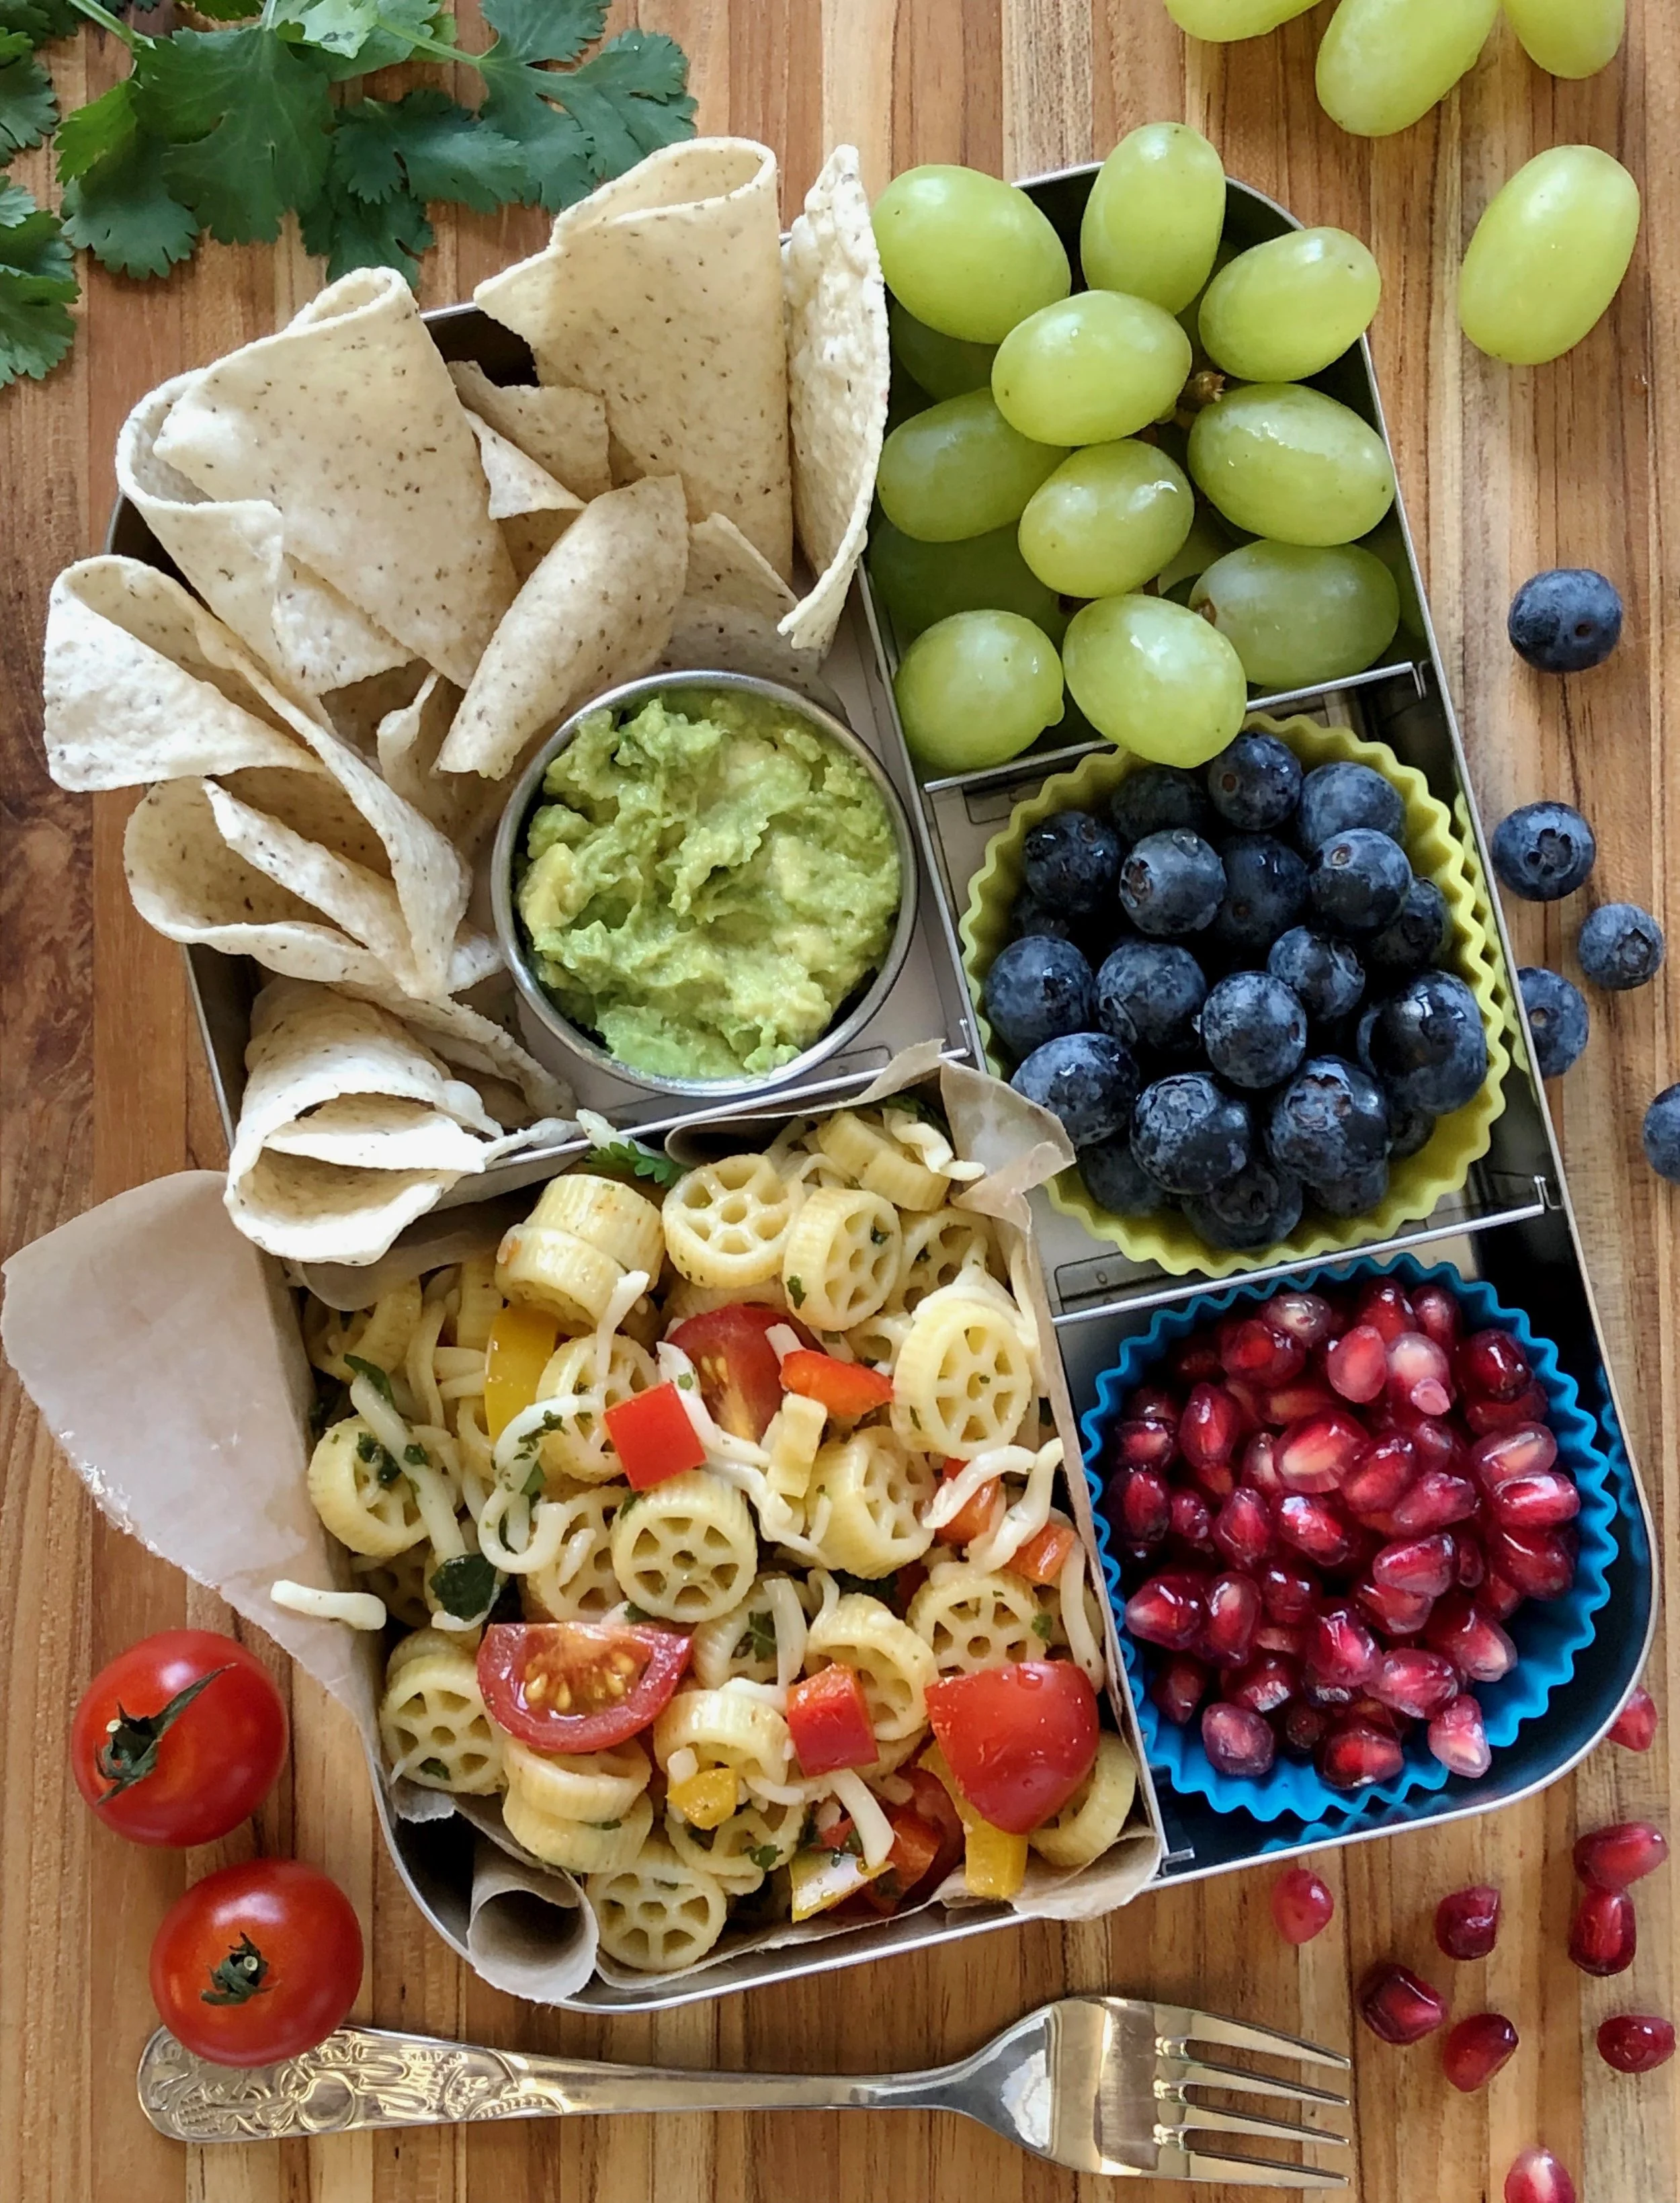
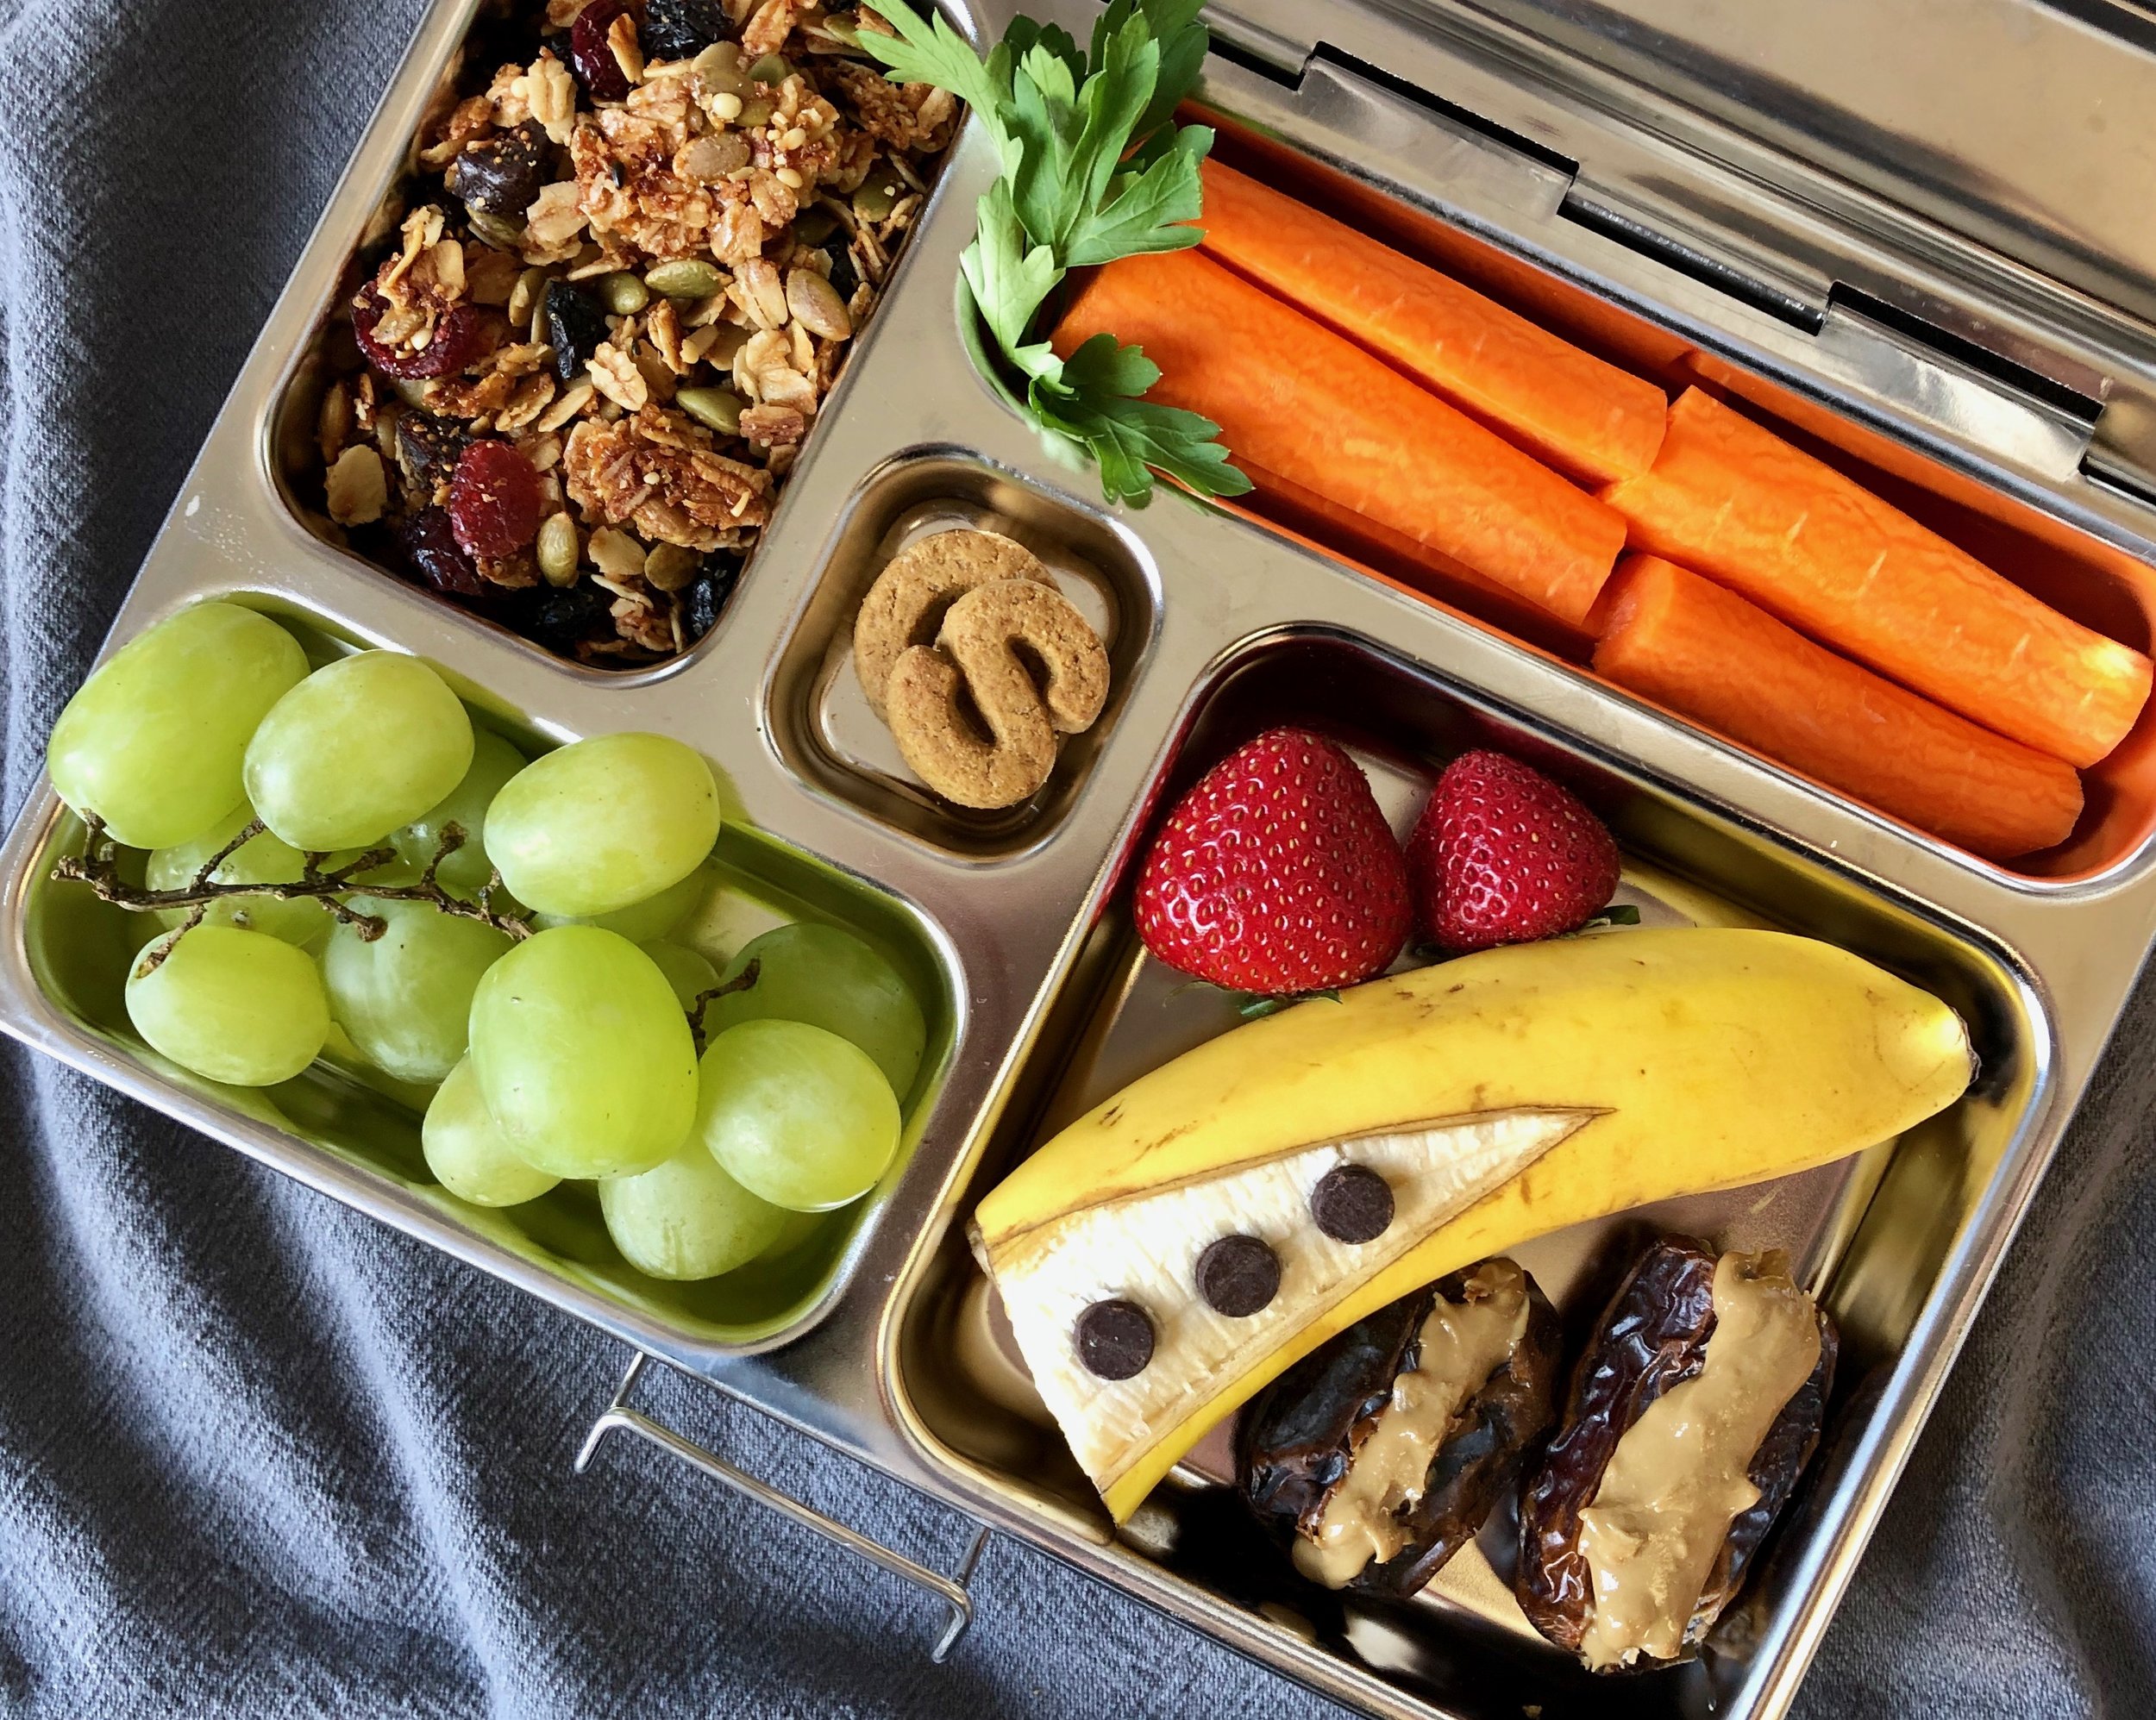
Adding things like lollipop sticks or food picks to the lunchbox can breathe new life into old foods. I buy lollipop sticks in bulk and use them for loads of foods in the lunchbox. When foods become kebabs, there’s renewed excitement! You can find the lollipop sticks that I buy here on my Amazon Shop. Some examples include:

fruit kebabs

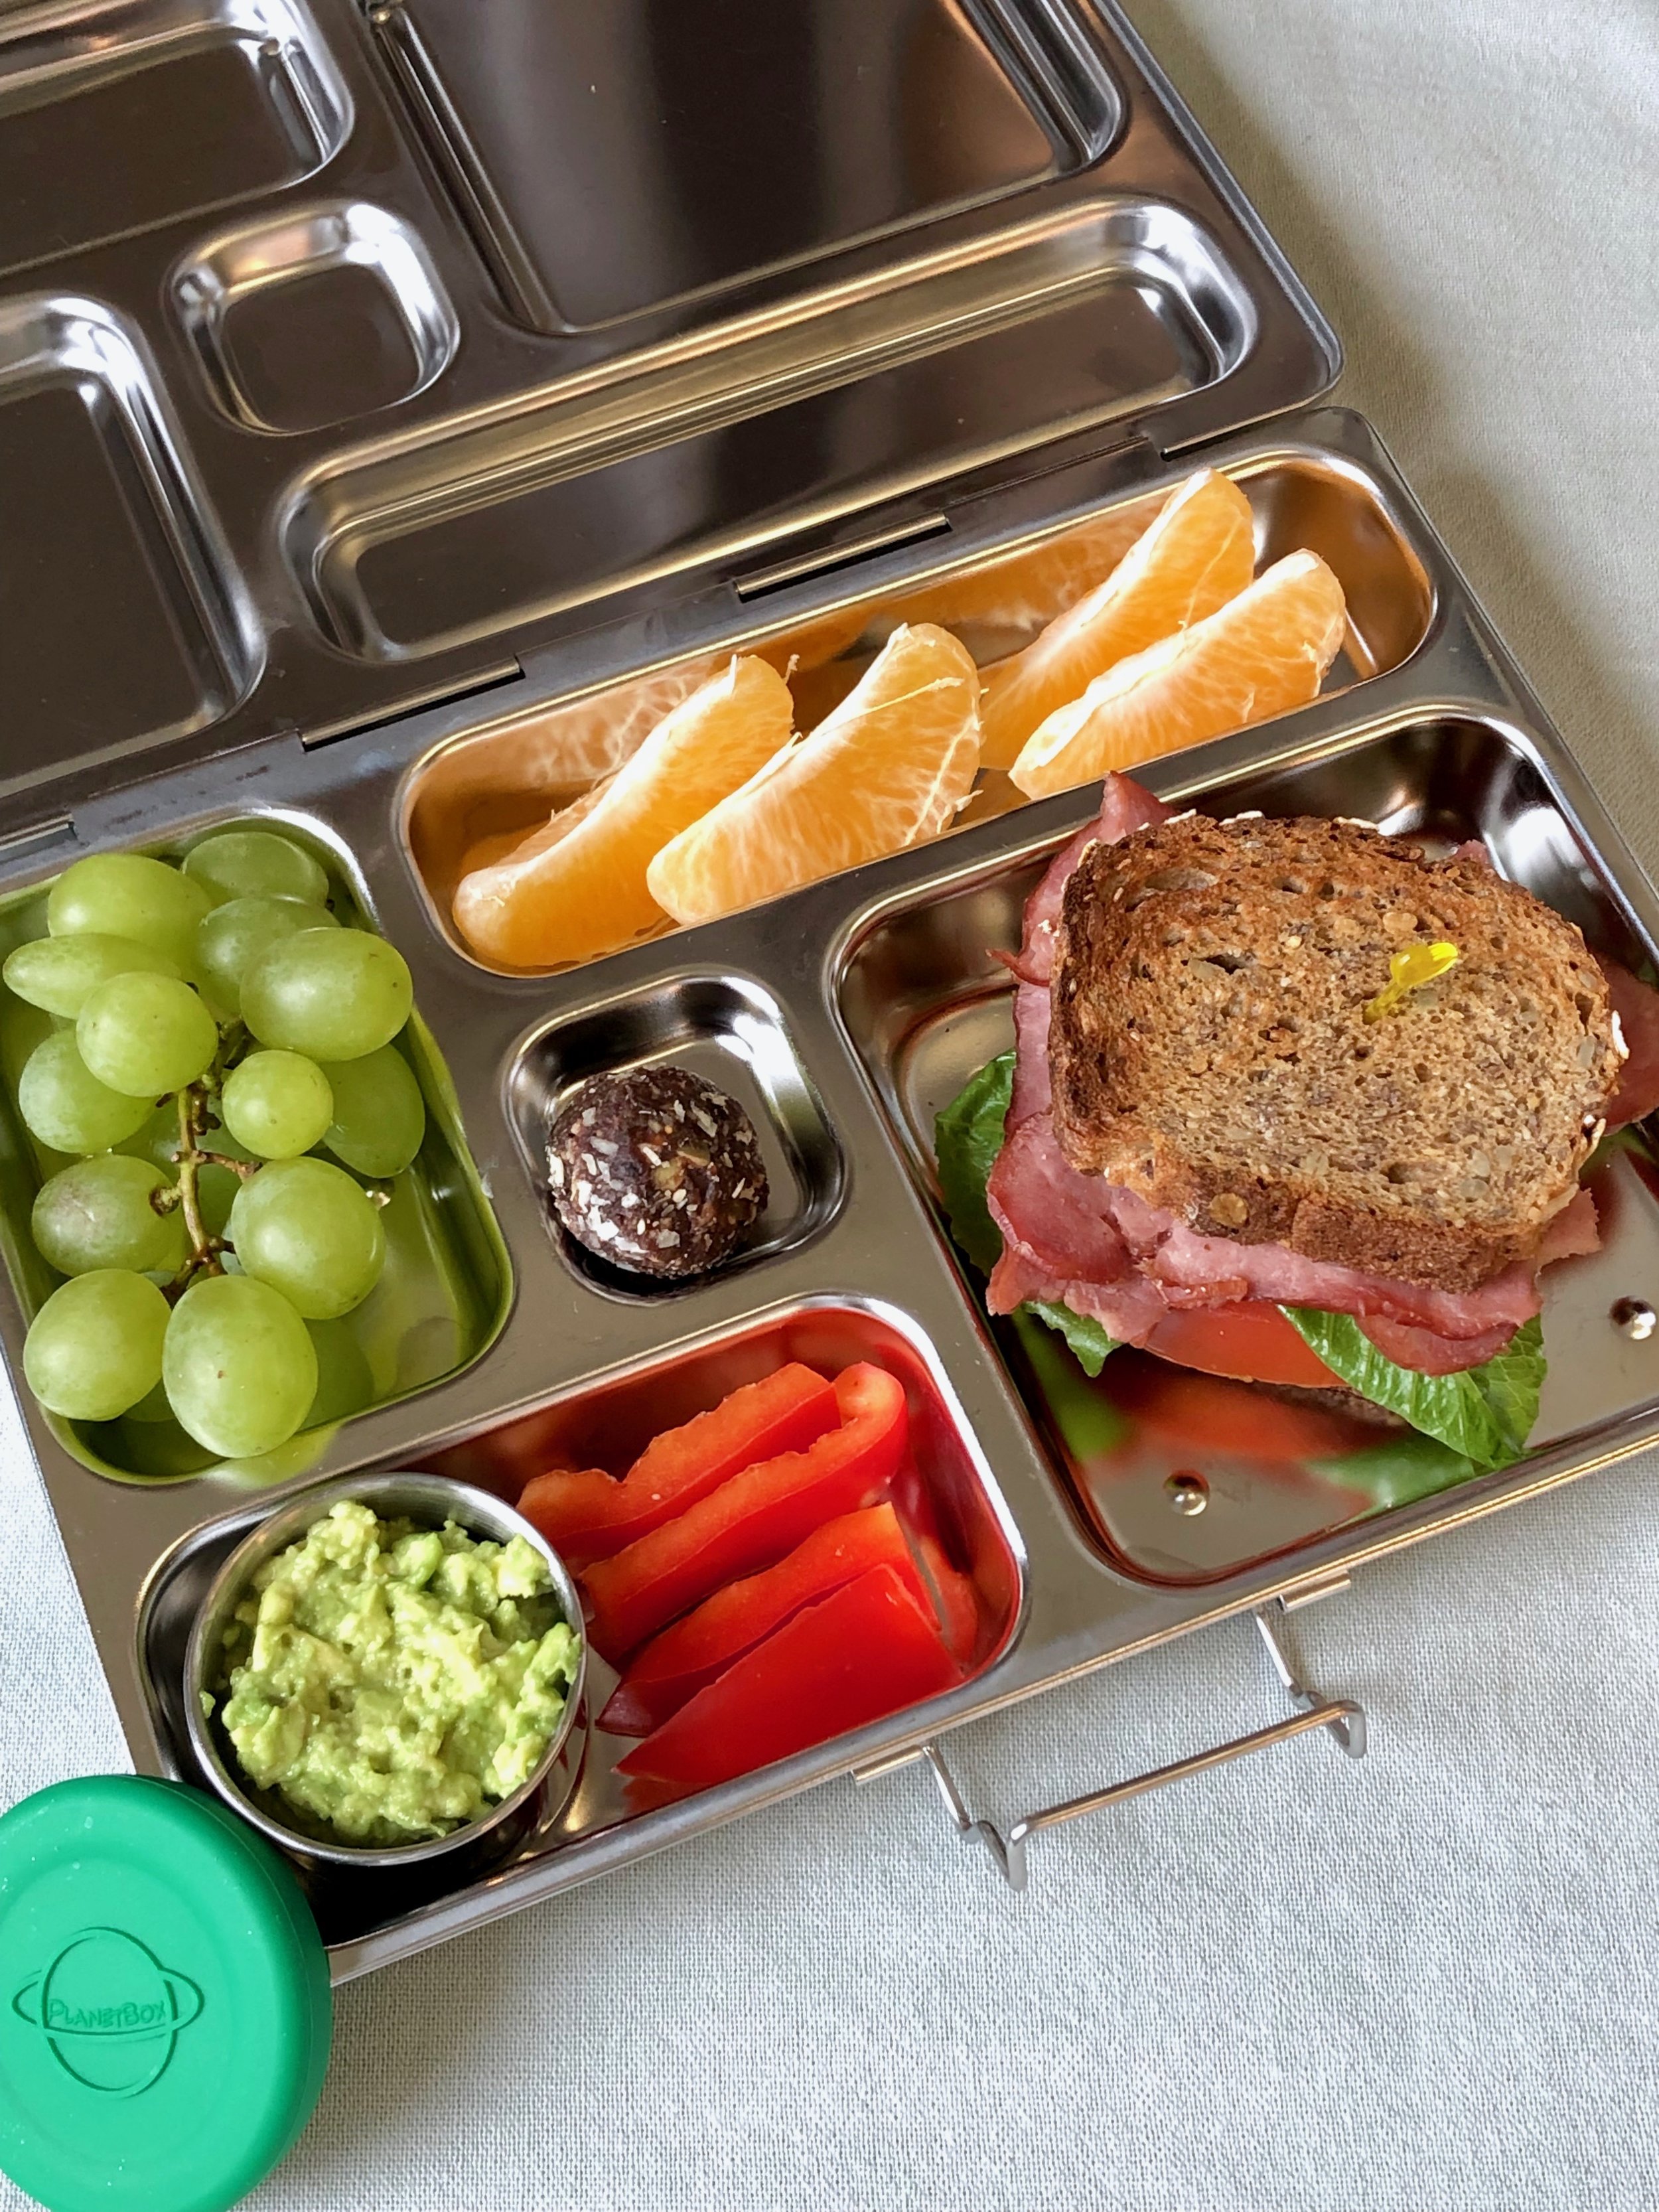
sandwich kebabs
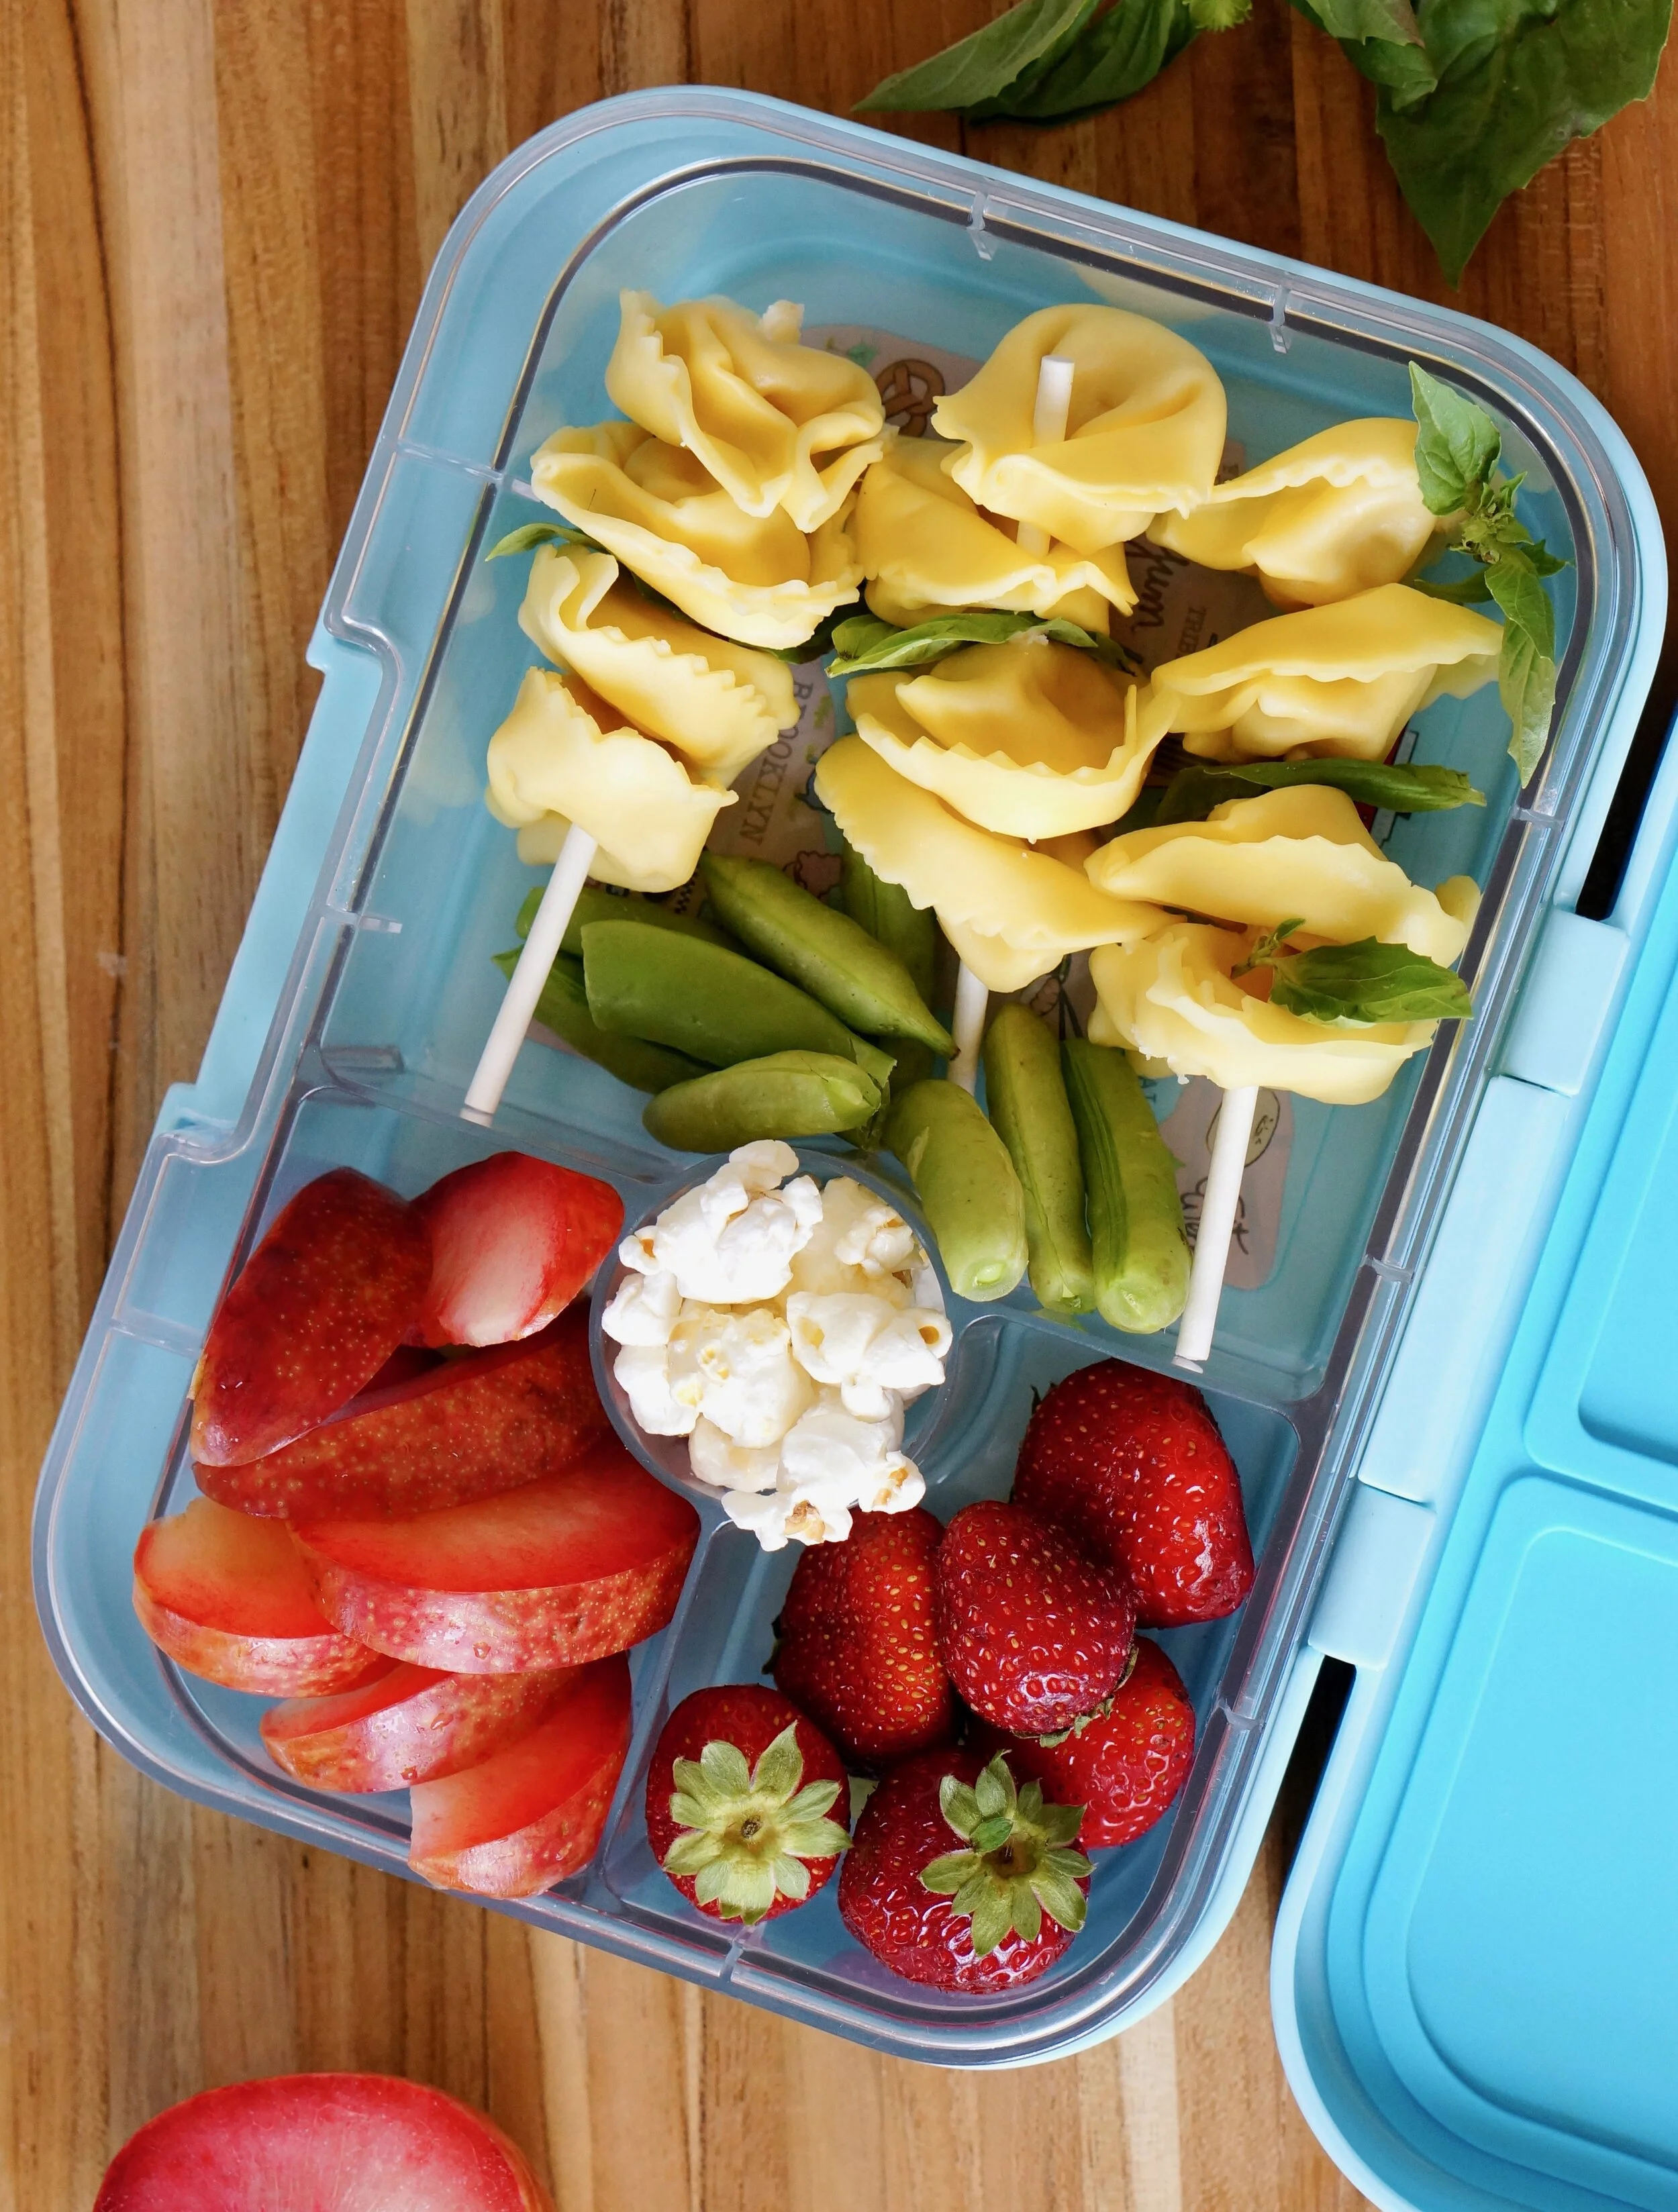
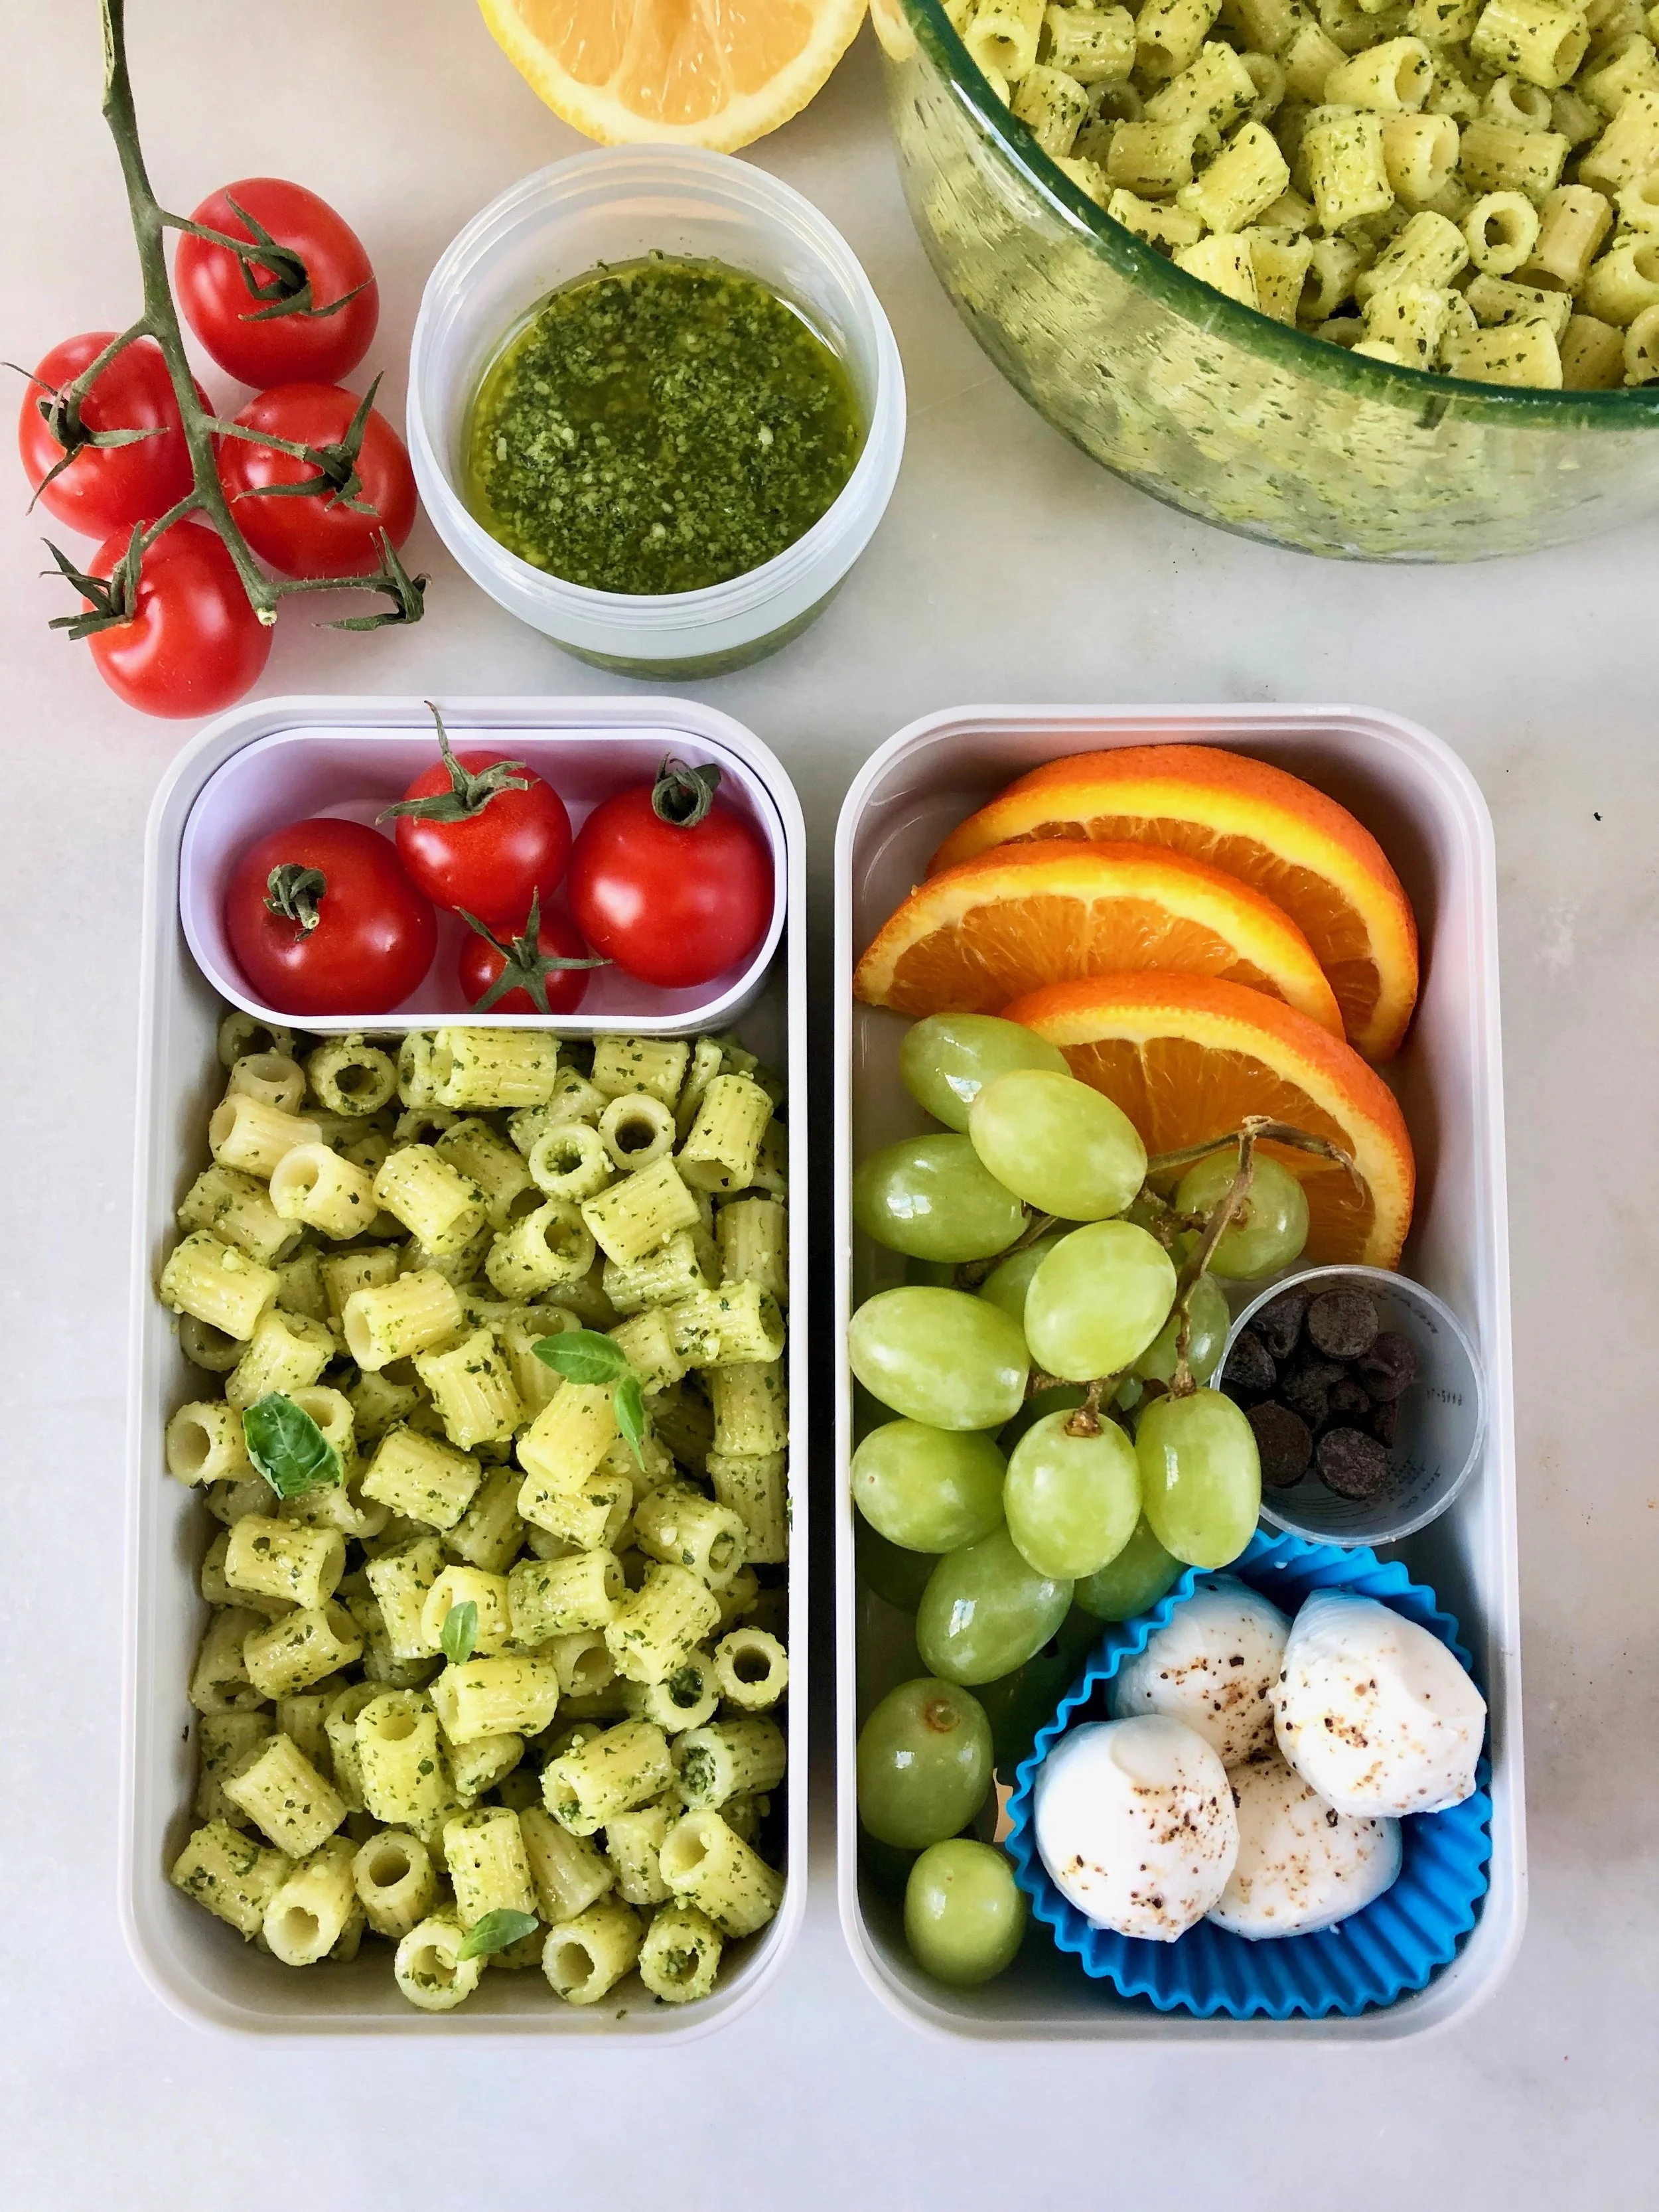
tortellini kebabs
3. Use Leftovers
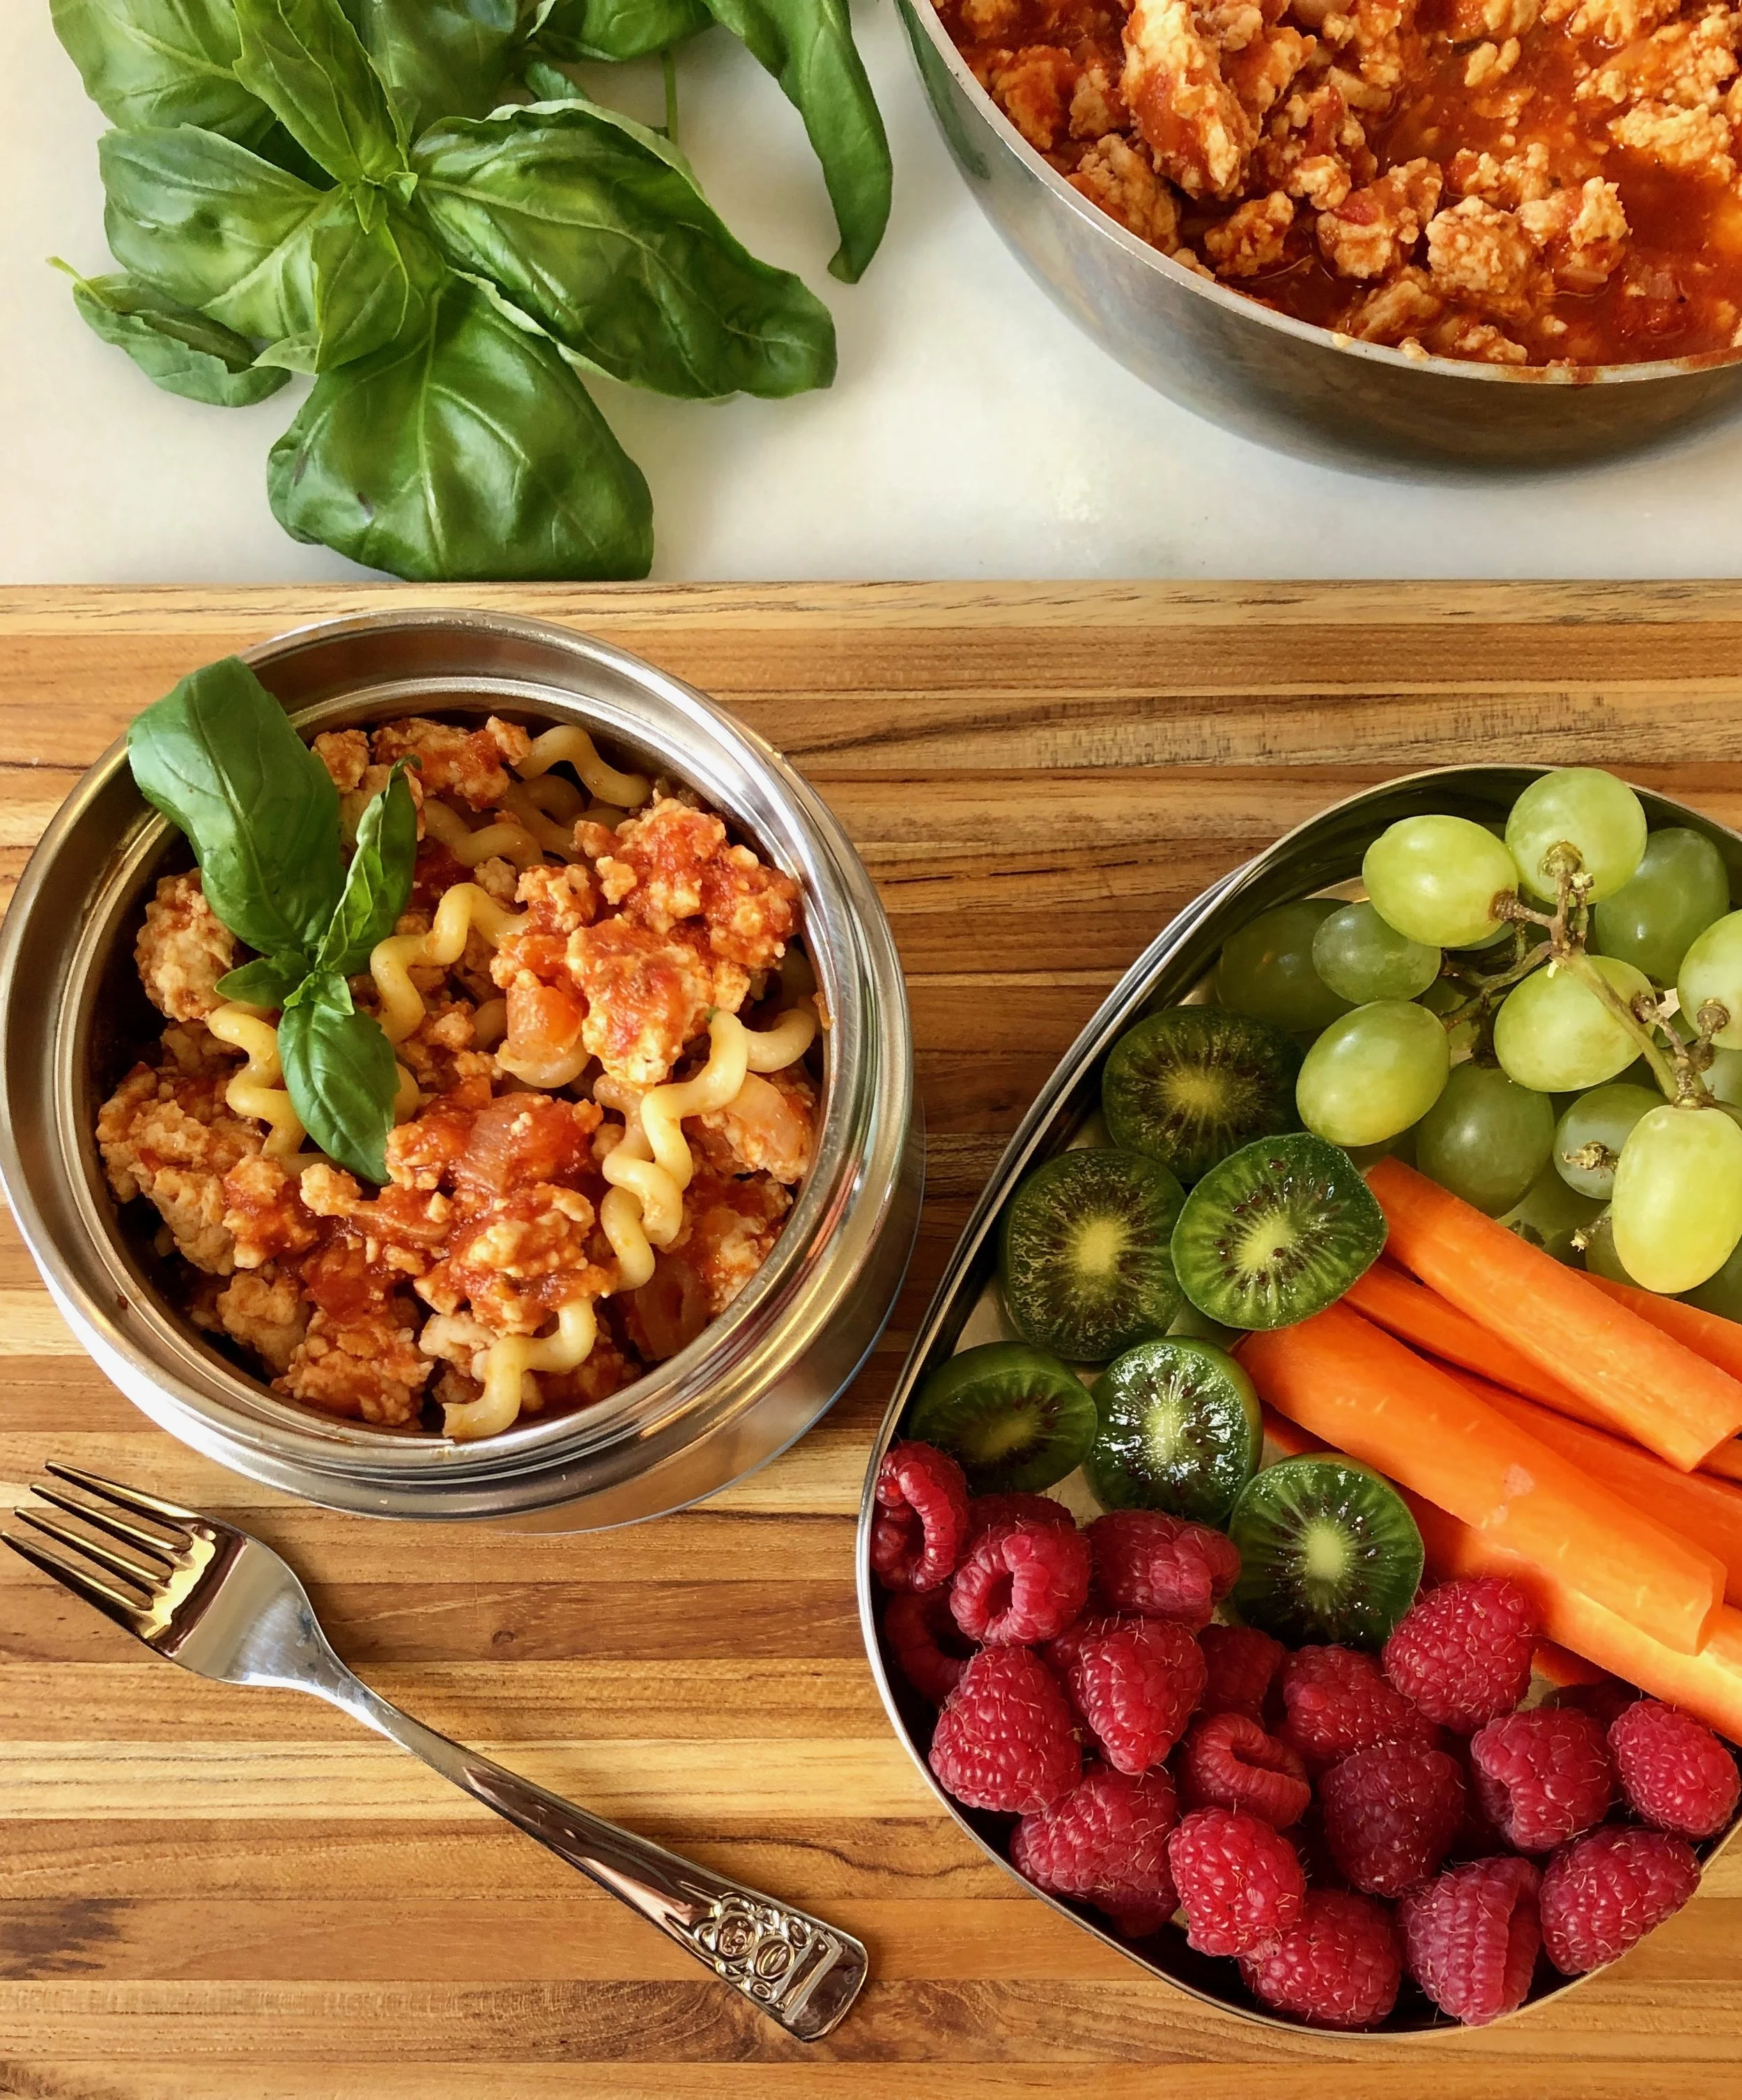
Does your child have a favorite dinner? Pack it up for lunch! I often hear from parents that they don’t pack foods because they’re worried that their kids won’t eat them cold or room temperature. It’s a normal, understandable concern. Here’s how I handled that here: I serve dinner at room temperature from time to time. It sounds crazy, but hear me out… eating a meal at a different temperature at home made my kids much more open minded to eating it that way outside of my home. Bonus: this really comes in handy on those days when I need to make dinner in advance and then tend to a million things before actually serving dinner. Try this with your kids’ favorite foods first. Did my kids complain initially? Not really. They were happy to eat their favorite foods. The best examples of this strategy used in a lunchbox is with pasta and meatballs, or cold pizza. My kids now eat these dishes room temp or cold!

leftover meatballs and pasta

leftover pizza rollups
4. Involve your kids in lunchbox planning
I am all about this tip. My kids are actively involved in the decisions around what’s for lunch. They use the LaLa Lunchbox app (free to download for iOS here) to plan their meals in advance. There are no surprises when they open the lunchbox, and they love that. They decide what to eat and how much, but I decide what to make available for them, so I am always in control.

LaLa Lunchbox app
Have more questions about beating the lunchbox rut? Drop me an email or send me a direct message on Instagram. I’m happy to assist where I can!