Move over nut butters and raspberry, there’s a new Queen in town!

Blueberries and chocolate go together beautifully, and it’s time the two share the spotlight with these delicious mini Blueberry Chocolate Cups! With just 7 ingredients and under 30 minutes to make, gather the kids into the kitchen and watch how quickly the magic of this easy recipe comes together!

Blueberry Chocolate Cup
I love these because they’re naturally sweet, quick to make and perfect for little hands. I designed them to be a frozen treat, but you can keep them in the fridge if you prefer. The chia seeds make the inside a bit jammy, and because dates don’t harden when they freeze, you’ll always have a soft middle on these cups. Did I mention that there’s no added sugar? Score!
I’ve made this recipe with dark chocolate, milk chocolate and white chocolate. My personal preference is dark chocolate, but you’ll have to try them all to see what works best for you!
If you make these and post them, don’t forget to tag me on Instagram and use hashtag #lalalunchbox!

Blueberry Chocolate Cup
Blueberry Chocolate Cups
Ingredients
2 cups chocolate chips
1 tablespoon + 1/2 teaspoon neutral oil, divided
1 6 ounce container of blueberries
4 medjool dates
1/2 teaspoon vanilla extract
Pinch of salt
1 tablespoon chia
Flake salt for the top (optional)
Method
Melt the chocolate chips over a double boiler with 1 tablespoon neutral oil and let it cool for 5 minutes.
Line a mini muffin tin with liners and place a small amount of chocolate in the bottom of each. This will be the bottom of the chocolate cups. Place in the freezer while you complete the next step.
Soak the dates in warm water for 5 minutes. Remove them from the water, cut them into chunks and add to a food processor.
Add blueberries to the food processor and blend together until the large chunks have become small. Add 1/2 teaspoon neutral oil, vanilla and salt and process again.
Place contents into a bowl and add chia seeds. Stir and let that rest for at least 5 minutes.
Take the muffin tin out of the freezer. The chocolate should be relatively hard. Spoon some of the blueberry date mixture into each cup and top with remaining melted chocolate. Sprinkle with flake salt (optional). Place in the freezer again to set.
Store in an airtight container in the freezer for up to 2 months. Because dates don’t freeze, the inside texture will remain soft. Makes 15 mini cups. If you’d like to keep it at 12, use the leftover blueberry date sauce on sandwiches.
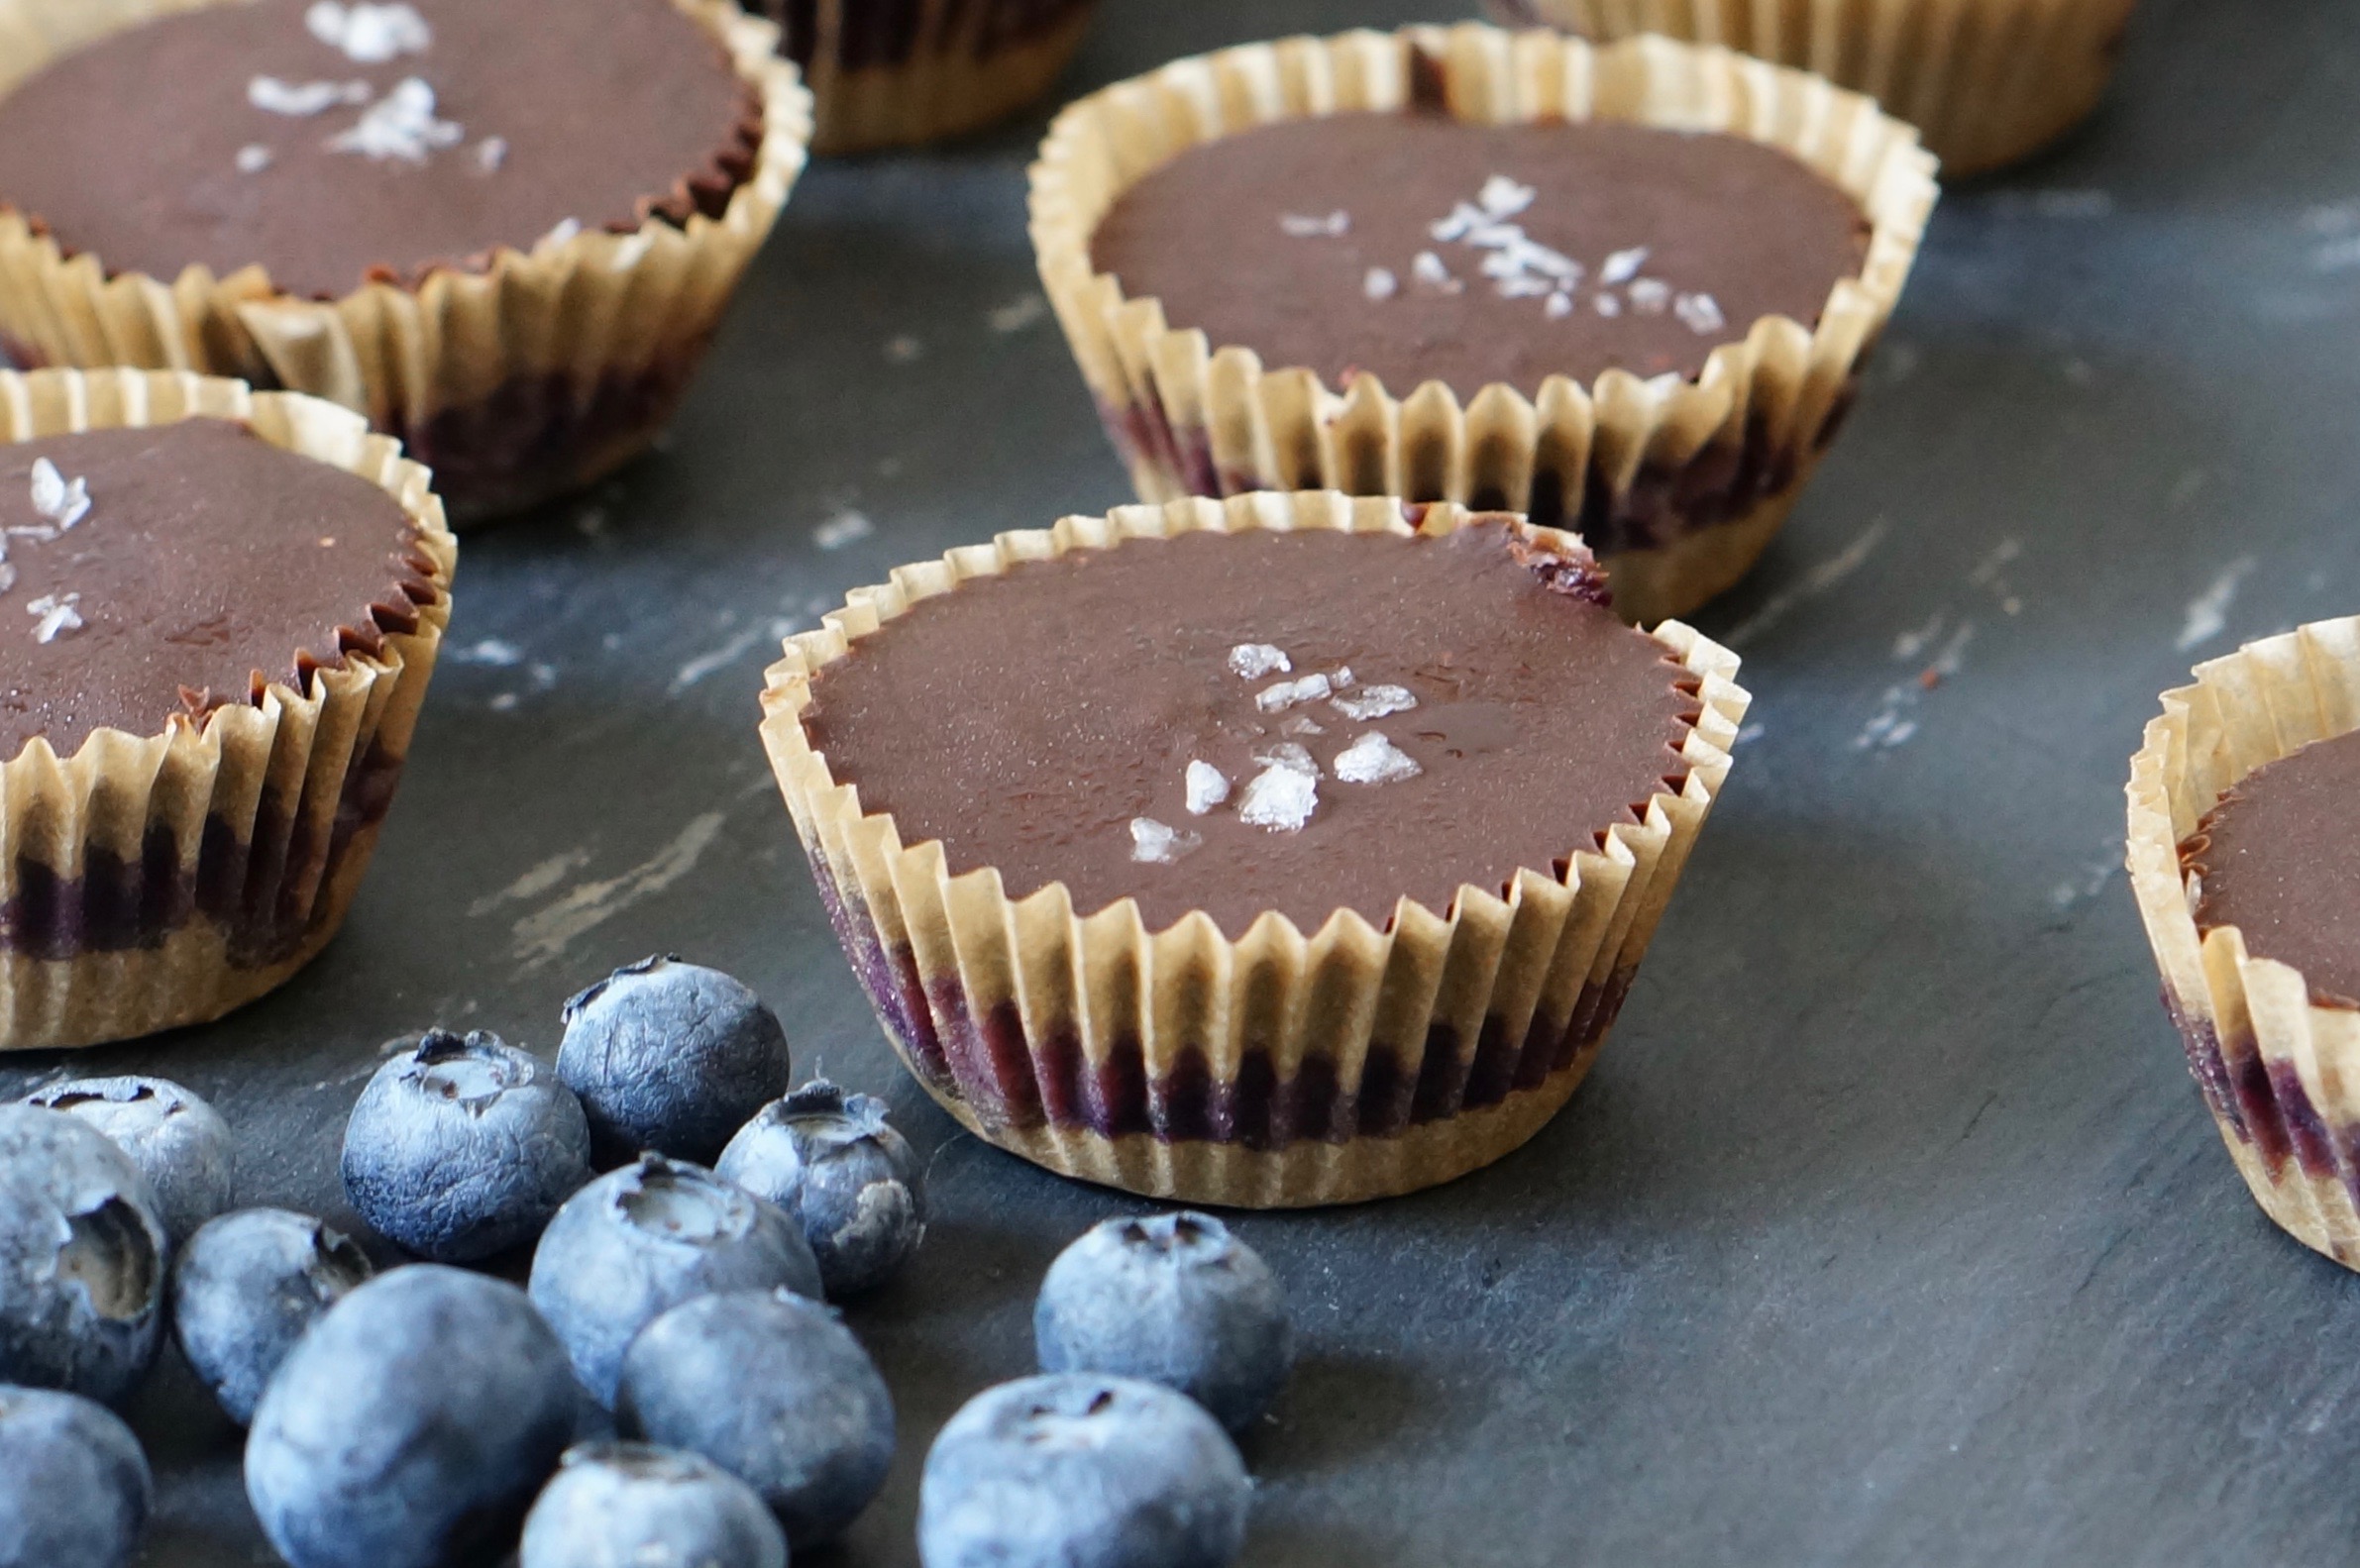
Blueberry Chocolate Cups