Contrary to the last several posts, this blog is not becoming a dessert blog!

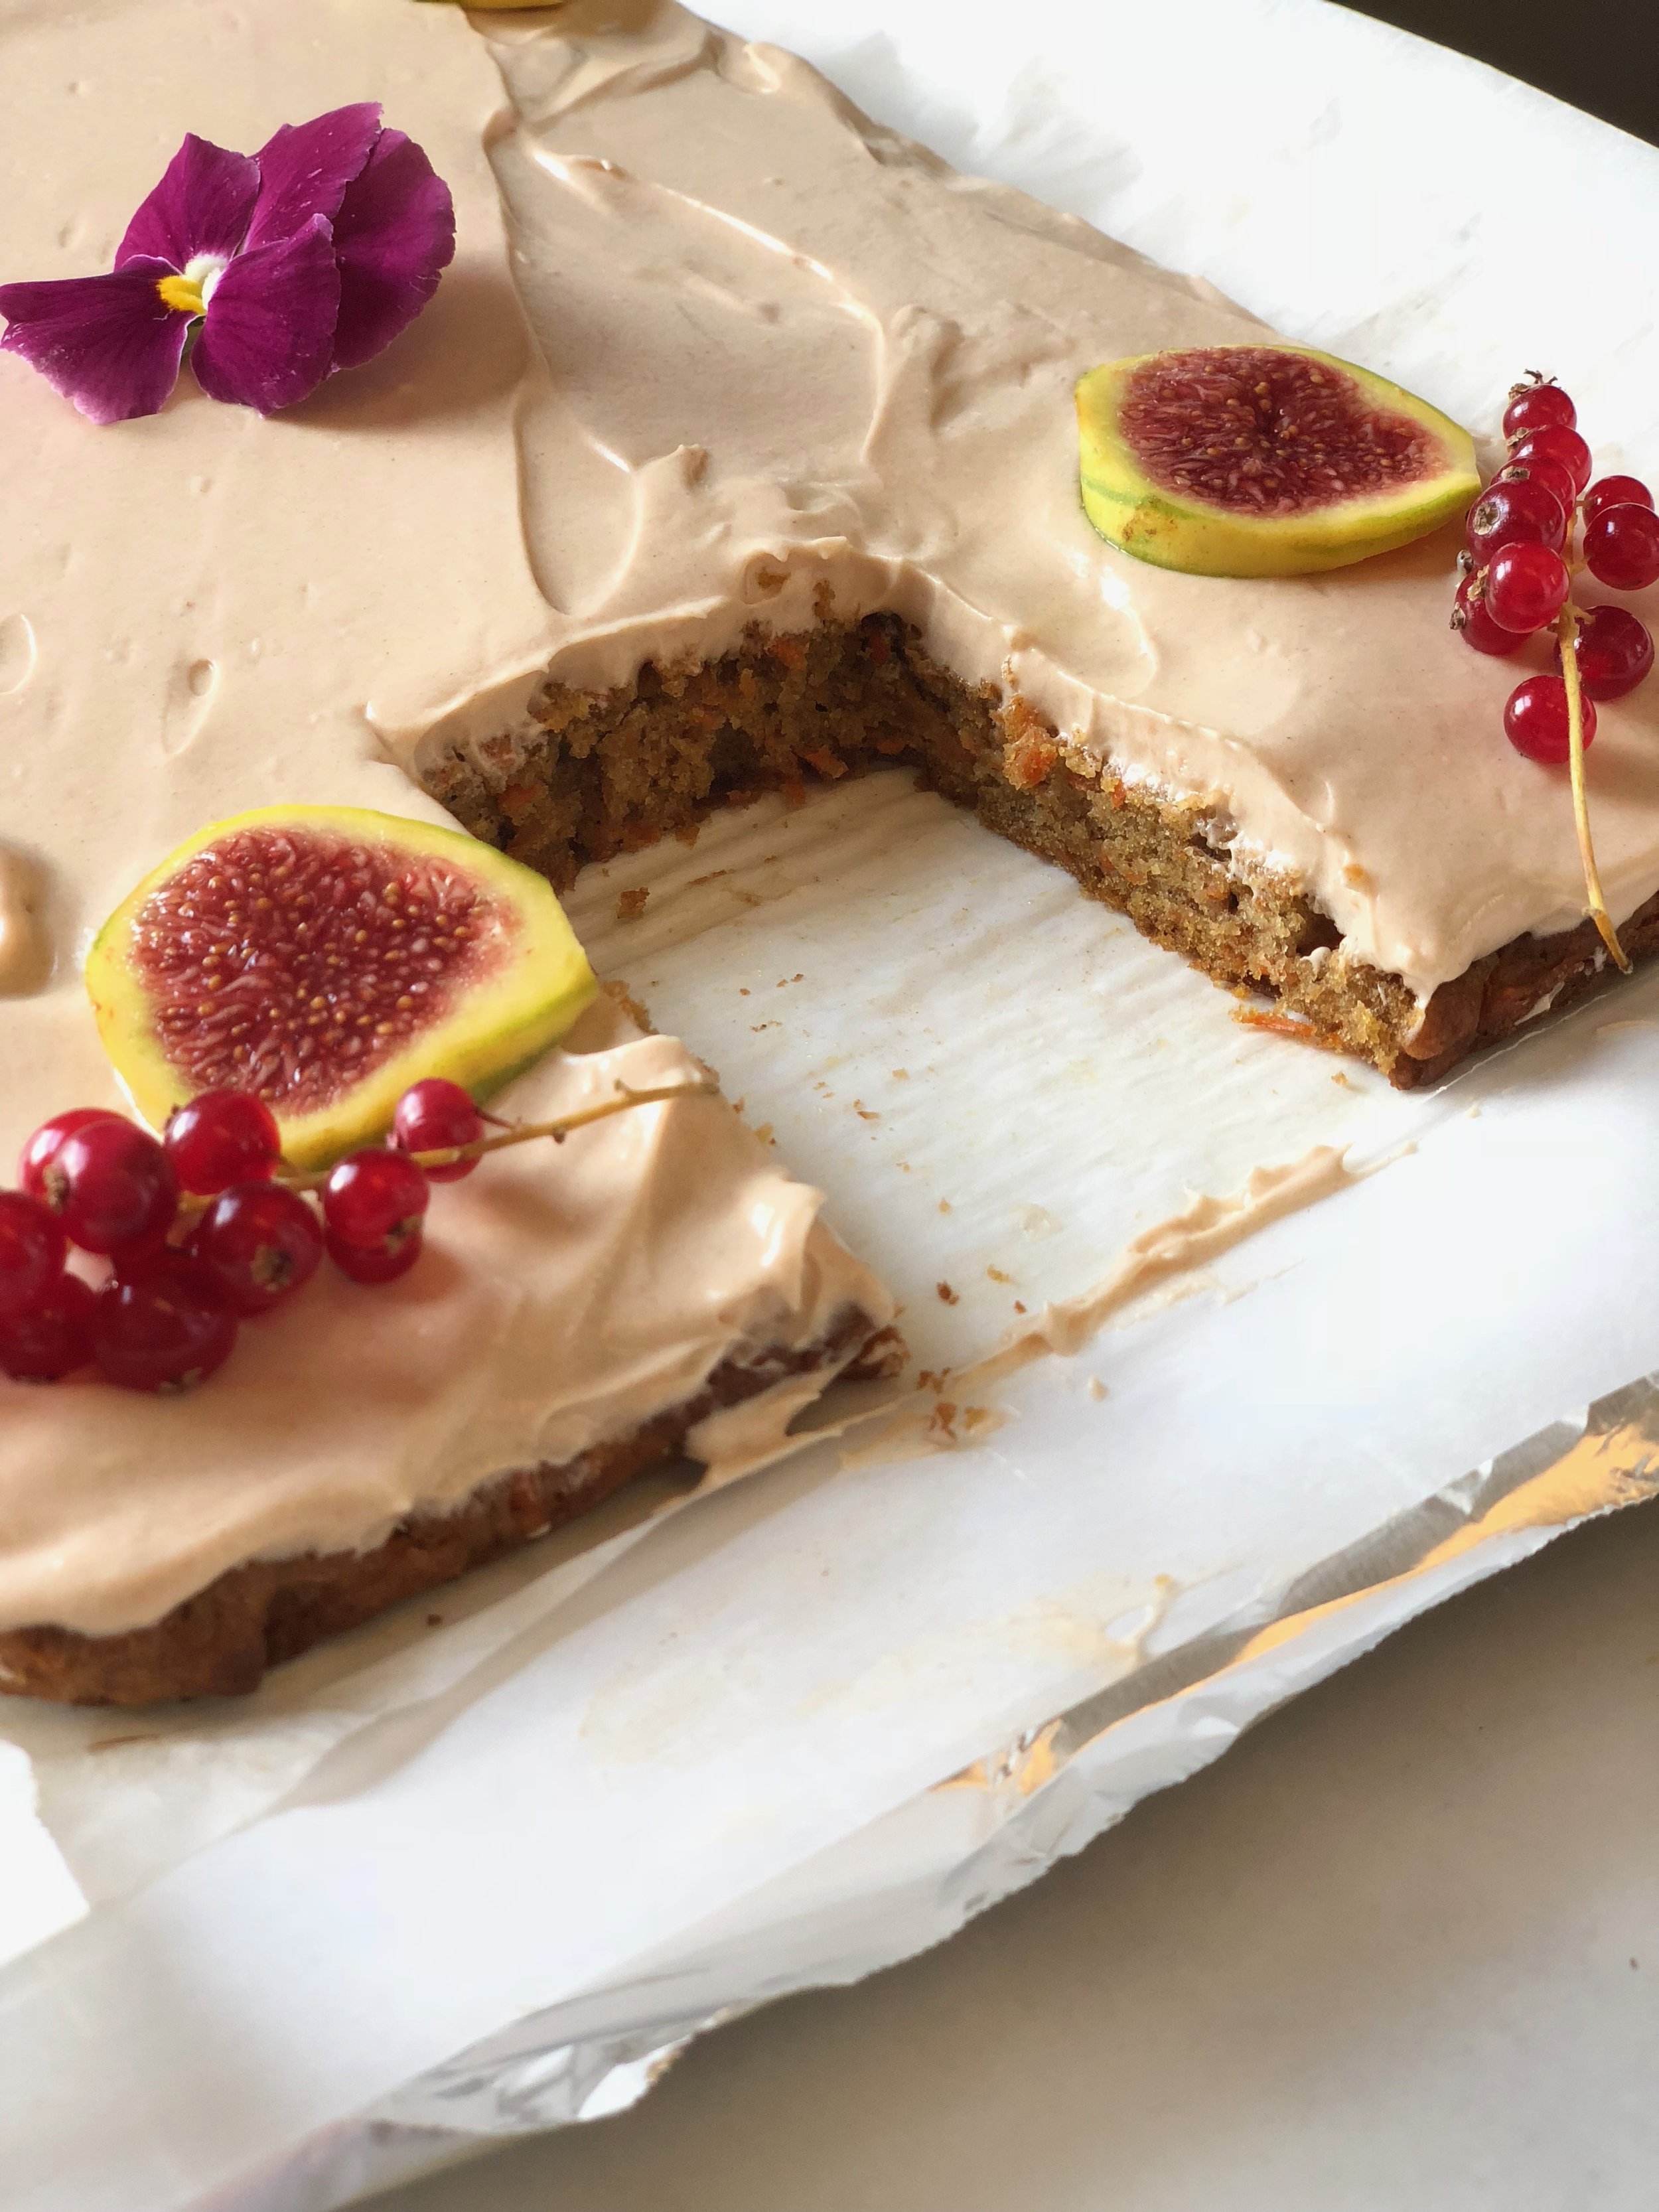
But sometimes there's a lot to celebrate, and that's a good thing. We love to celebrate the first day of school with cake, and each year my kids choose what kind of cake they'd like. Normally there's a fair amount of bickering that goes into that, but this year, the kids settled on carrot cake pretty quickly!
Carrot cake is rarely something that we have, because it's usually loaded with walnuts, and I'm deathly allergic. So in order to eat carrot cake, it has to be homemade. I have a vegan recipe that I've been using for years, but I I began tinkering with the recipe when the mood struck for carrot cake but I didn't have all of the ingredients on hand.
The end result is still a nut free delicious cake, with subtle carrot flavor and lots of flavor companionship from cinnamon and allspice. But this recipe is moist and rich thanks to buttermilk, and there was absolutely no need to even add egg to it! What I also love about this cake is that it's decadent, the way a cake should be (it is dessert, after all!) but the added sugar isn't through the roof. The entire cake has 1/3 cup, which equals 16 teaspoons. We usually cut this cake into 15 pieces, so the amount of sugar per slice is just about one teaspoon.

Anyway, sugar calculations aside, dessert is dessert. And while I wouldn't try to pass this off as breakfast, it didn't leave me with that overwhelming cloyingly sweet sensation, which I greatly appreciate. This was absolutely perfect for our back to school celebration!
Nut Free Carrot Cake

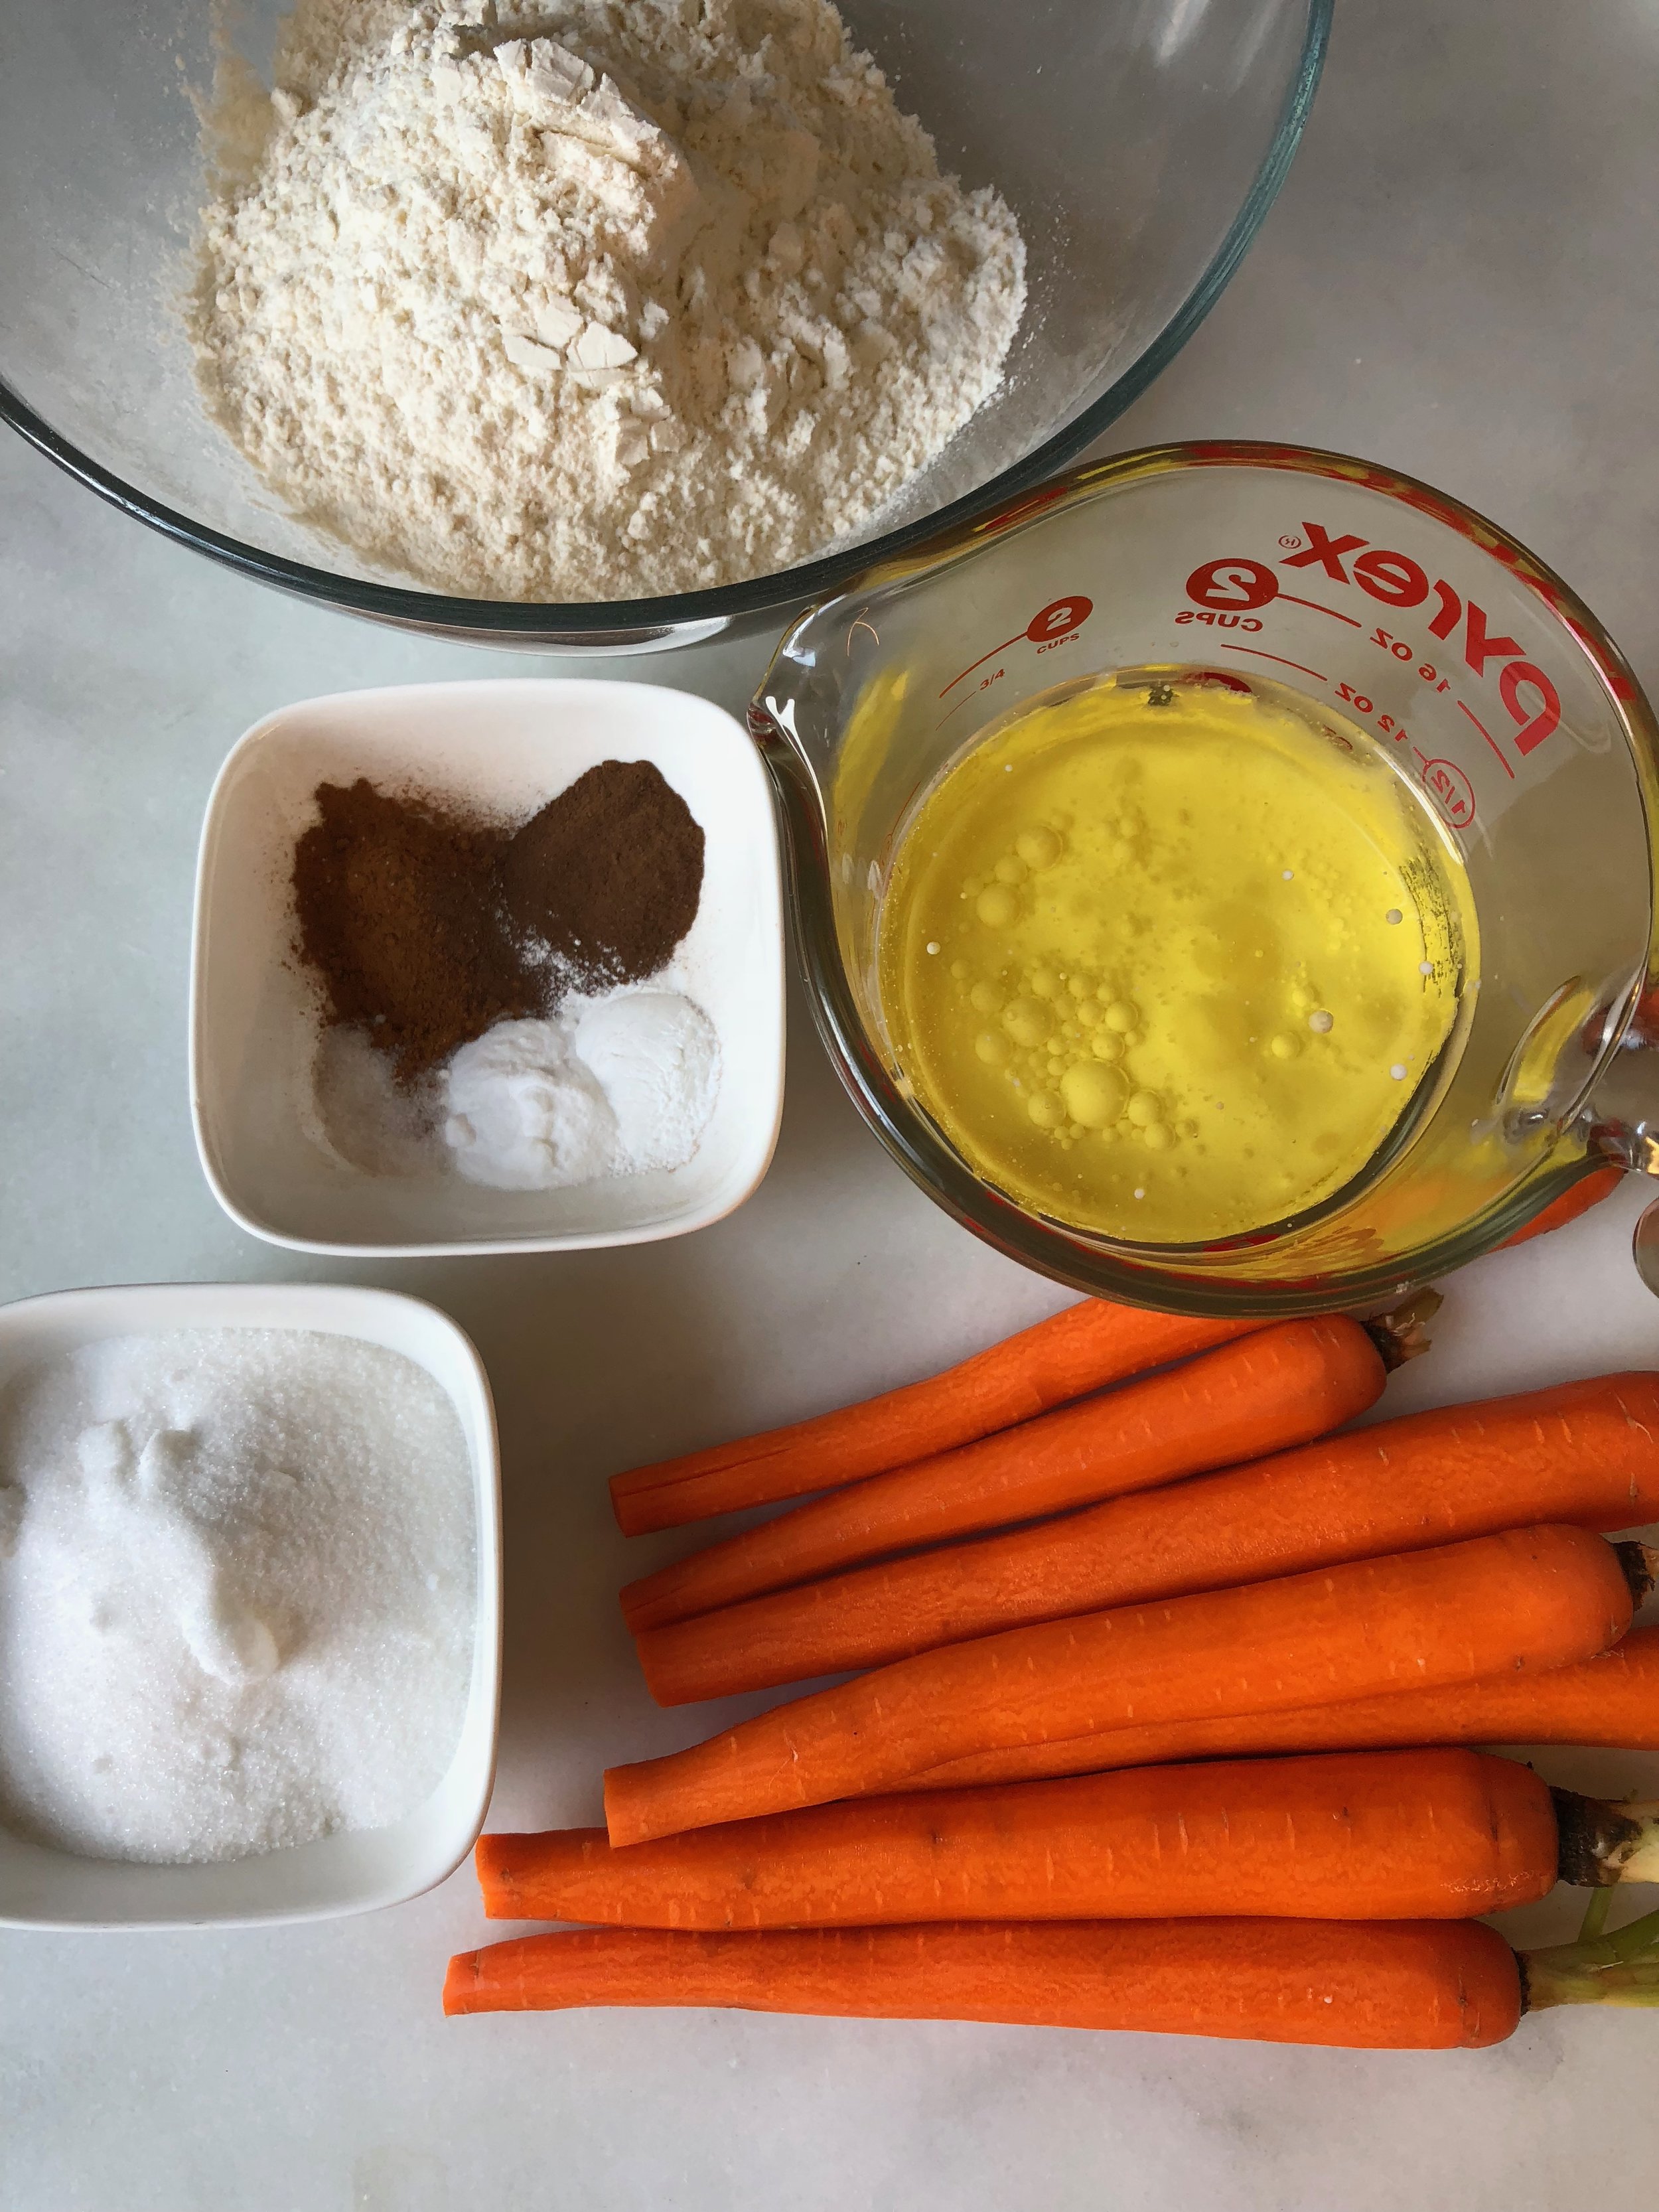
Ingredients
3 cups of grated carrots
1/3 cup sugar
2 teaspoons vanilla extract
3/4 cup buttermilk
2/3 cup grapeseed oil or neutral oil
2 1/4 cup cake flour
1 teaspoon baking powder
1 teaspoon baking soda
1/2 teaspoon salt
2 teaspoons cinnamon, plus extra for dusting the top
1 teaspoon allspice
Method
1. Preheat the oven to 350.
2. Grease a 9x13 inch rectangular pan and line it with parchment paper.
3. In a large bowl, mix the dry ingredients: flour, baking powder, baking soda, salt, cinnamon and allspice.
4. In a separate bowl, thoroughly combine the carrots, sugar, vanilla, buttermilk and oil.
5. Gently fold in the wet ingredients with the dry ingredients.
6. Spoon the batter into the cake pan.
7. Bake for approximately 32-35 minutes or until a cake tester comes out clean.
8. Once cool, spread with cream cheese frosting (recipe below) on top and dust with cinnamon (optional) or decorate as you'd like.
*this recipe makes one 9x13 cake
Cream Cheese Frosting
Ingredients
8 ounces of cream cheese (softened)
4 tablespoons of unsalted butter (softened)
1 teaspoon vanilla extract
1 1/2 cups confectioners sugar (sifted)
2 teaspoons cinnamon
1 teaspoon ground ginger
Method
Combine cream cheese and butter and vanilla extract in a bowl and mix with either a hand mixer or a standing mixer. If the cream cheese and butter are soft enough (note: do not melt them!) you can do this by hand.
Slowly add the confectioners sugar. It's much better sifted, as confectioners sugar tends to have lumps, but that said, sifting is annoying and time consuming, so I get that you'll want to skip that part. And that's okay. Make sure then, that you continue to beat until all lumps are gone. Add the cinnamon and ground ginger and thoroughly combine.
Spread on the carrot cake once cooled.
* you may have extra frosting... save it! You never know when it could come in handy!