‘Tis the season when mangoes are starting to crop up everywhere and I couldn’t be happier! Ataulfo mangoes captured my heart years ago, and I look forward to their return every year. I can eat one every day, if given the opportunity. You too?

Mango Salad
Mango
I developed this Mango Salad because I love mango salsa, and really wanted to just eat it with a fork. You know what I mean? That’s the situation here, and it’s incredibly satisfying. Feel free to eat this with a spoon, a fork, with chips, in a lettuce wrap, on avocado toast, whatever. The recipe is versatile. If you give this recipe a try, tag me @lalalunchbox.

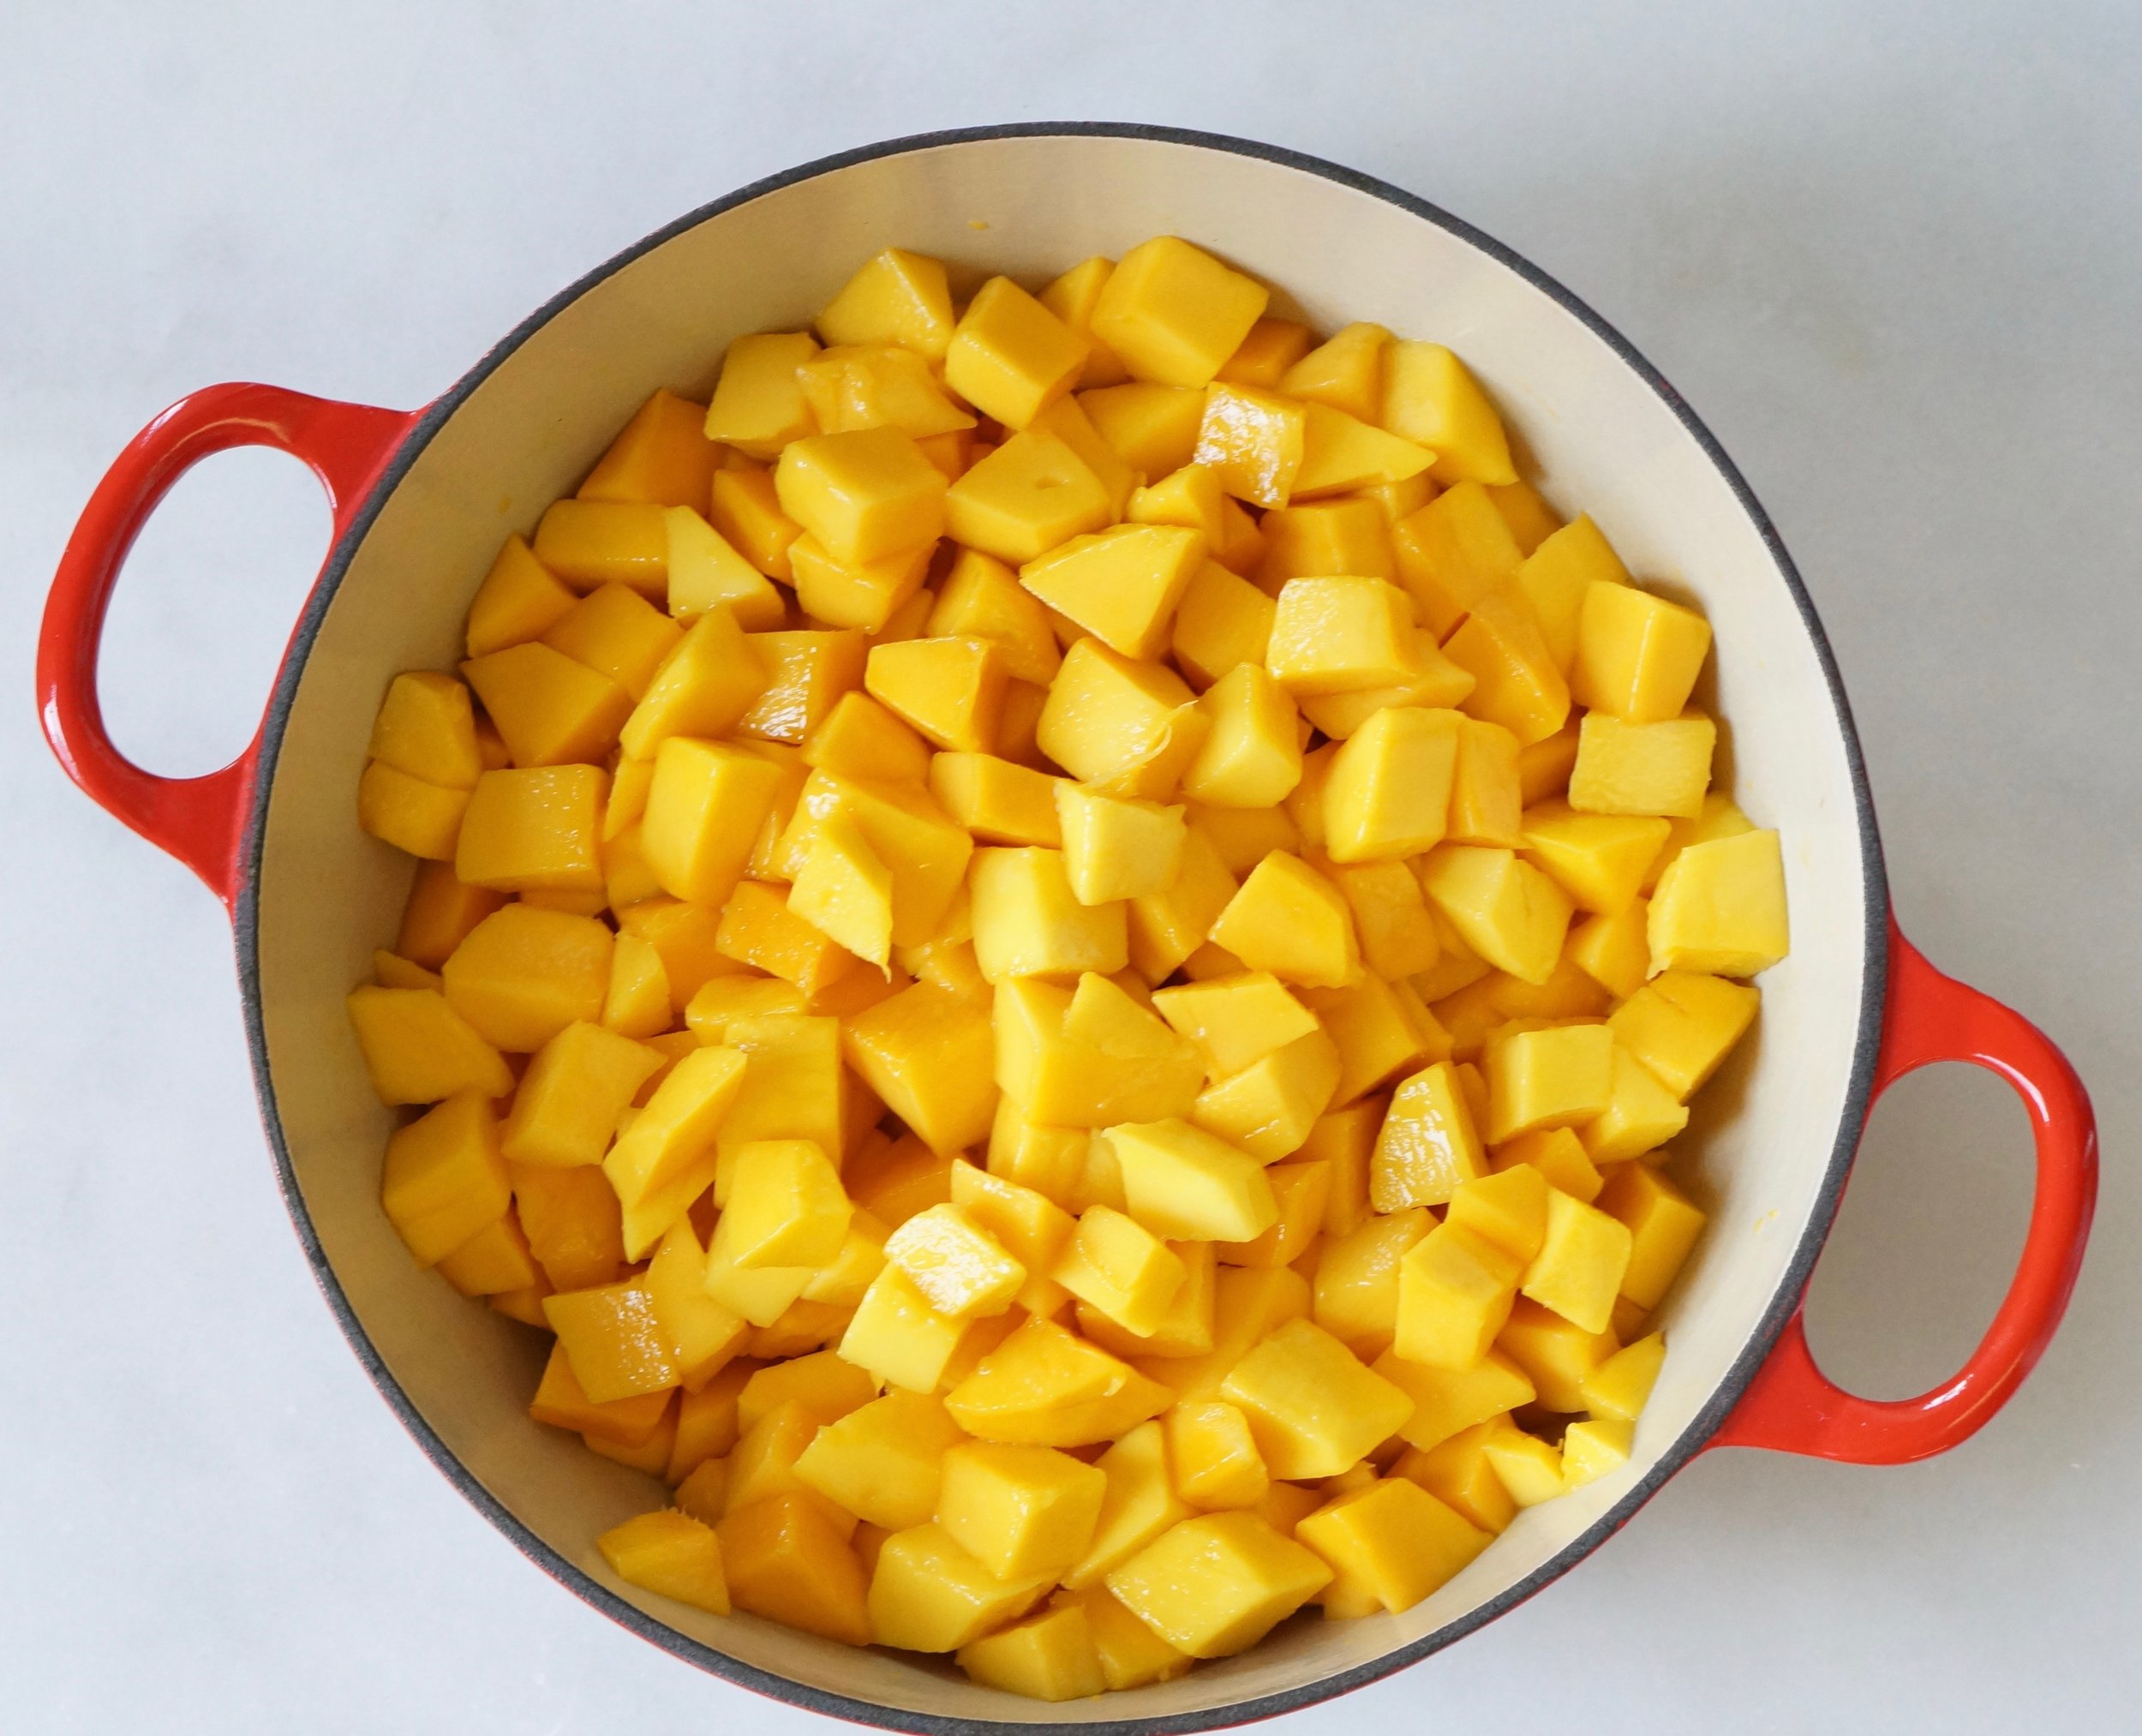
Mango Salad ingredients
MANGO SALAD
6 cups champagne/Ataulfo mangoes cut into 1 inch cubes (from 8 mangoes)
1 cup diced red onions
1/2 cup fresh squeezed lime juice
1 cup chopped parsley
1/2 cup chopped cilantro
1 tablespoon diced jalapeño (or to taste)
1/2 teaspoon flake salt
1/2 teaspoon lime zest
fresh cracked pepper to taste
Chop the mangoes and place them into a large bowl. In a separate bowl, add the chopped red onions and lime juice. Let that sit for at least 5 minutes so that the acid from the lime juice mellows the bite of the onion slightly. While that sits, add the chopped parsley and chopped cilantro to the mango, as well as the chopped jalapeño, if using. Combine thoroughly. Incorporate the lime-onions. Add salt, lime zest and cracked pepper and combine again. Eat immediately or store in the refrigerator for up to 3 days. The longer this sits, the more intense the flavors will become.