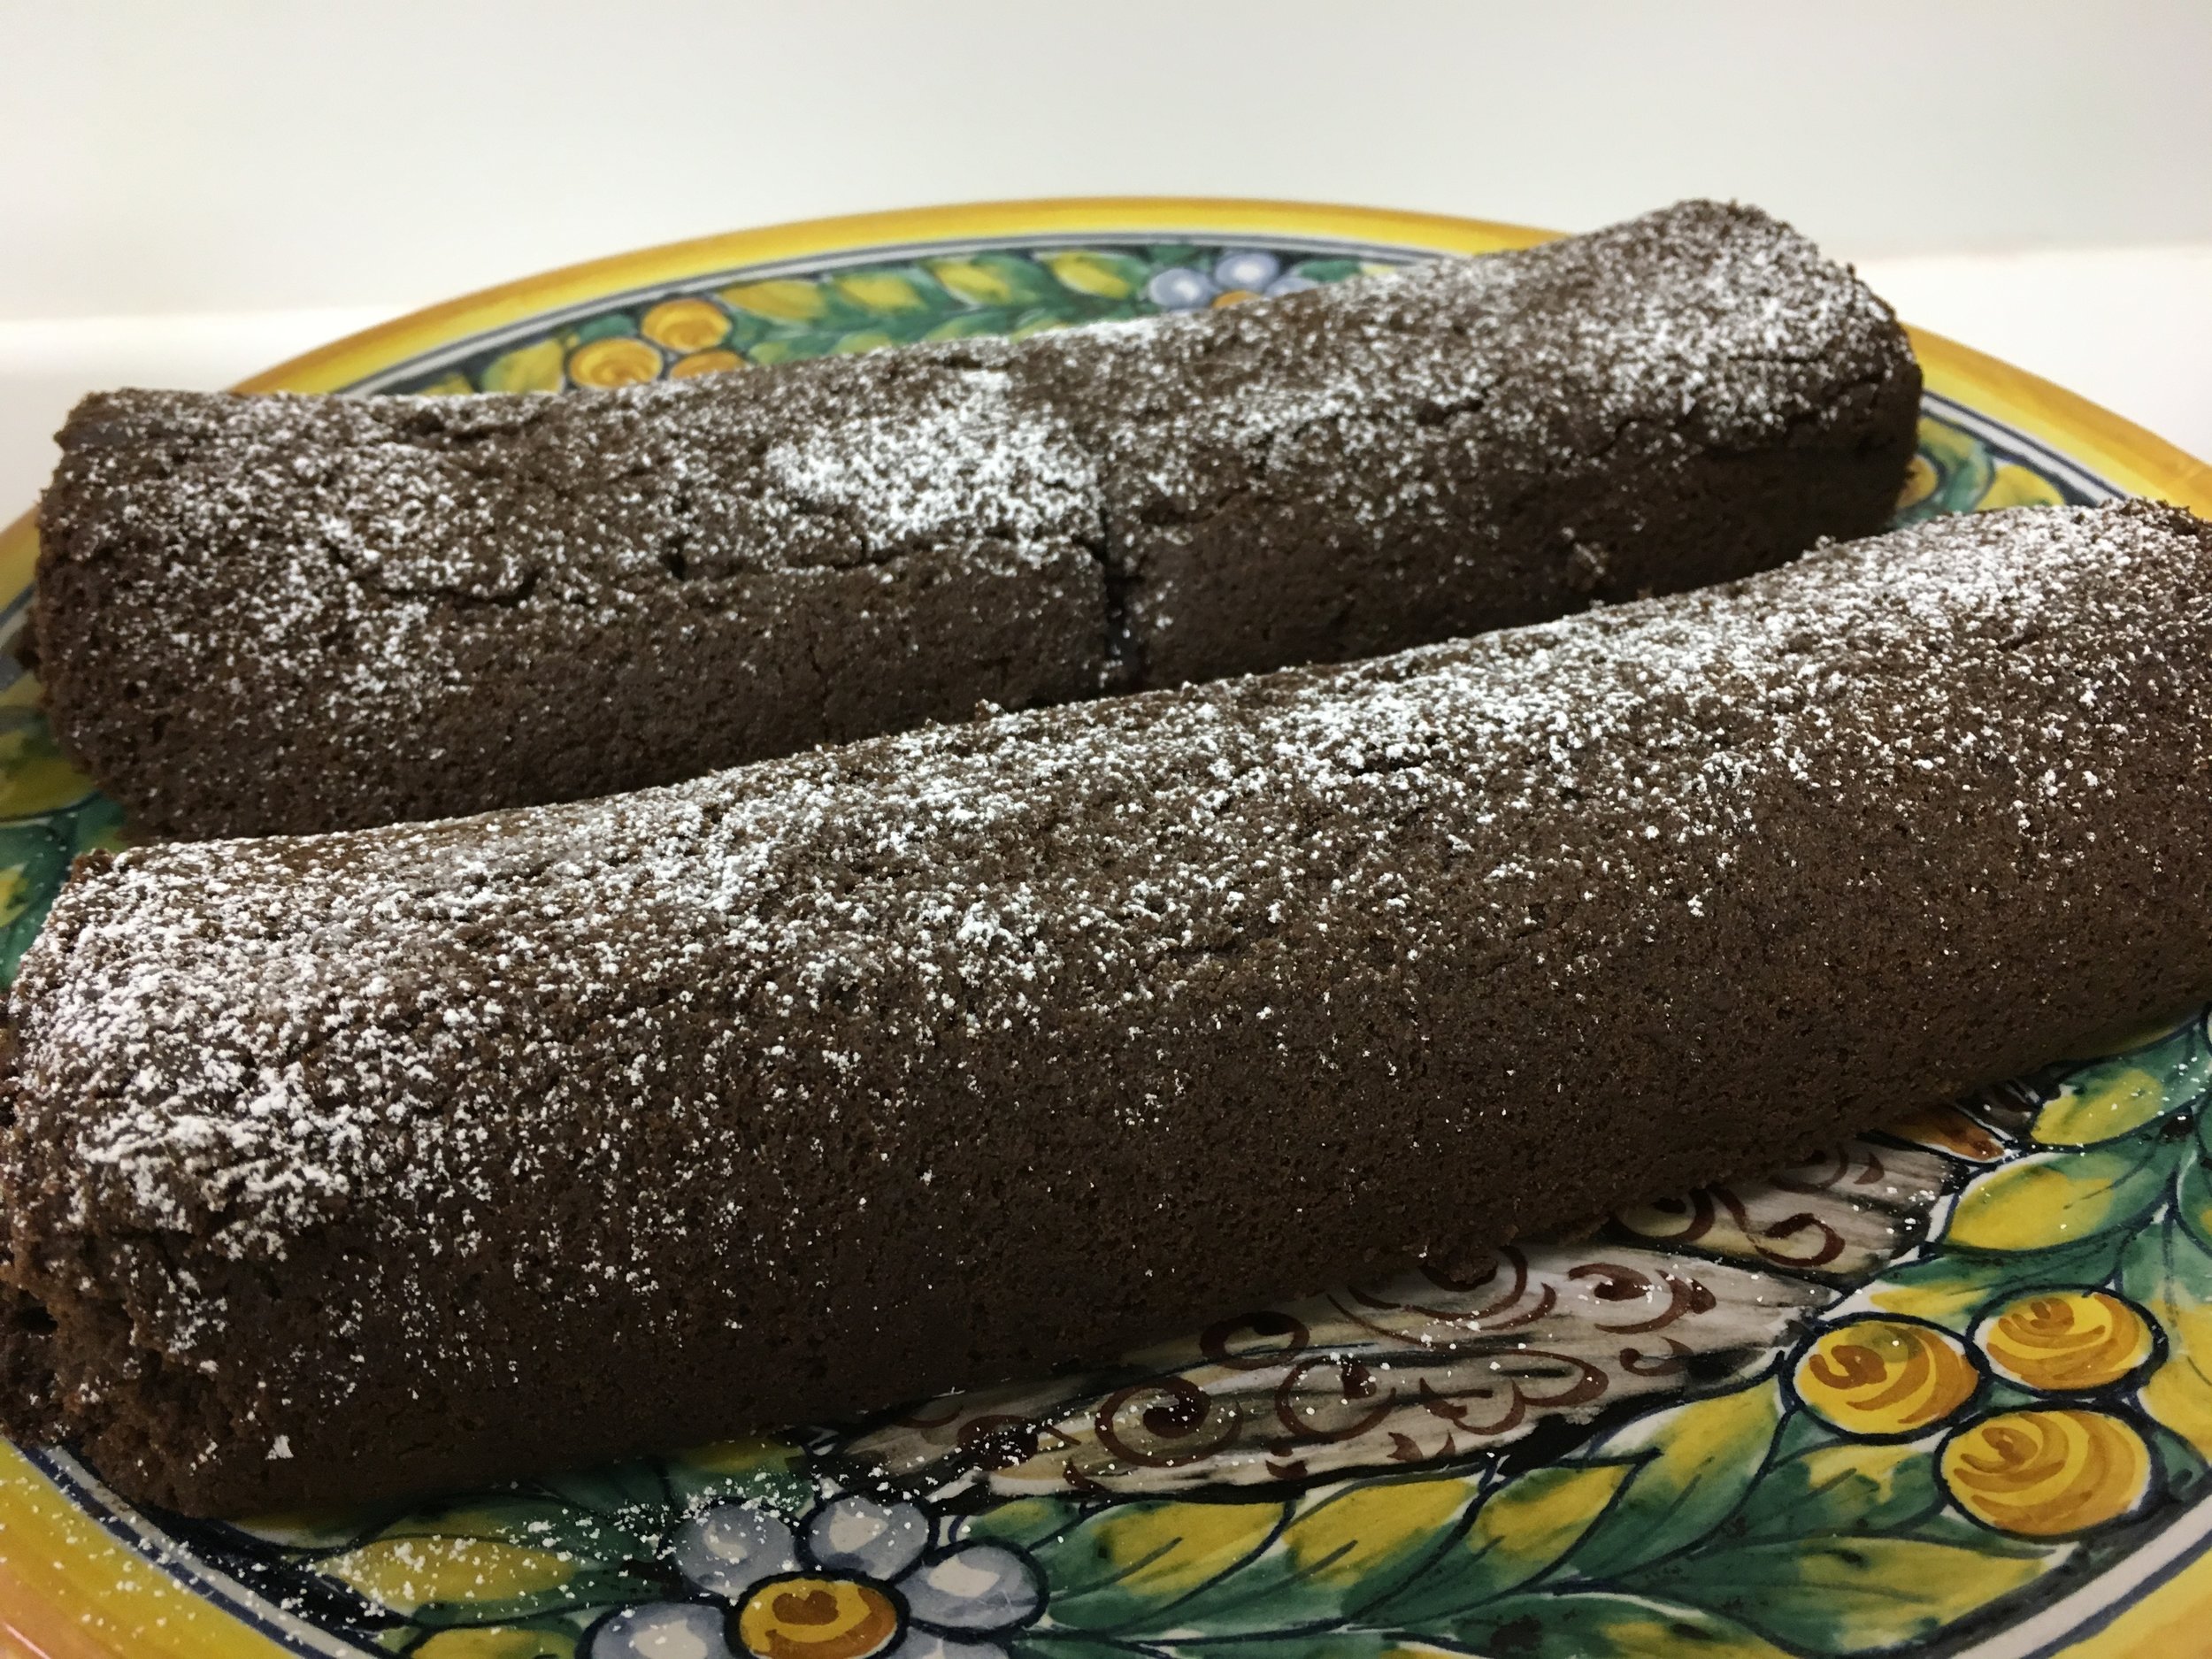
I’ve always been a big birthday fan. When I was a kid, I used to count down the days to my birthday starting about six weeks before the big day. I can vividly remember the birthday cakes that my mom would make. Delicious chocolate rolls with raspberry jam. White cake with ballerinas whose skirts were made of more cake and gorgeously decorated frosting. Go big or go home, right?
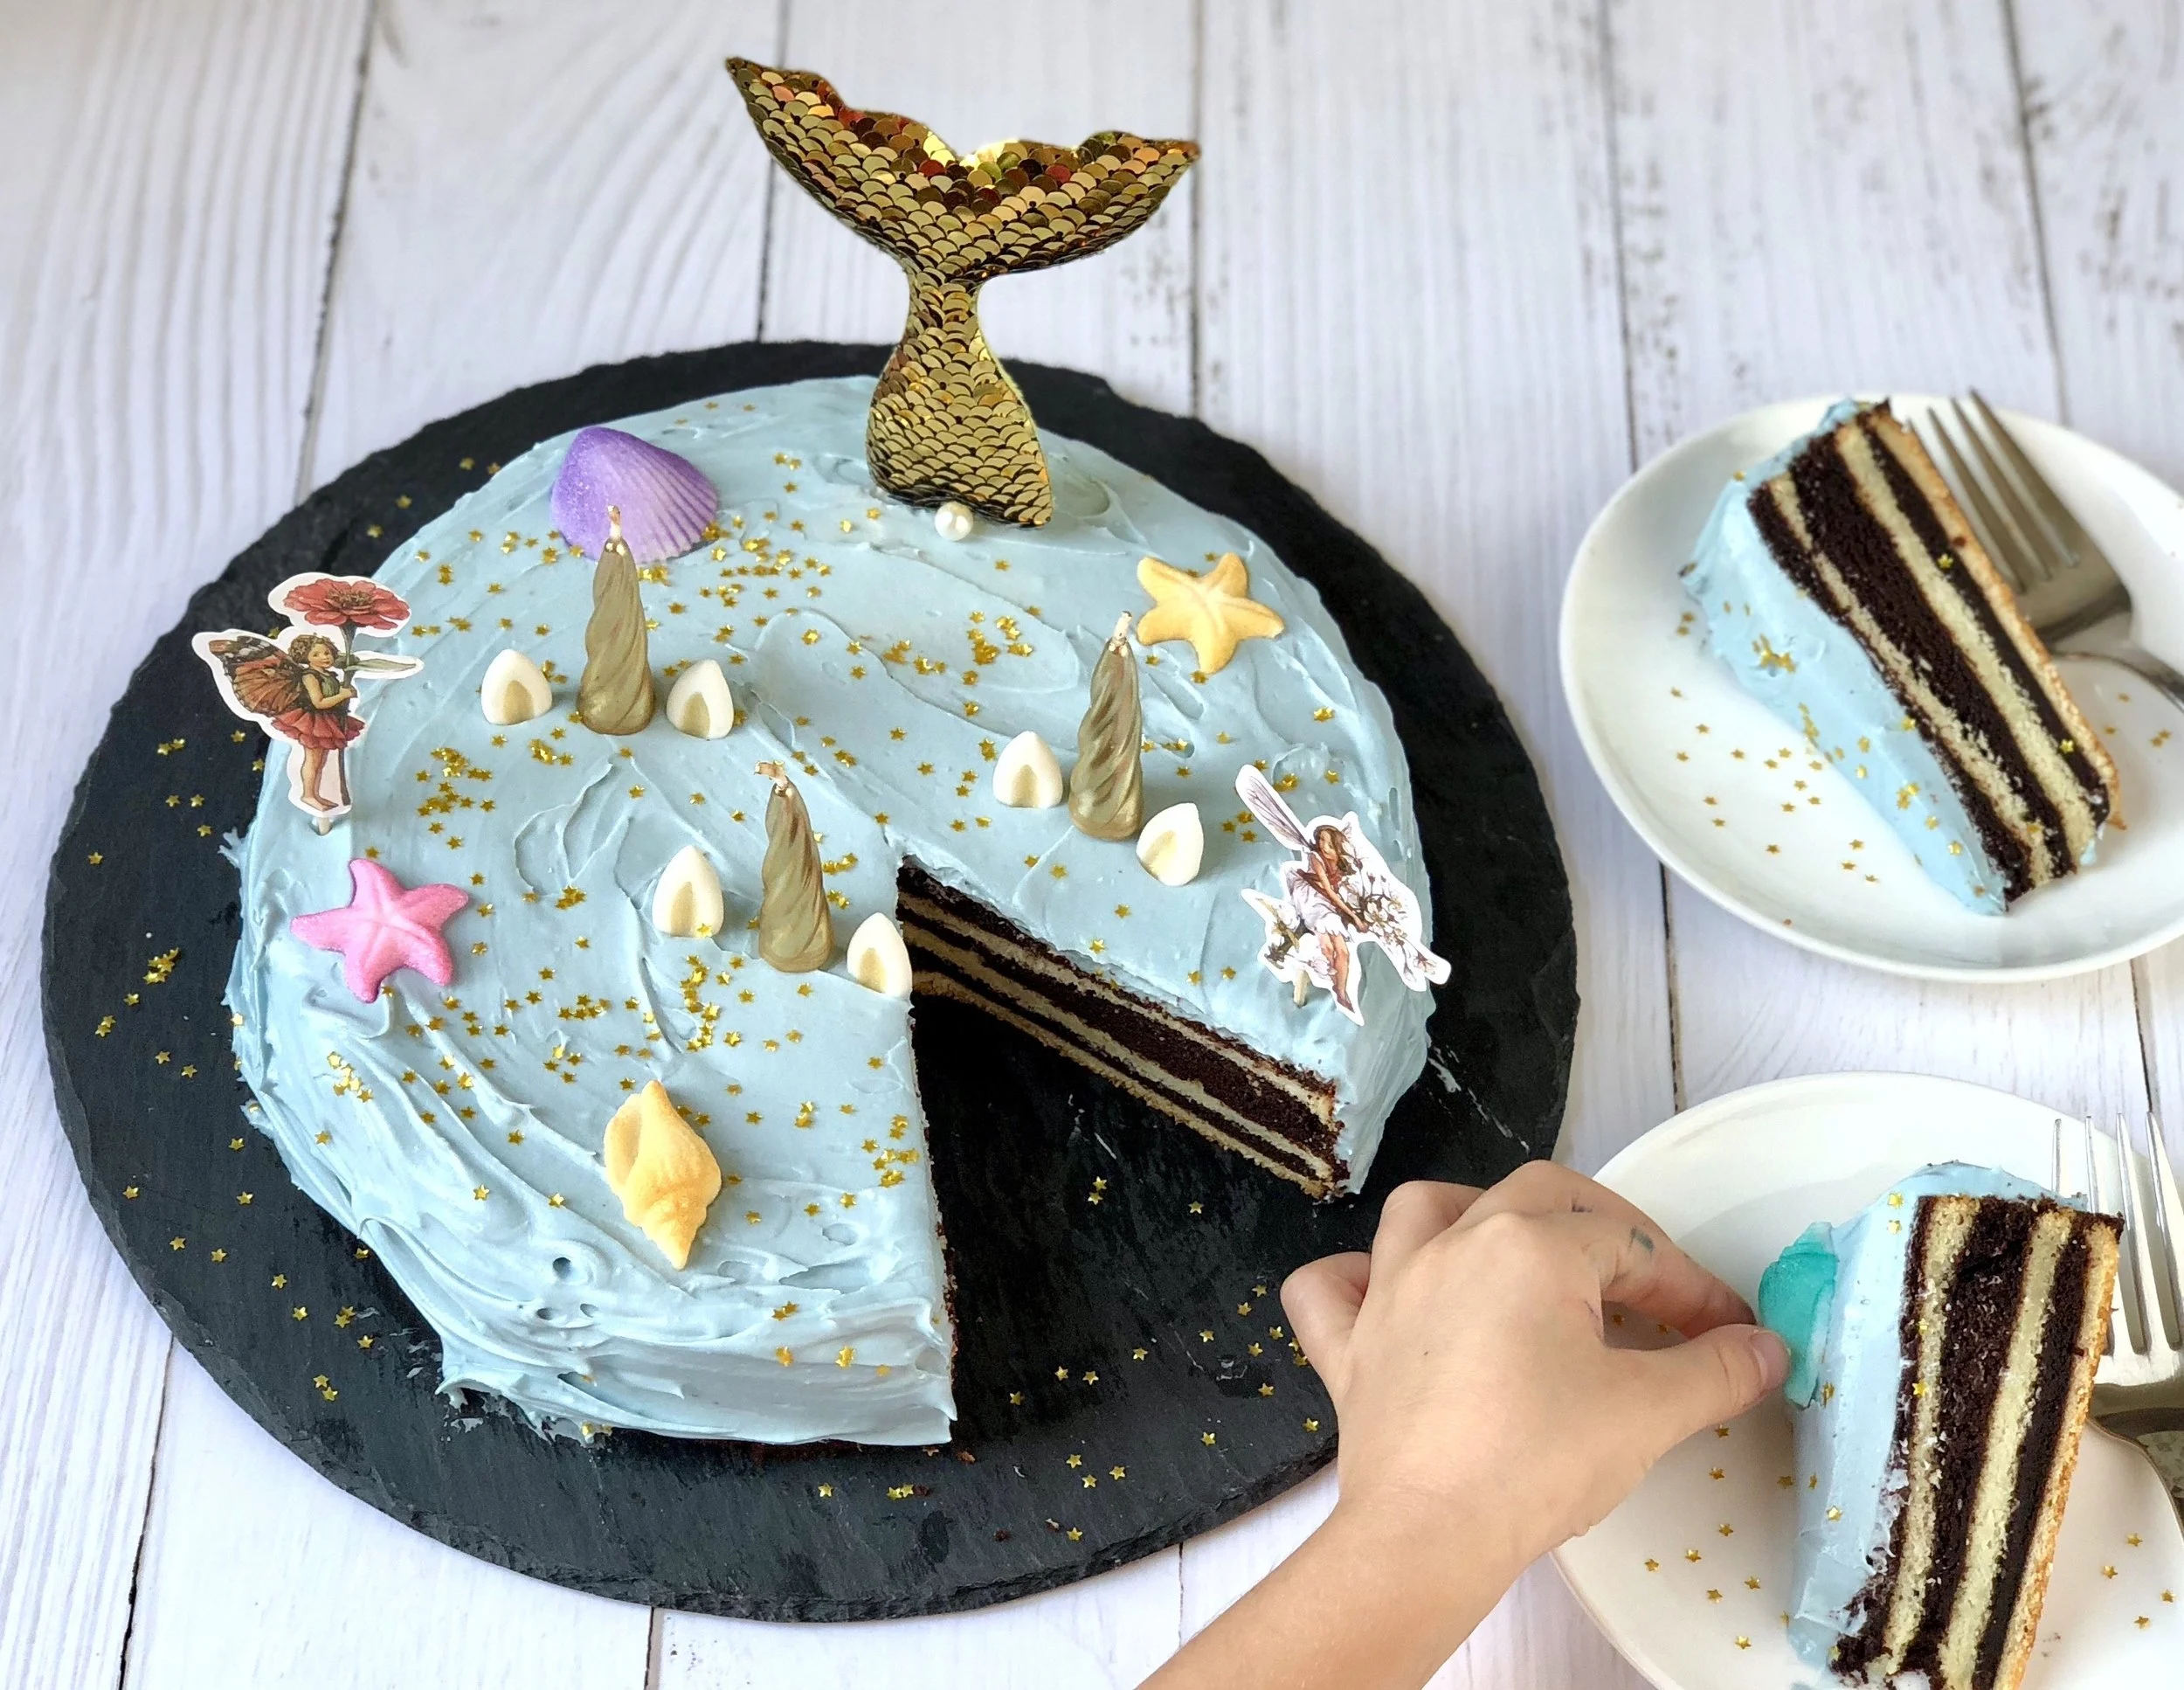
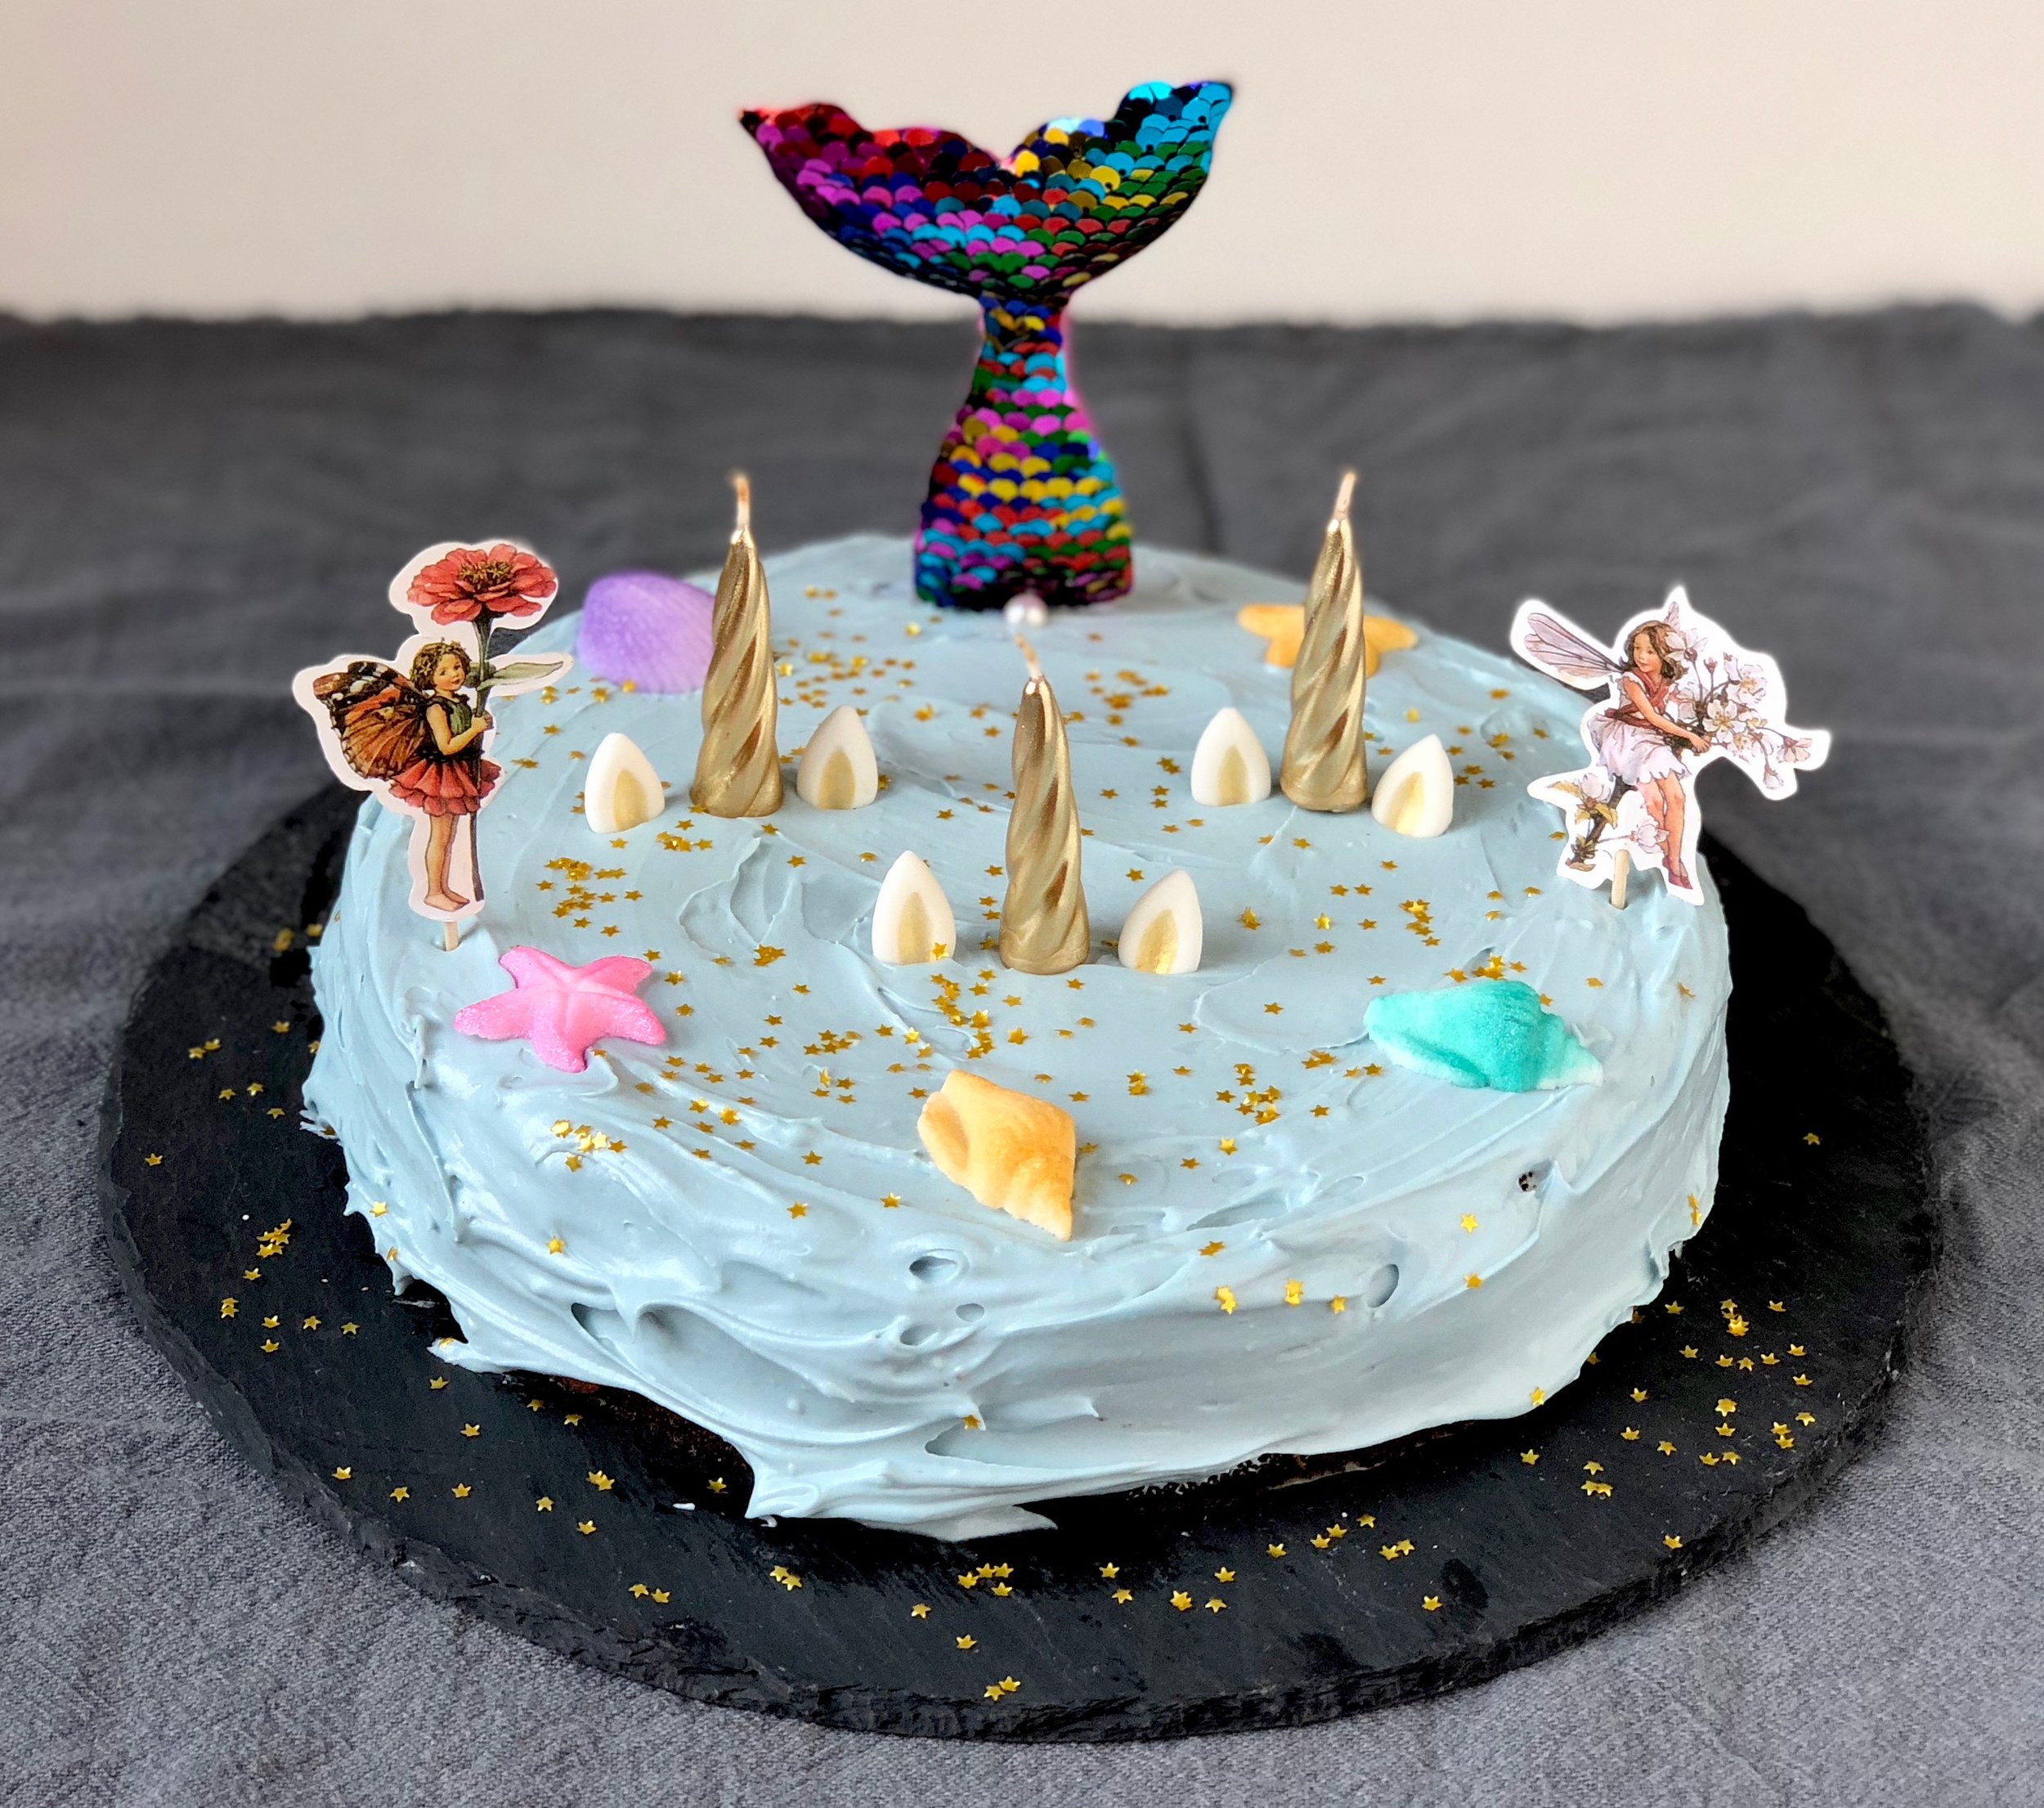
unicorn fairy mermaid cake
Birthdays provide the opportunity to celebrate the day my kids were born and marvel at all the time that has passed since that day. My kids love to hear the stories about the day they were born, and I love to retell it! Birthdays absolutely deserve special attention in my book, and it delights me to pass that tradition on to my kids.
When my youngest daughter said she wanted a unicorn fairy mermaid birthday cake for her upcoming 6th birthday, I was excited! Daunted, sure. But excited. She told me what she wanted just about 6 weeks before her birthday… yep, this kid is a direct descendent! Unusually, she couldn’t decide whether she wanted a vanilla cake or a chocolate cake. So I decided to make a striped cake! I ordered a bunch of awesome cake props from Amazon, and set to work to master a layer cake that didn’t require separate layers. I wanted a cake striped with chocolate and vanilla, but baked in one pan. Less cleanup! This took time and patience, and quite frankly, though I’ve now made this many times, the layers still don’t come out perfectly every time. This is real life.
That said, having solid recipes for both the white cake and the chocolate cake are absolutely essential. No matter what the stripes look like, it should taste great! I used this tried and true white cake recipe for the vanilla cake. It’s my go-to for white cake and it has never, ever failed me. Trust me when I say you’ll want to bookmark that one. I’ve included the recipe for my chocolate cake below, as well as the instructions to make a striped cake.

I hope you give this a try! If you make this and post it on Instagram, please tag @lalalunchbox and #lalalunchbox so I’m sure to see it!
Chocolate Birthday Cake
Ingredients

1 cup all purpose flour
1 cup sugar
1/2 cup + 1 tablespoon unsweetened cocoa powder
3/4 teaspoon baking powder
3/4 teaspoon baking soda
1/2 teaspoon salt
1 large egg
1/2 cup buttermilk
1/4 cup avocado or neutral oil
2 teaspoons vanilla extract
1/2 c coffee
Prepare the Chocolate Cake
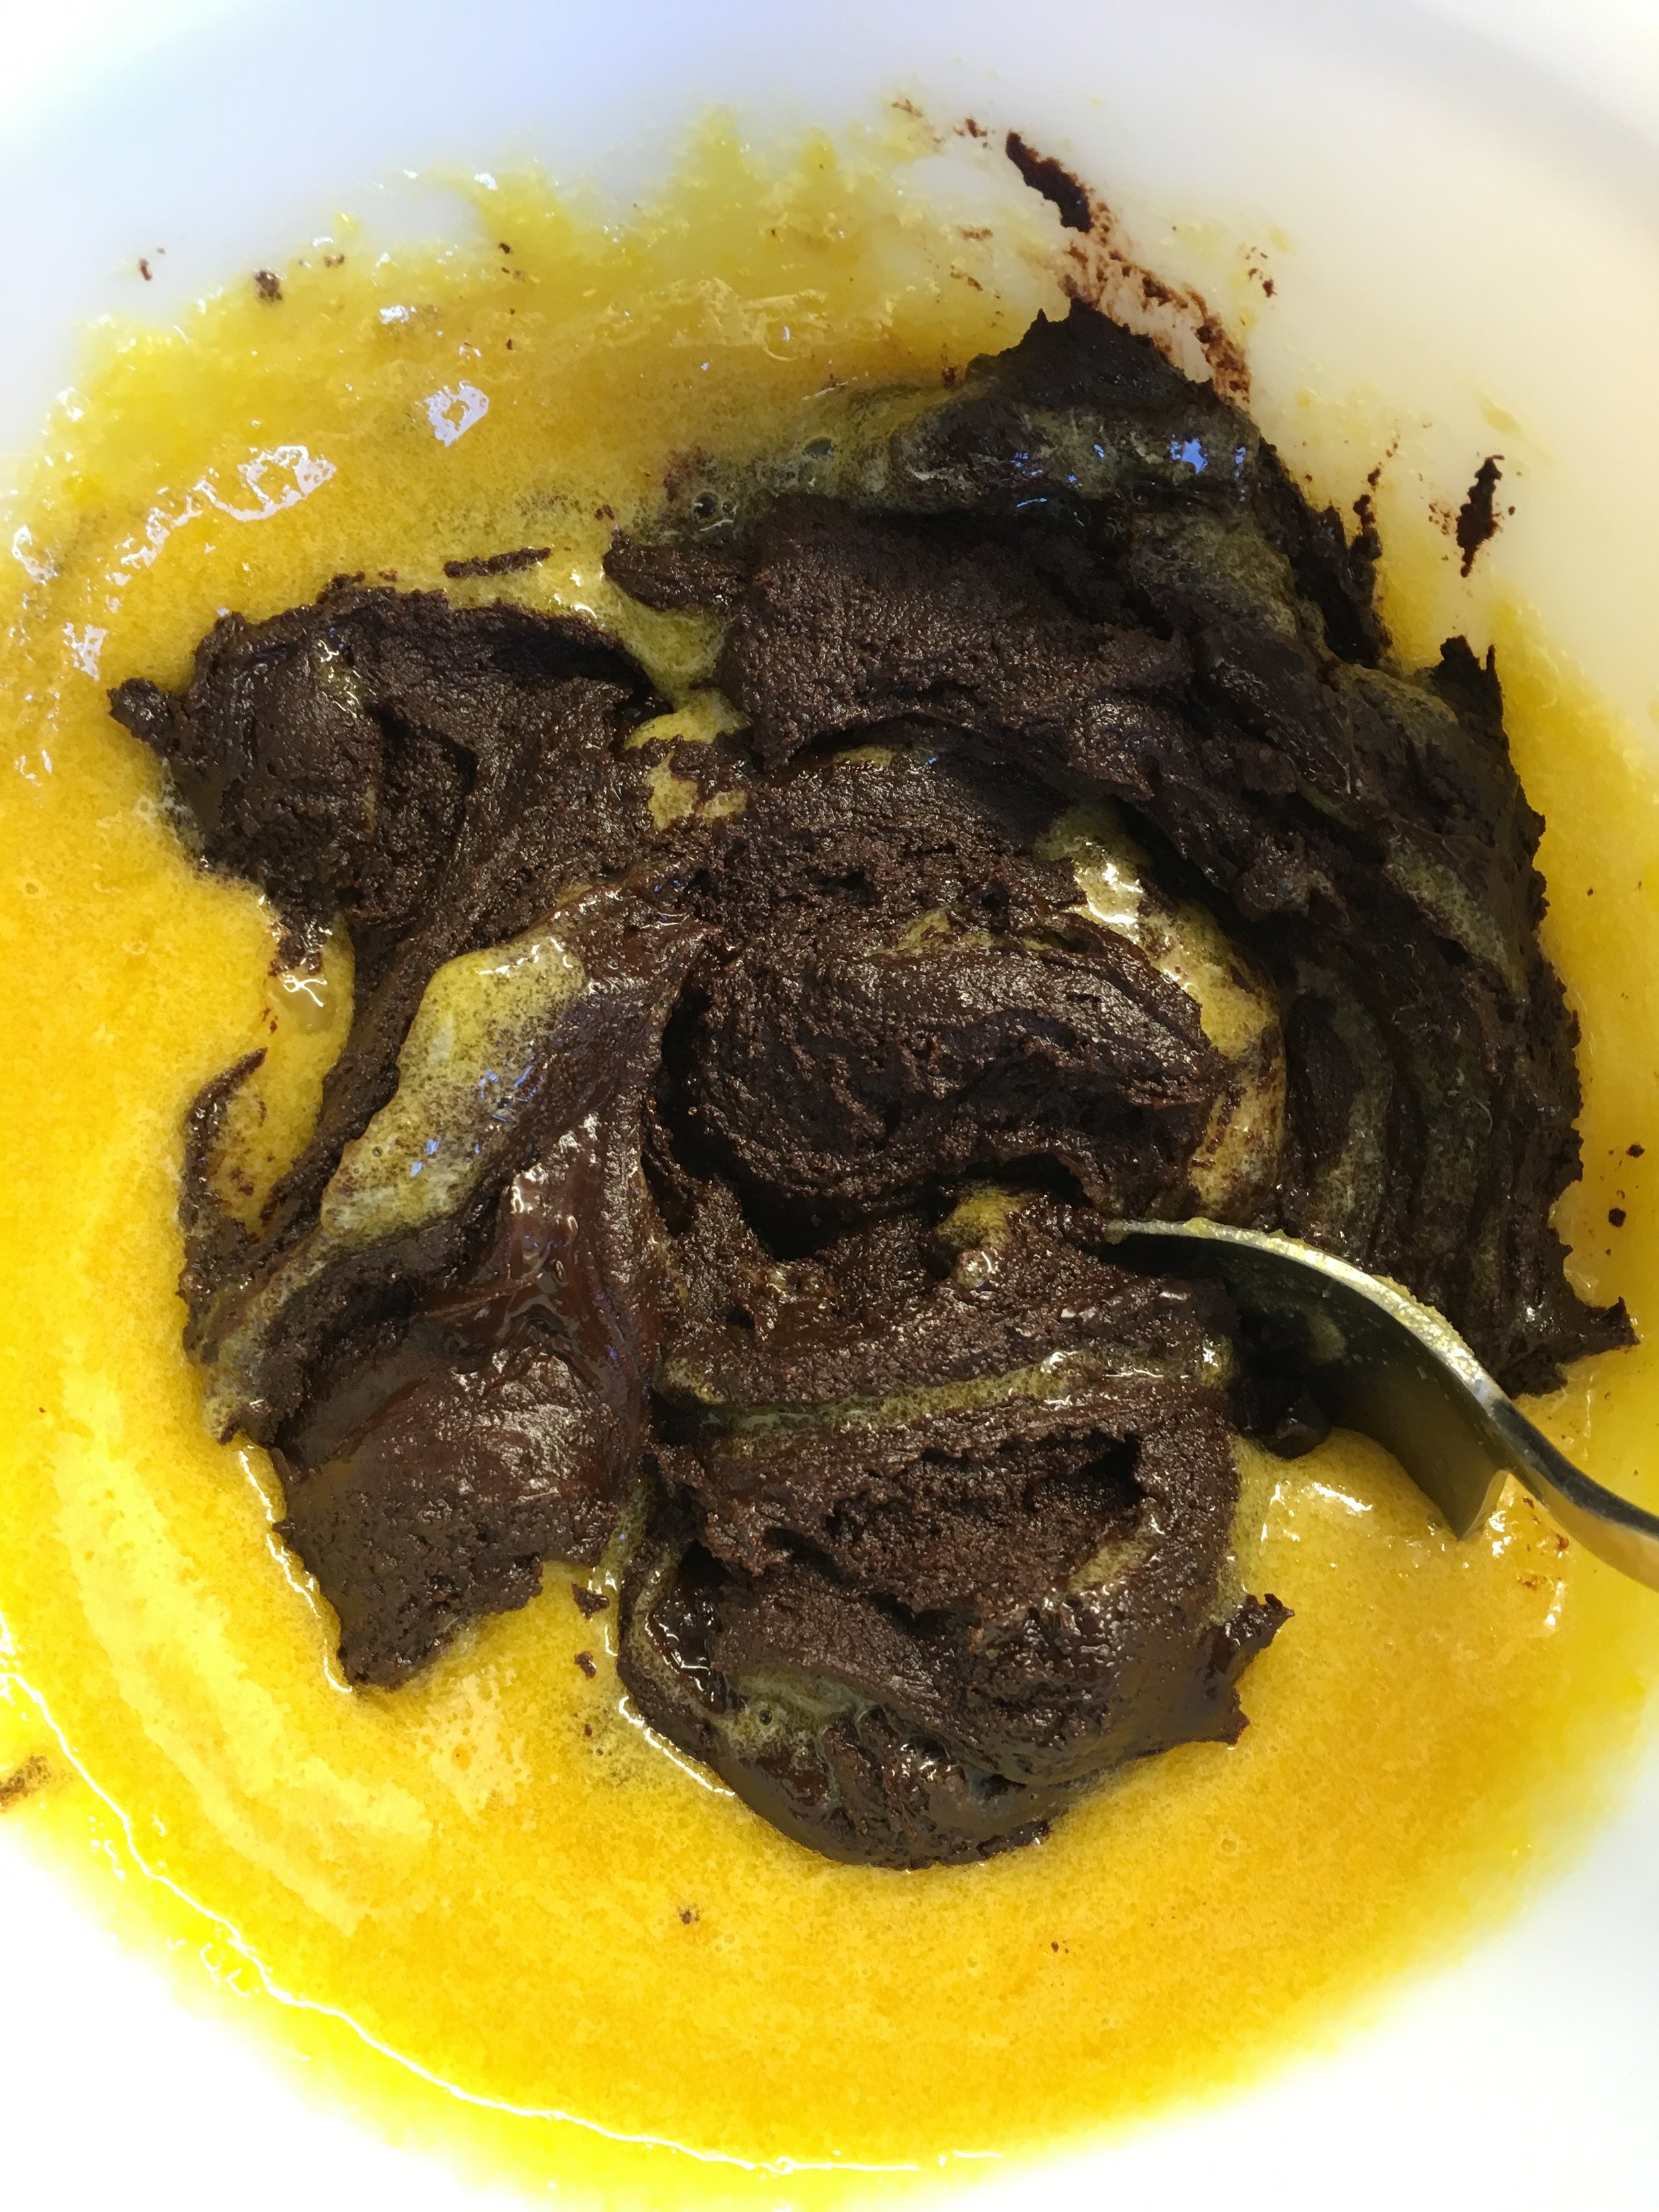
Mix flour, sugar, cocoa powder, baking powder, baking soda, and salt in bowl.
Add in egg, buttermilk, oil, and vanilla and mix on low until fully incorporated.
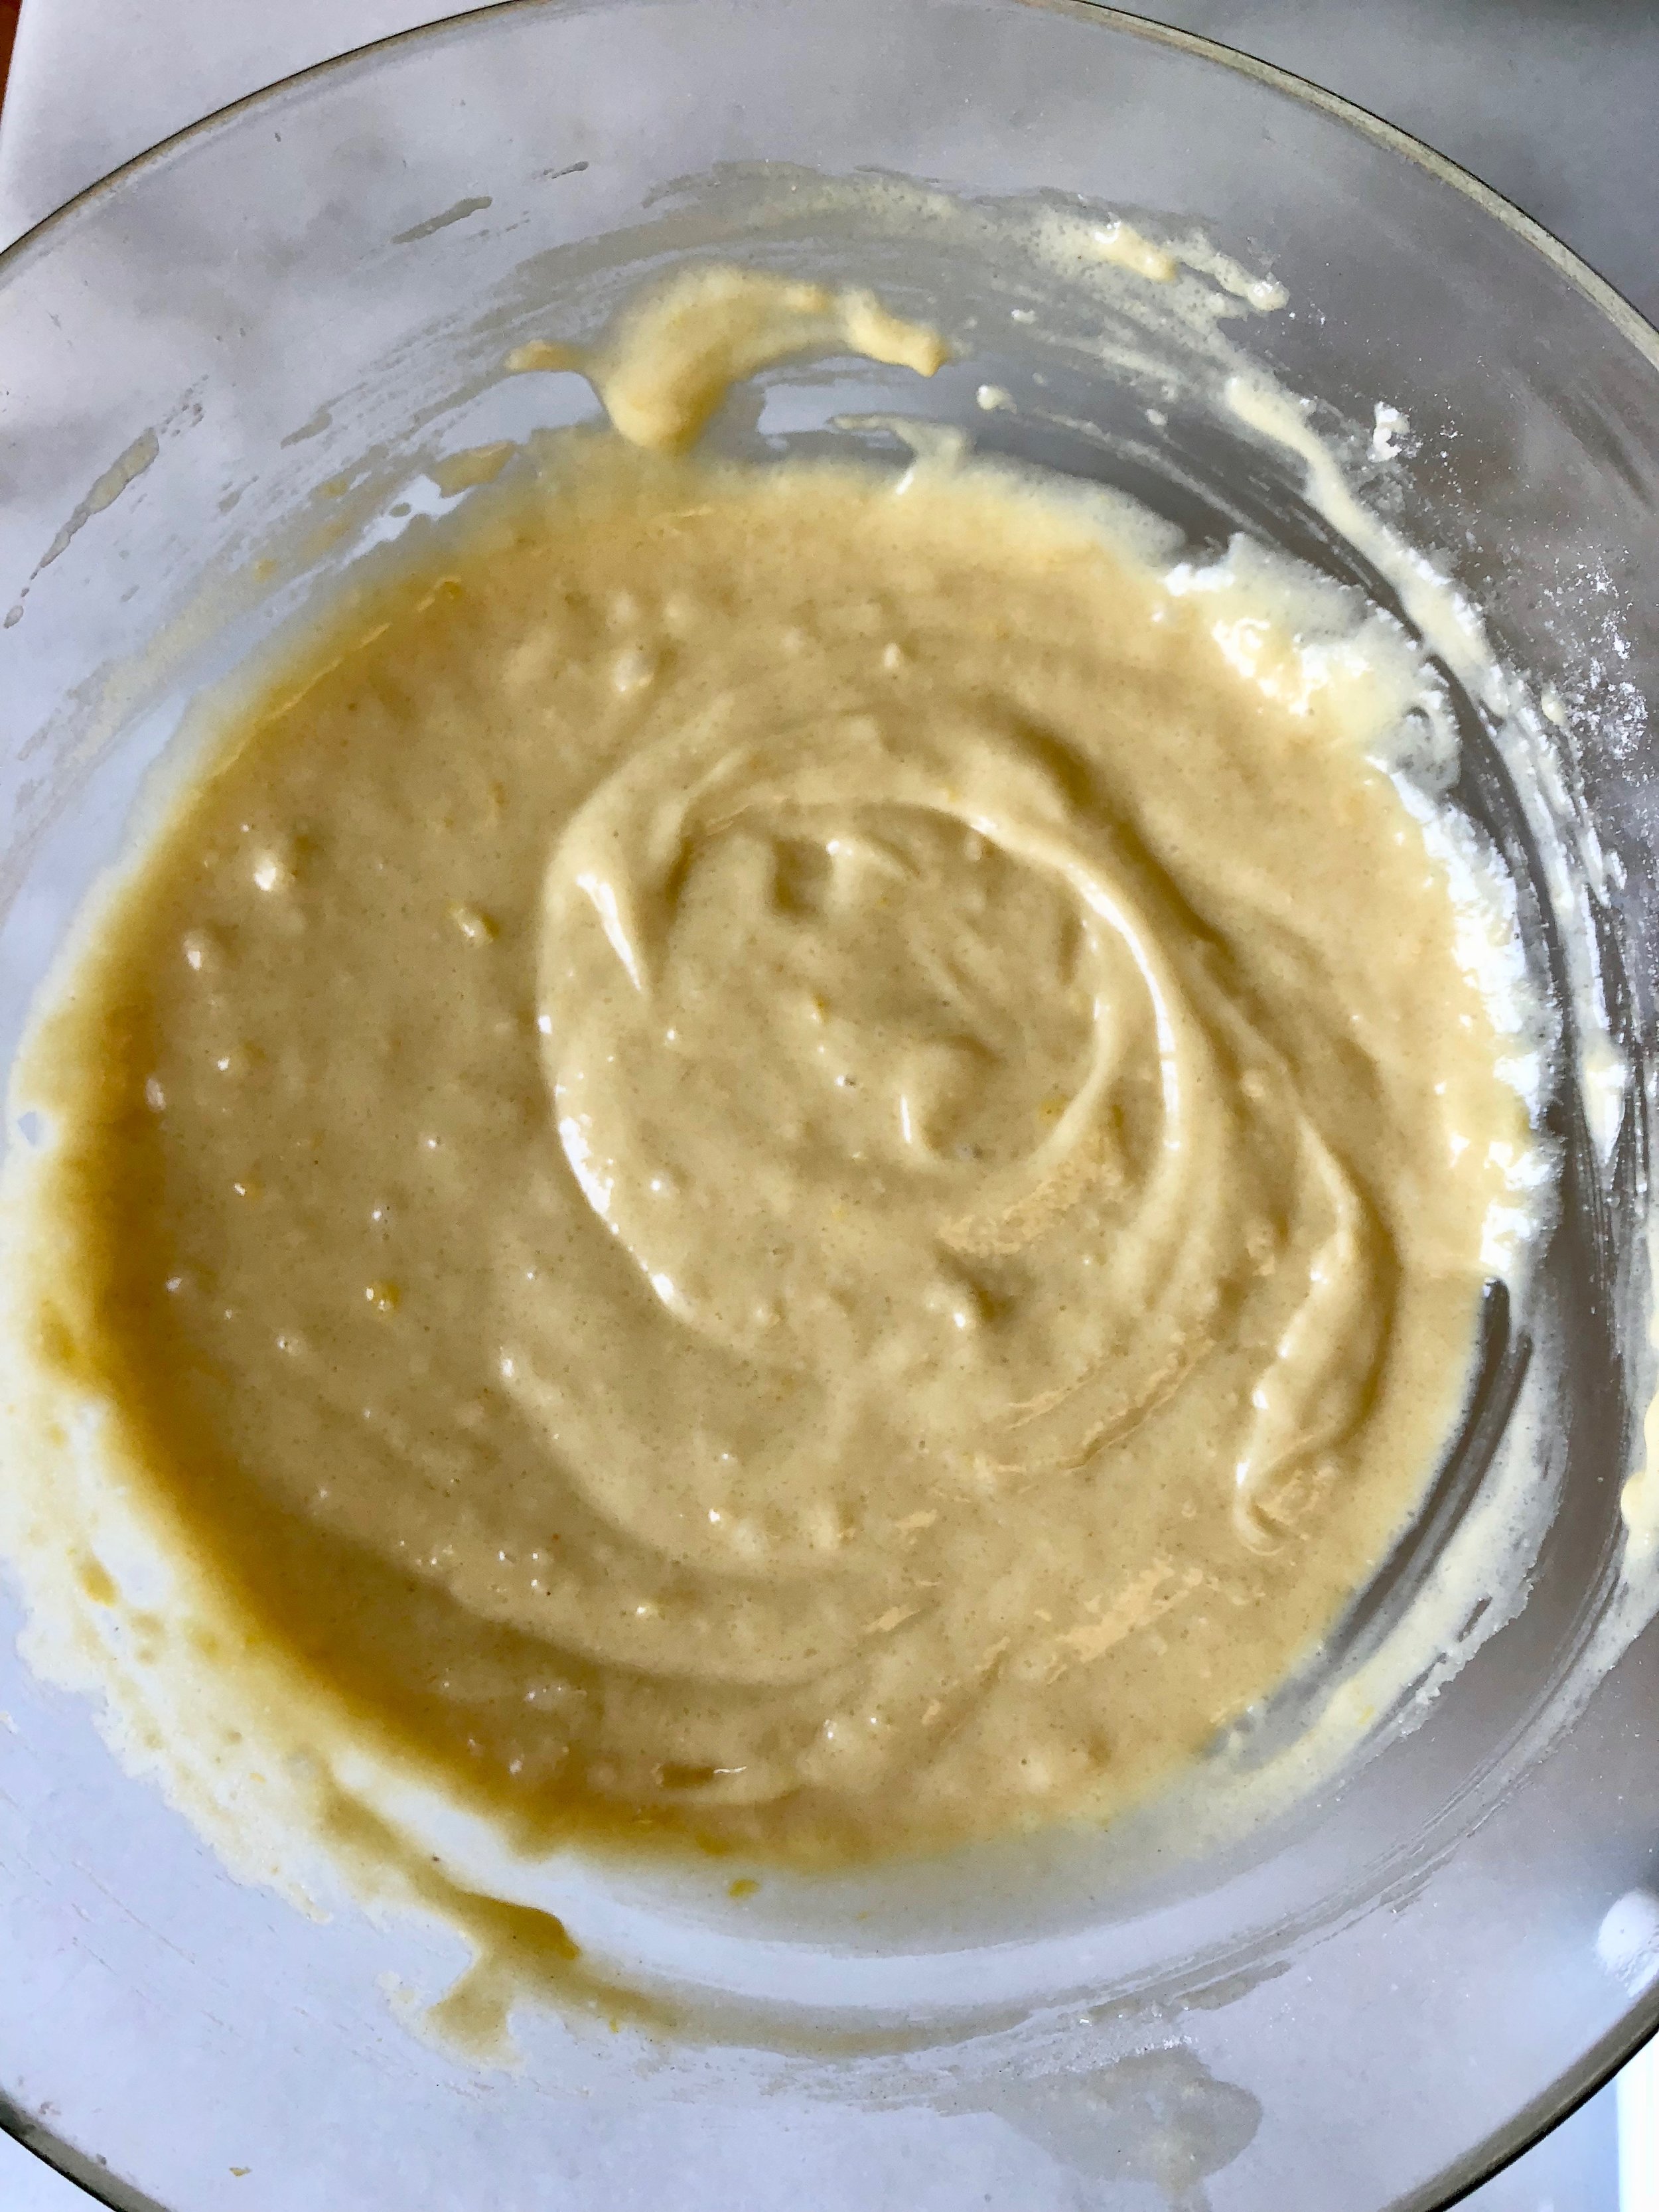
Add coffee and gently stir. The batter will be very thin.

make sure layers are nearly cooked before adding more batter
Make a striped cake:
Preheat oven to 350 degrees F. Line an springform cake pan with parchment paper and spray sides and bottom.
Pour a heaping 1/2 cup of white cake batter into springform pan, and tilt the pan until it covers the entirety of the bottom. Bake for 6-7 minutes, or until the cake seems not quite fully cooked. Remove from the oven.
Pour a heaping 1/2 cup of chocolate cake batter on top of the first layer, again making sure to completely cover the white cake layer. Bake for another 6-7 minutes, following the same guidance on the previous layer.
With each successive layer, the cake may need an additional minute or two in the oven (not more). You’ll need to keep a careful eye on the cake during the cooking process.
Repeat the process until the batter is finished. When the final layer is poured on top, bake for an additional 10-15 minutes or until a cake tester comes out clean.
Cool the cake for at least 30 minutes.
After that resting time, I like to pop the cake in the freezer while I’m making frosting. A cold cake makes the frosting process much easier.

Marshmallow Cream Cheese Frosting
Ingredients
6 ounces cream cheese
6 ounces of unsalted butter, room temperature
6 ounces marshmallow fluff
1 cup confectioner’s sugar
1-2 teaspoons plant based, natural food coloring (optional)
Method
In a large bowl, combine all ingredients and mix on medium high until you have a uniformly smooth, creamy frosting.
Use a spatula to spread evenly on cake. You’ll likely have extra frosting. Enjoy it on whatever you’d like!
Decorate as intricately as you’d like!