recipe

Homemade Nut Free, Gluten Free Granola

Finding a granola that's tasty, nut free and also not loaded with weird ingredients used to be hard. Do you have a favorite brand? There are loads of great options out there, but I found my happy place when I started regularly making my own. Lately I've been leaving the big jar out on my kitchen counter and it gets demolished pretty quickly. My son plans granola + yogurt + fruit for his lunch at least once a week, and with a big jar on hand, it's super easy to pack.

parfait lunchbox

I love homemade granola because it's straightforward, versatile, and with a million different ways to keep it interesting, no two batches are ever the same. Some weeks, ours includes lots of seeds (pumpkin, sunflower, sesame), some weeks it's heavy on dried fruit. Once I got the basic formula straight, it freed me to customize based on my pantry. 

The only hiccup arises when I shut off the oven timer but not the oven, and forget to take it out. Admittedly, this has happened more than once. Sigh. This recipe is easy enough for kids to make on their own, with adult oven supervision. It's perfect for a nut free, gluten free meal or snack, though it's best to always read labels if cross contamination is an issue for you. Be sure to check the recipe notes following the recipe for some variation ideas. 

homemade granola

Ingredients
* 3 cups rolled oats
* 1 1/2 cups mixed seeds, like pumpkin seeds and sunflower seeds
* ½ cup dried coconut
* ½ cup olive oil
* ½ cup maple syrup
* 1 teaspoon (or more) kosher salt
* 1½ cups mixed dried fruits cut into small chunks. 

Method
Preheat oven to 350°. Line a rimmed baking sheet with parchment paper.
Toss oats, seeds and coconut in a large bowl. Add oil and syrup and stir until well coated. Season with 1 teaspoon salt. Spread out onto the pan and bake for about 25-30 minutes, stirring once halfway through.
Use the same bowl for the dried fruit pieces, and add the oats back to the bowl after they cool for 5-10 minutes, and combine.
Don’t clean up the baking tray yet. Pour the mixed granola onto it and let the whole thing cool for a while.
Taste and adjust the salt if needed.
Notes: 
1. If you can have nuts, feel free to add those in! Start with 1/2 cup and go from there. Add at the same time as seeds. 
2. If you don't have coconut oil, any neutral oil (like avocado or grapeseed) will do. 
3. Options for the dried fruit might include chopped dried apricots, or raisins, or dried banana pieces. 
4. I love coconut, but if you hate it, eliminate it. 
5. I've tried this recipe with honey, and I prefer maple's more subtle sweetness. Both are doable in this recipe though. 
7. I've tried reducing the amount of maple added, but it didn't taste as good in my opinion. 

healthy nut free granola lunchbox

Want more lunchbox inspiration? Right this way.... 
Looking for meal planning help with lunchboxes? I've got you covered

Olive Oil Lemon Cake with Blueberries and Ricotta

olive oil lemon cake

I thought about making a pie today, in celebration of Pi Day (3/14). But truth be told, I'm not such a pie-making gal. It's the crust that intimidates me. My mom is a phenomenal pie maker. Her pies are the stuff of legend. She learned from her mom, who was also celebrated for her pies, with their perfectly balanced fruit fillings and their perfectly textured crusts. 

Not sure how or why I yearned to learn how to cook certain foods from my mom but not others. But that's how the cookie crumbled for me. So today, though I wanted to bake a pie, instead I baked a cake. 

I'm anxious for spring, so I wanted something light and fruity. Immediately I thought about an olive oil cake. I perused several recipes (like this one and this one) and then came up with my own.  

Without further ado, here's the recipe: 

ingredients

INGREDIENTS
1 cup whole milk ricotta
1/3 cup +2 tablespoons olive oil (I used a very fruity evoo)
3 large eggs
3/4 cup white sugar
Zest of 2 whole lemons
1 teaspoon vanilla extract
1 1/2 cups all purpose flour
1 1/2 teaspoons baking powder
1/2 teaspoon baking soda
1/4 teaspoon kosher salt
1 pint blueberries

METHOD

  • Preheat the oven to 350. Line the bottom of a springform pan with parchment and spray with a neutral oil.
  • Combine the ricotta, olive oil, eggs, sugar, lemon zest and vanilla extract. Don't overbeat... this can all be done by hand. 
  • In a separate bowl, add the dry ingredients (flour, baking powder, baking soda and salt). Slowly add the dry ingredients to the wet ingredients and stir until fully combined.
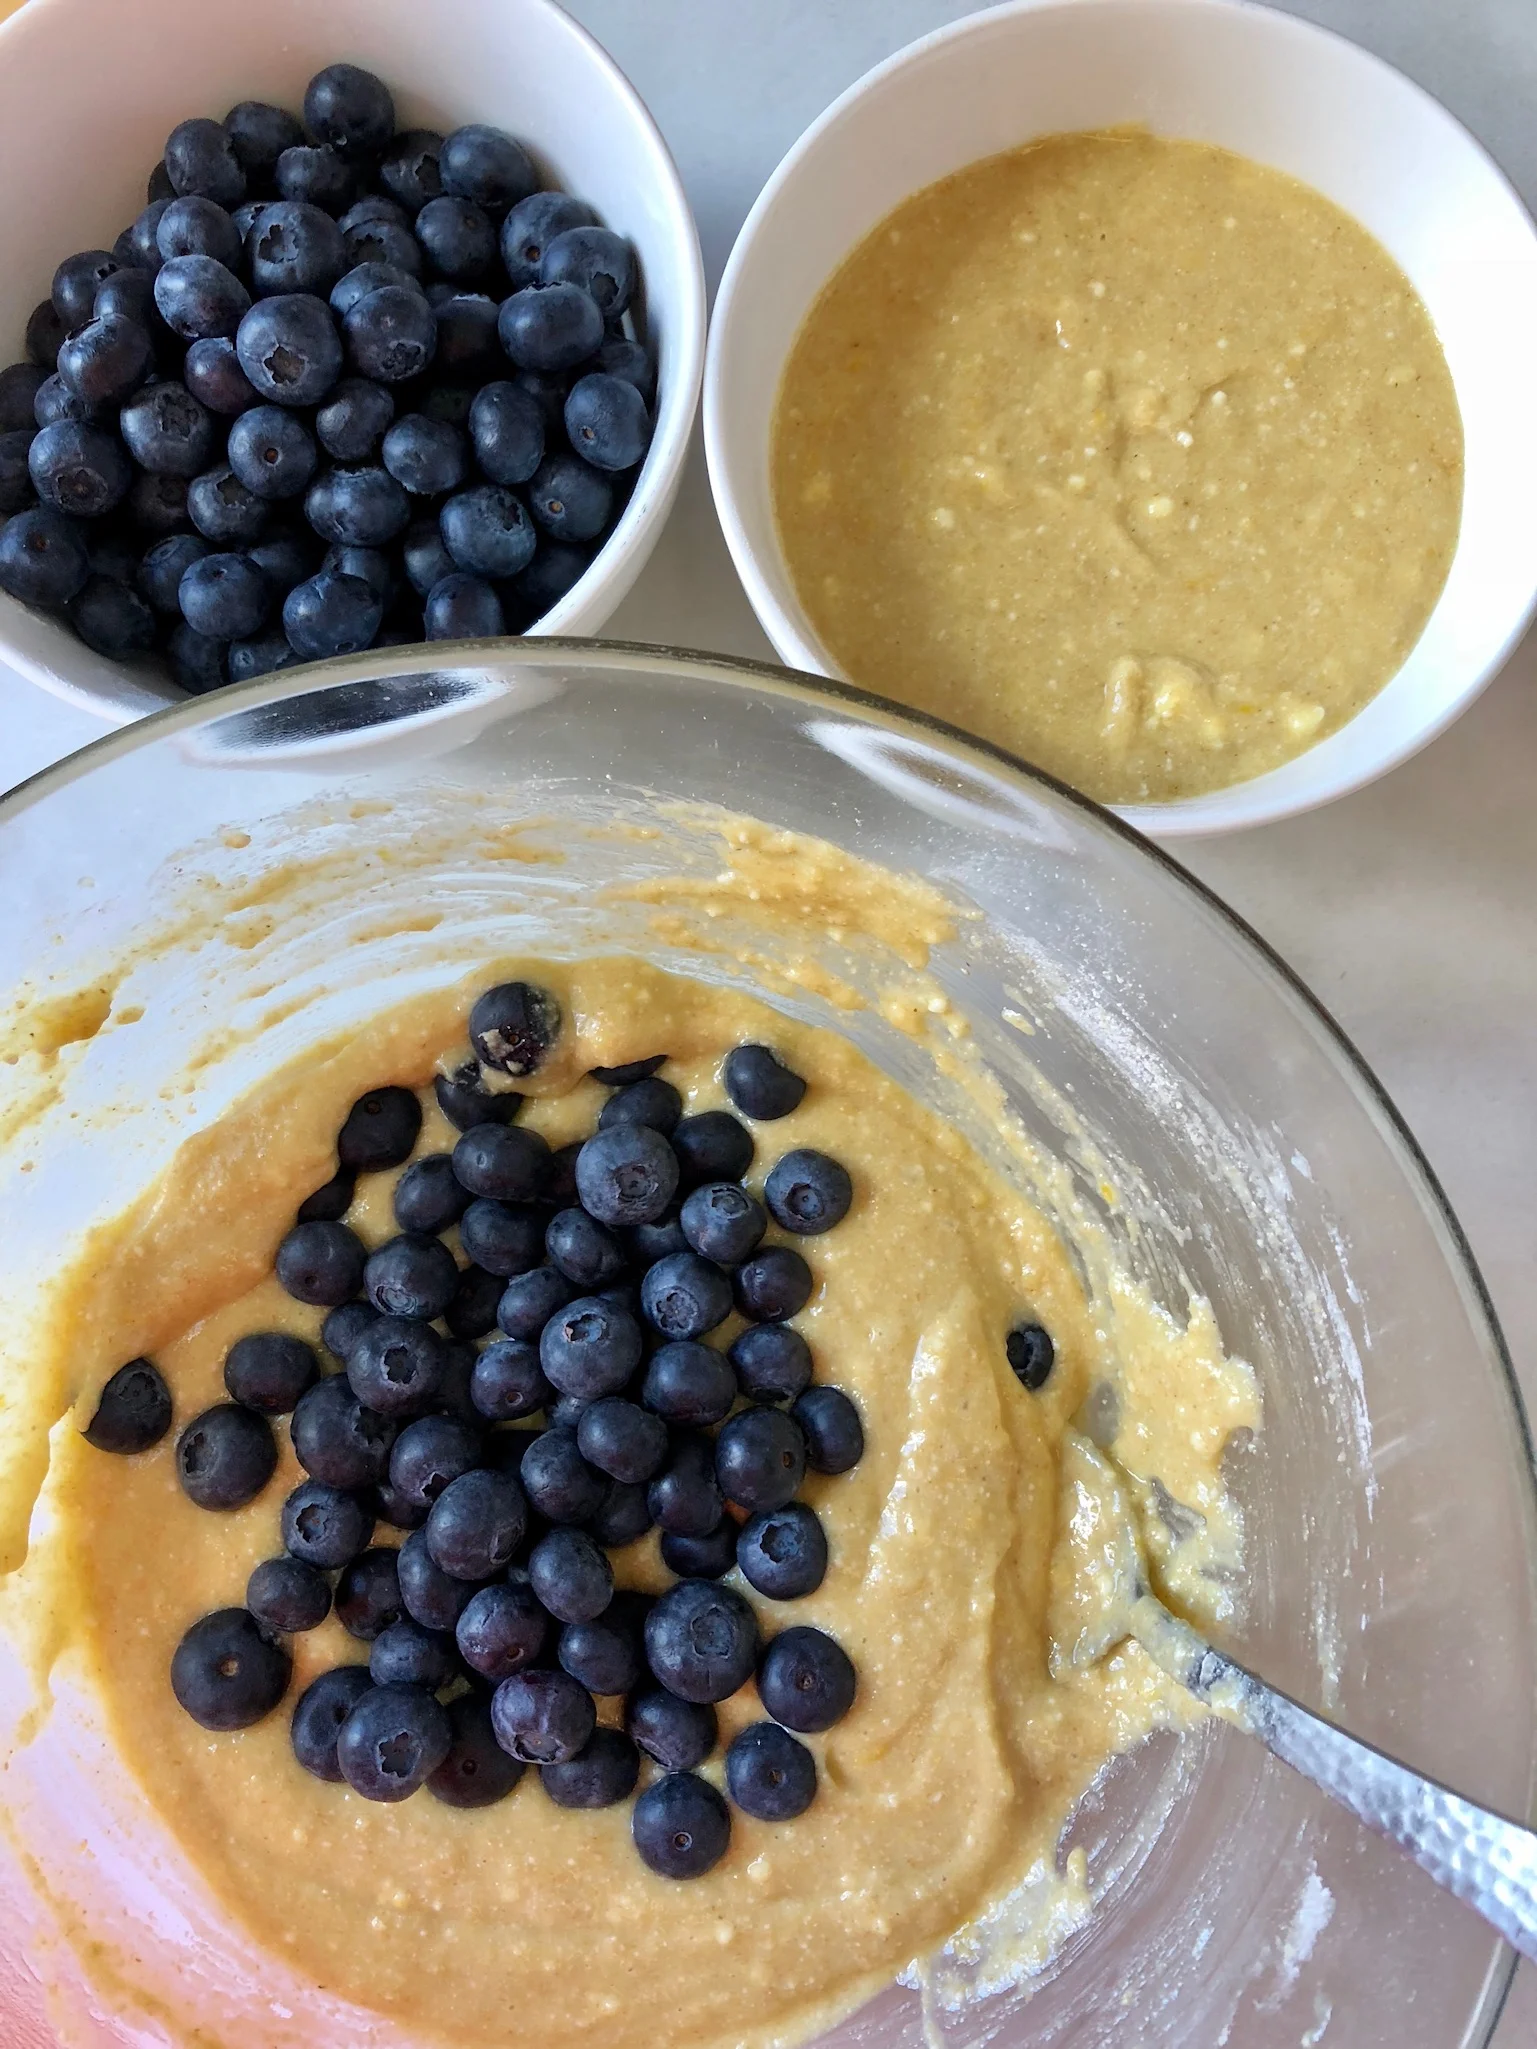
  • Next, get a clean bowl and pour in half of the batter. Add half of the blueberries to half of the batter. This will be the bottom of the cake. Pour this into your springform pan. 
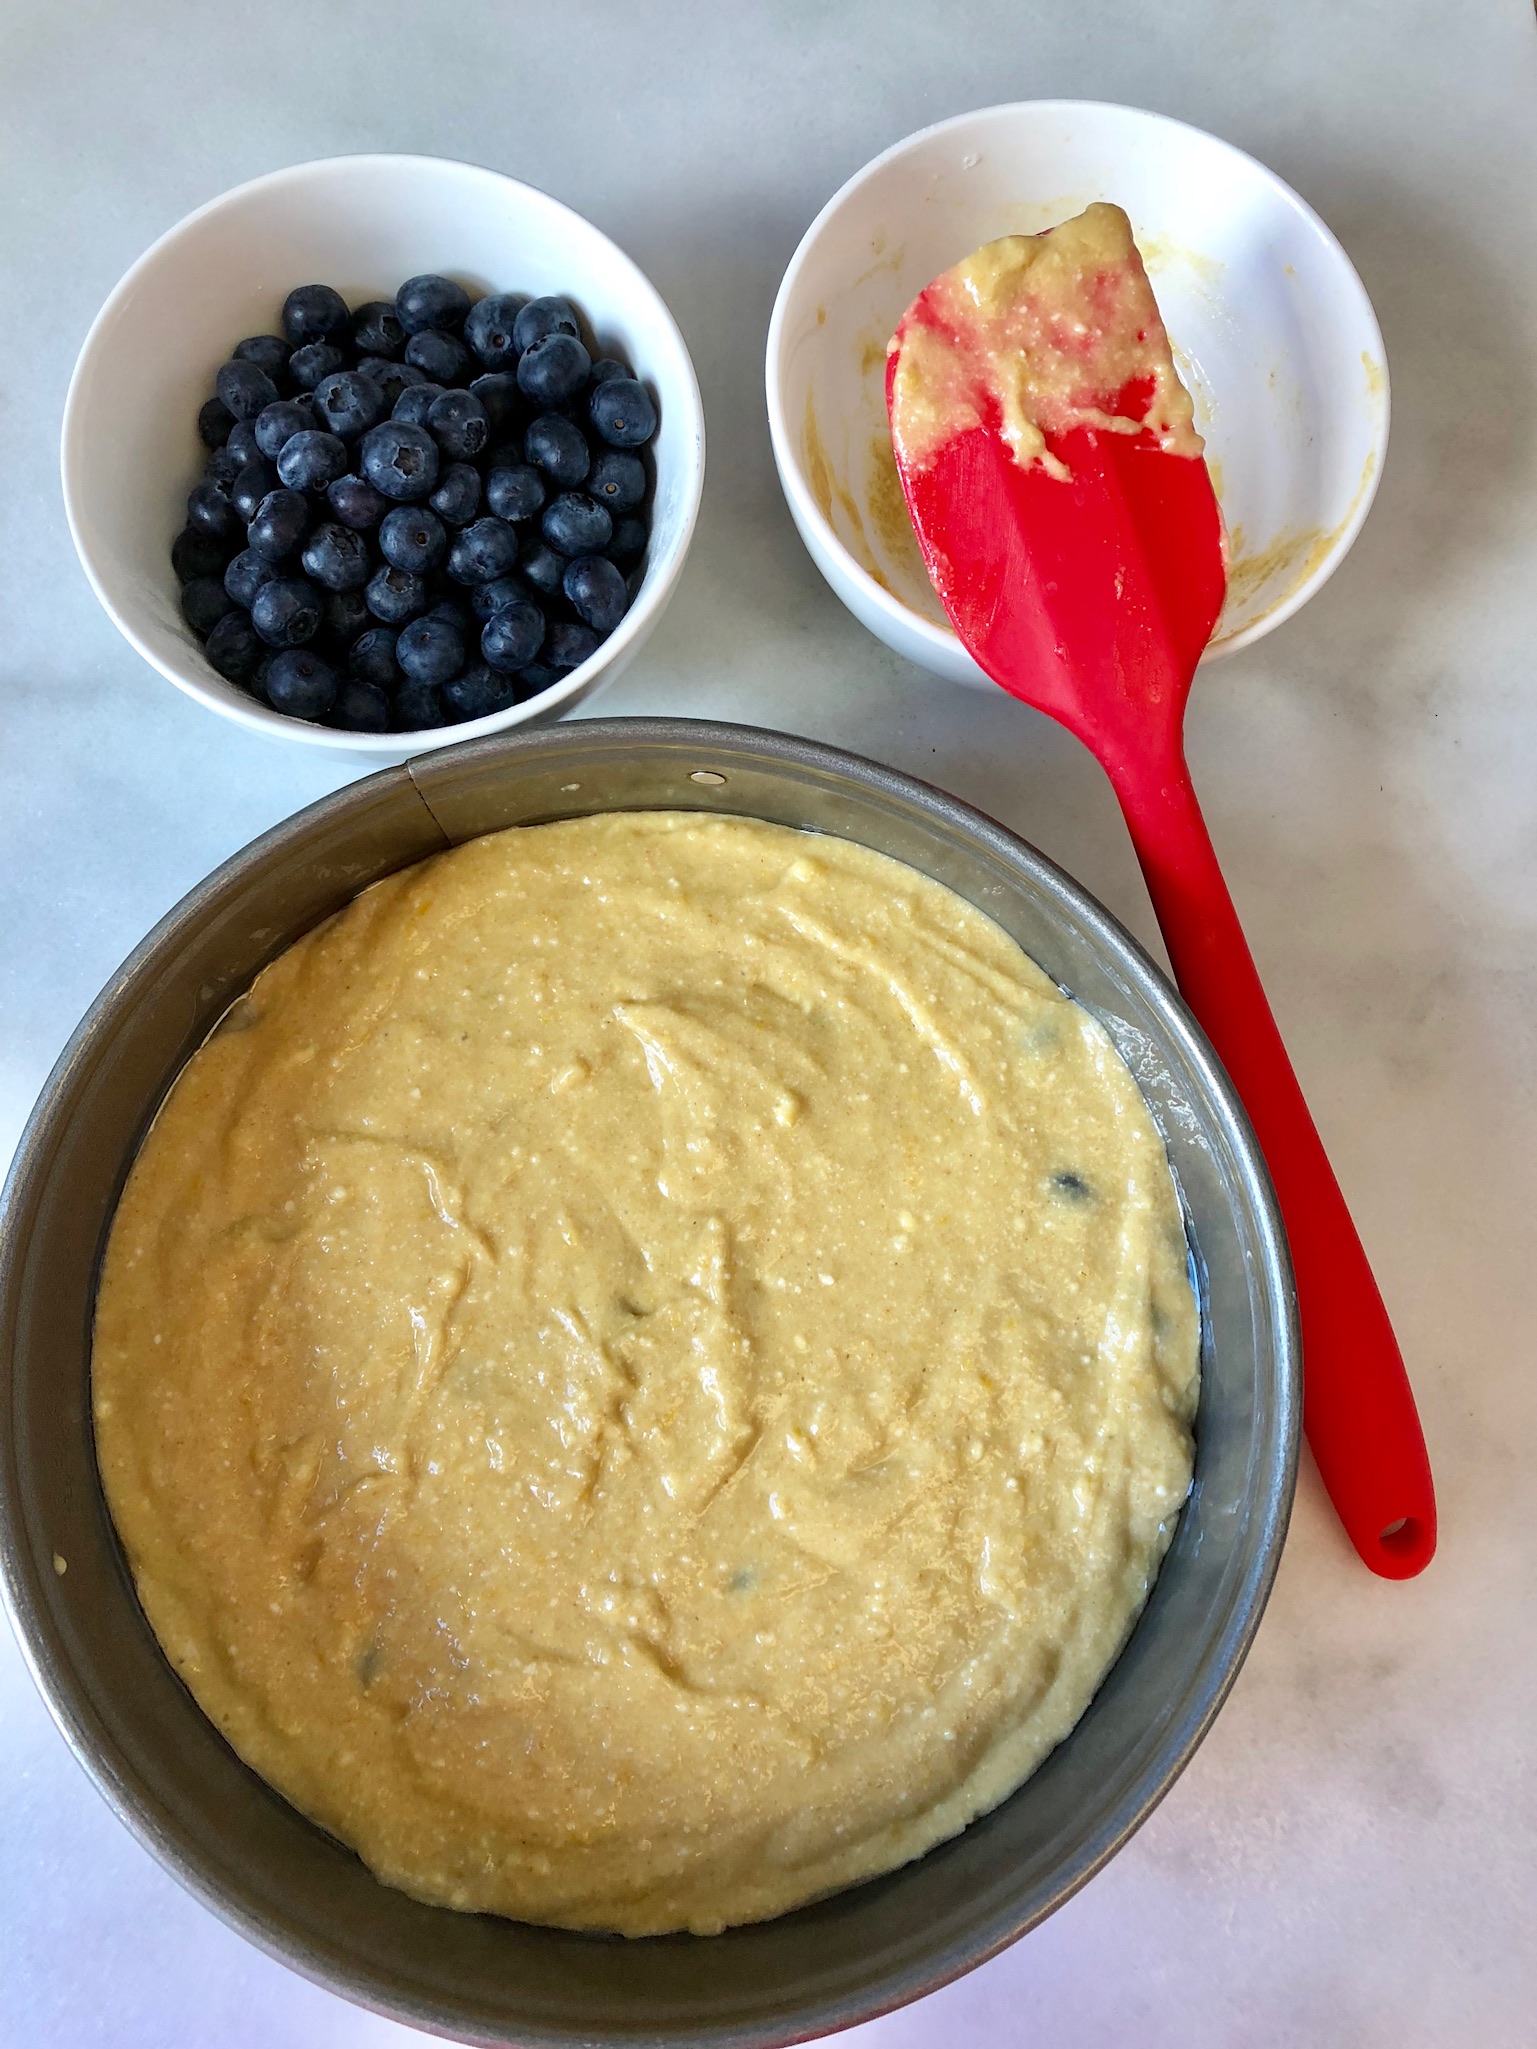
  • Add the remaining batter on top of this cake and decorate with blueberries as you'd like. 
  • If you'd like to make it easier, you can combine all of the batter and all of the blueberries. This method is best if you have a design in mind for the top. 
separate half batter and half berries
top with batter

When you have finished designing your blueberry top, bake for approximately 35 minutes. the top will be slightly golden brown and the texture inside will be moist and delicious. 

olive oil cake pre-baked

Once this is finished baking, set aside to rest and cool for at least 10 minutes. It's bright and satisfying, but not too sweet. The ricotta adds depth and the lemon zest and blueberries balance out the sugar. You'll absolutely notice a change in flavor with a change of olive oil in this cake. Experiment and see what you like best! Enjoy immediately, or savor it over the course of several days (if it lasts that long!) 

olive oil cake

Cured Egg Yolks

cured egg yolk.jpg

The humble egg is a family favorite. It's a quick, healthy solution for breakfast. A reliable standby for lunch. A welcome change for dinner. When I came across something recently about cured egg yolks, my curiosity was peaked and I had to dive right in. I've tinkered with the original recipe from Bon Appetit slightly, and am looking forward to continuing to experiment with it. 

Cured yolks add a salty, creamy depth to dishes. I grate them over pasta, over salads, on simple steamed vegetables and on top of several types of toast. They add an umami dimension that is eminently satisfying. Here's my favorite part: you can use them in place of a hard, salty cheese to make a dish dairy free. I used four yolks each time I made this recipe, and because a little goes a long way, they last a long time. (Make sure to reduce the amount of added salt to a dish if you plan on adding cured egg yolks). You can see the step by step process that I used below, or follow along on my highlighted Instagram Story

Without further ado, here's my adapted recipe: 

INGREDIENTS

  • 1 2/3 cups kosher salt 

  • 11/4 cups sugar

  • 4 large egg yolks

  • 1 tablespoon lemon zest OR 2 tablespoons of fresh chopped dill (optional, or add your own fresh herb)

  • Nonstick vegetable oil spray

PROCESS

Whisk salt and sugar (and optional lemon zest or herb of choice) in a bowl to combine. Evenly spread out half of salt mixture in an 8x8" glass baking dish. Using the back of a tablespoon, create 4 depressions in salt mixture, spacing evenly. Carefully place an egg yolk in each depression. You can freeze the whites in an ice cube tray if you don't plan to use them immediately. Gently sprinkle remaining salt mixture over yolks and cover the dish with plastic wrap. Refrigerate for 2 days. (continued below)

IMG_3598.jpg
IMG_3600.jpg

Preheat oven to 150°F. My oven only goes as low as 170°F, so that's what I used. Brush salt mixture off each yolk, then carefully rinse under cold water to remove any remaining salt (yolks will be semi-firm, and bright, as shown below). Gently pat dry with paper towels. They'll look a lot like glacéd apricots. 

Generously coat a wire rack set inside a rimmed baking sheet with nonstick spray; place yolks on rack. Dry out in oven until opaque and texture is like a firm Gruyère cheese, about 80-90 minutes. You can experiment with the timing of this based on how firm or soft you'd like your yolks. When the cooking is done, let them cool. They will last up to a month in a refrigerated airtight container. 

Image-1.jpg
IMG_3730.jpg

Here are some of the ways that I used them: 

cured yolks in dishes.jpg

Top left: here we've got sourdough toast with labne, avocado, thin slices of cured egg yolks, microgreens and fresh ground pepper. 

Top right: simple salad with micro greens, baby arugula, purple radish and grated cured egg yolks. 

Bottom left: fresh pasta with oven roasted oyster mushrooms and baby kale with grated cured egg yolk and fresh pepper. 

sourdough toast with avocado, watermelon radish and grated cured egg yolk

sourdough toast with avocado, watermelon radish and grated cured egg yolk

DIY Toast with cured egg shavings, guacamole, radishes and lime.

DIY Toast with cured egg shavings, guacamole, radishes and lime.

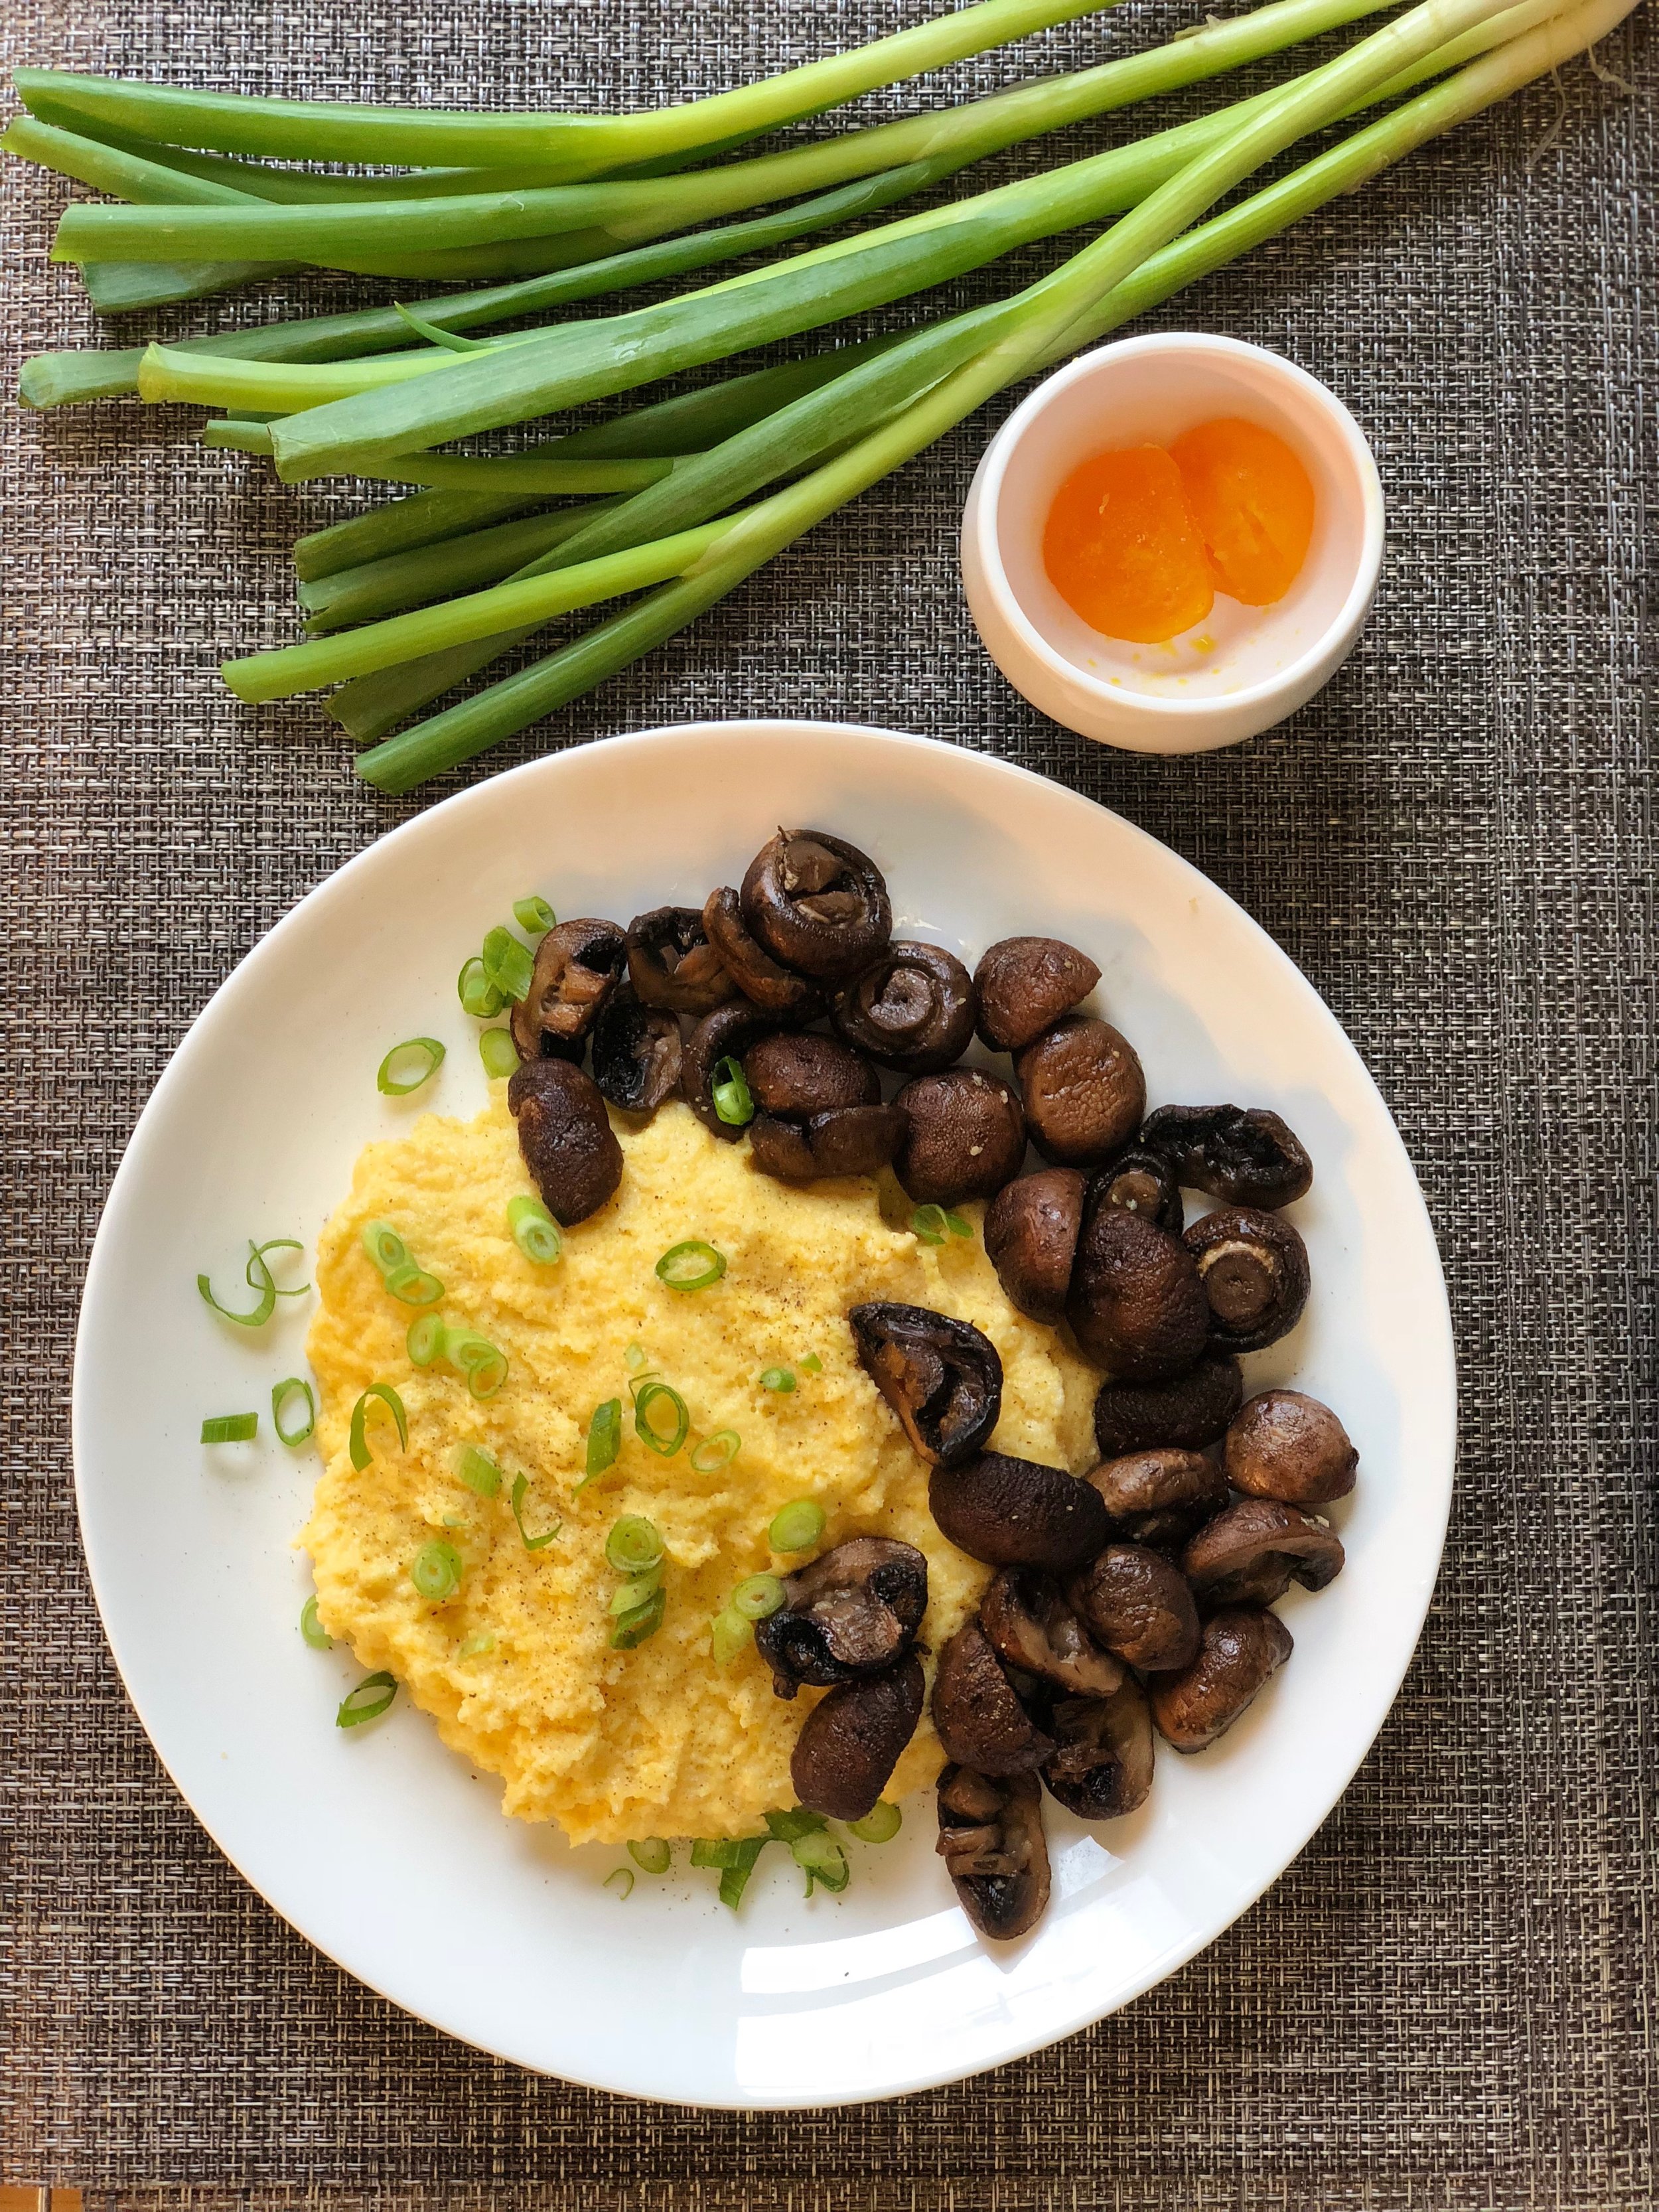
Polenta with roasted cremini mushrooms, scallions and cured egg yolk.

Polenta with roasted cremini mushrooms, scallions and cured egg yolk.

Quick Pickled Red Onions

FullSizeRender.jpg

I am not a big fan of condiments.

There, I said it. You’ll never find me adding ketchup to anything, including French fries (that role is reserved for beloved hot sauce in my opinion and only on occasion). My kids think this is crazy, but what can I say? I don't see the appeal. Mustard is wonderful on some things, and mayo is essential on a BLT, but other than that, these items don’t feature prominently in my life. 

I am, however, a giant fan of pickled red onions. They’re perfect with breakfast (oh, hi, eggs!), they’re great for lunch (best sandwich or toast accessory, ever), and they’re marvelous for dinner (tacos and Buddha bowls topped with pickled red onions are next level!).  

My favorite part about this whole pickled red onion obsession is that they’re easy to make. I have a jar in my fridge at all times, and I highly encourage you to do the same.  A refrigerated jar will last about 3 weeks (if you don’t eat them before then!).

FullSizeRender.jpg

Here’s how to make those pickled onions:

  • Thinly slice a red onion and place the rings in a strainer.
  • Boil 2-3 cups of water, and pour slowly over the onions. This takes the edge off a little.  
  • In a jar big enough to fit all of the onions, add 1 teaspoon of salt + 1 teaspoon of sugar + 1 cup of white wine vinegar. Stir until the salt and sugar are dissolved.
  • Add the onions.
  • Give the jar a little shake and let it sit for at least an hour. The flavor only gets better with time.

Enjoy with absolutely everything! 😎

Get in my belly!

Get in my belly!

Current obsession: warm naan with avocado, pickled red onion and micro greens

Current obsession: warm naan with avocado, pickled red onion and micro greens

Here’s a similar idea, and a fun snack that’s definitely elevated by the tang of pickled red onions: roasted sweet potato chips with avocado, pickled red onion and micro greens. 

FullSizeRender.jpg

Green Powerhouse Muffins

green powerhouse muffins

Dark winter mornings have the power to shift our whole weekday morning routine. Those extra minutes that the kids linger in bed  underneath their cozy comforters make it necessary for us to have fast, easy breakfasts on the ready. Freezer stash muffins have become winter essentials.

These Green Powerhouse Muffins are what we are digging lately (recipe below). They’re nut free, gluten free, dairy free and refined sugar free. You can make them vegan by substituting flax or chia eggs for the eggs, and by using maple syrup instead of honey. 🌱 Beyond being an excellent breakfast choice, these are great for the lunchbox or as an after school snack.  

Sure, I’d love to enjoy a leisurely breakfast with my family of five on a school day. It just doesn't seem to happen these days. If it’s a similar situation in your house, give these a go!

(p.s.: here’s what else I’ve got in the freezer stash these days: banana muffins, breakfast cookies)

Here’s what you’ll need:

green powerhouse muffins setup

1 banana
4 dates
10 oz. frozen chopped kale (or spinach)
1/4 cup coconut milk
1/4 cup sunflower seed butter (unsweetened)
2 cups rolled oats (gluten free)
2 eggs
1/4 cup avocado oil
1/4 cup honey or maple
3 teaspoons vanilla extract
1 teaspoon baking powder
1 teaspoon baking soda
1/4 teaspoon salt
2 teaspoons cinnamon

Method: 

Preheat oven to 350. In a blender, first add the banana, dates and coconut milk. Blend until smooth. Next add the sunflower seed butter and half the oats. Blend again. Add the remaining ingredients and blend until all the ingredients are fully incorporated. Pour into a lined muffin tin and bake for approximately 25 minutes or until a cake tester comes out dry. Freeze extras for up to 3 months. 

* This recipe was inspired by The Natural Nurturer, whose Green Oatmeal Smoothie muffins we have enjoyed immensely. 

green powerhouse muffins