Recipe

Gluten Free Brownies

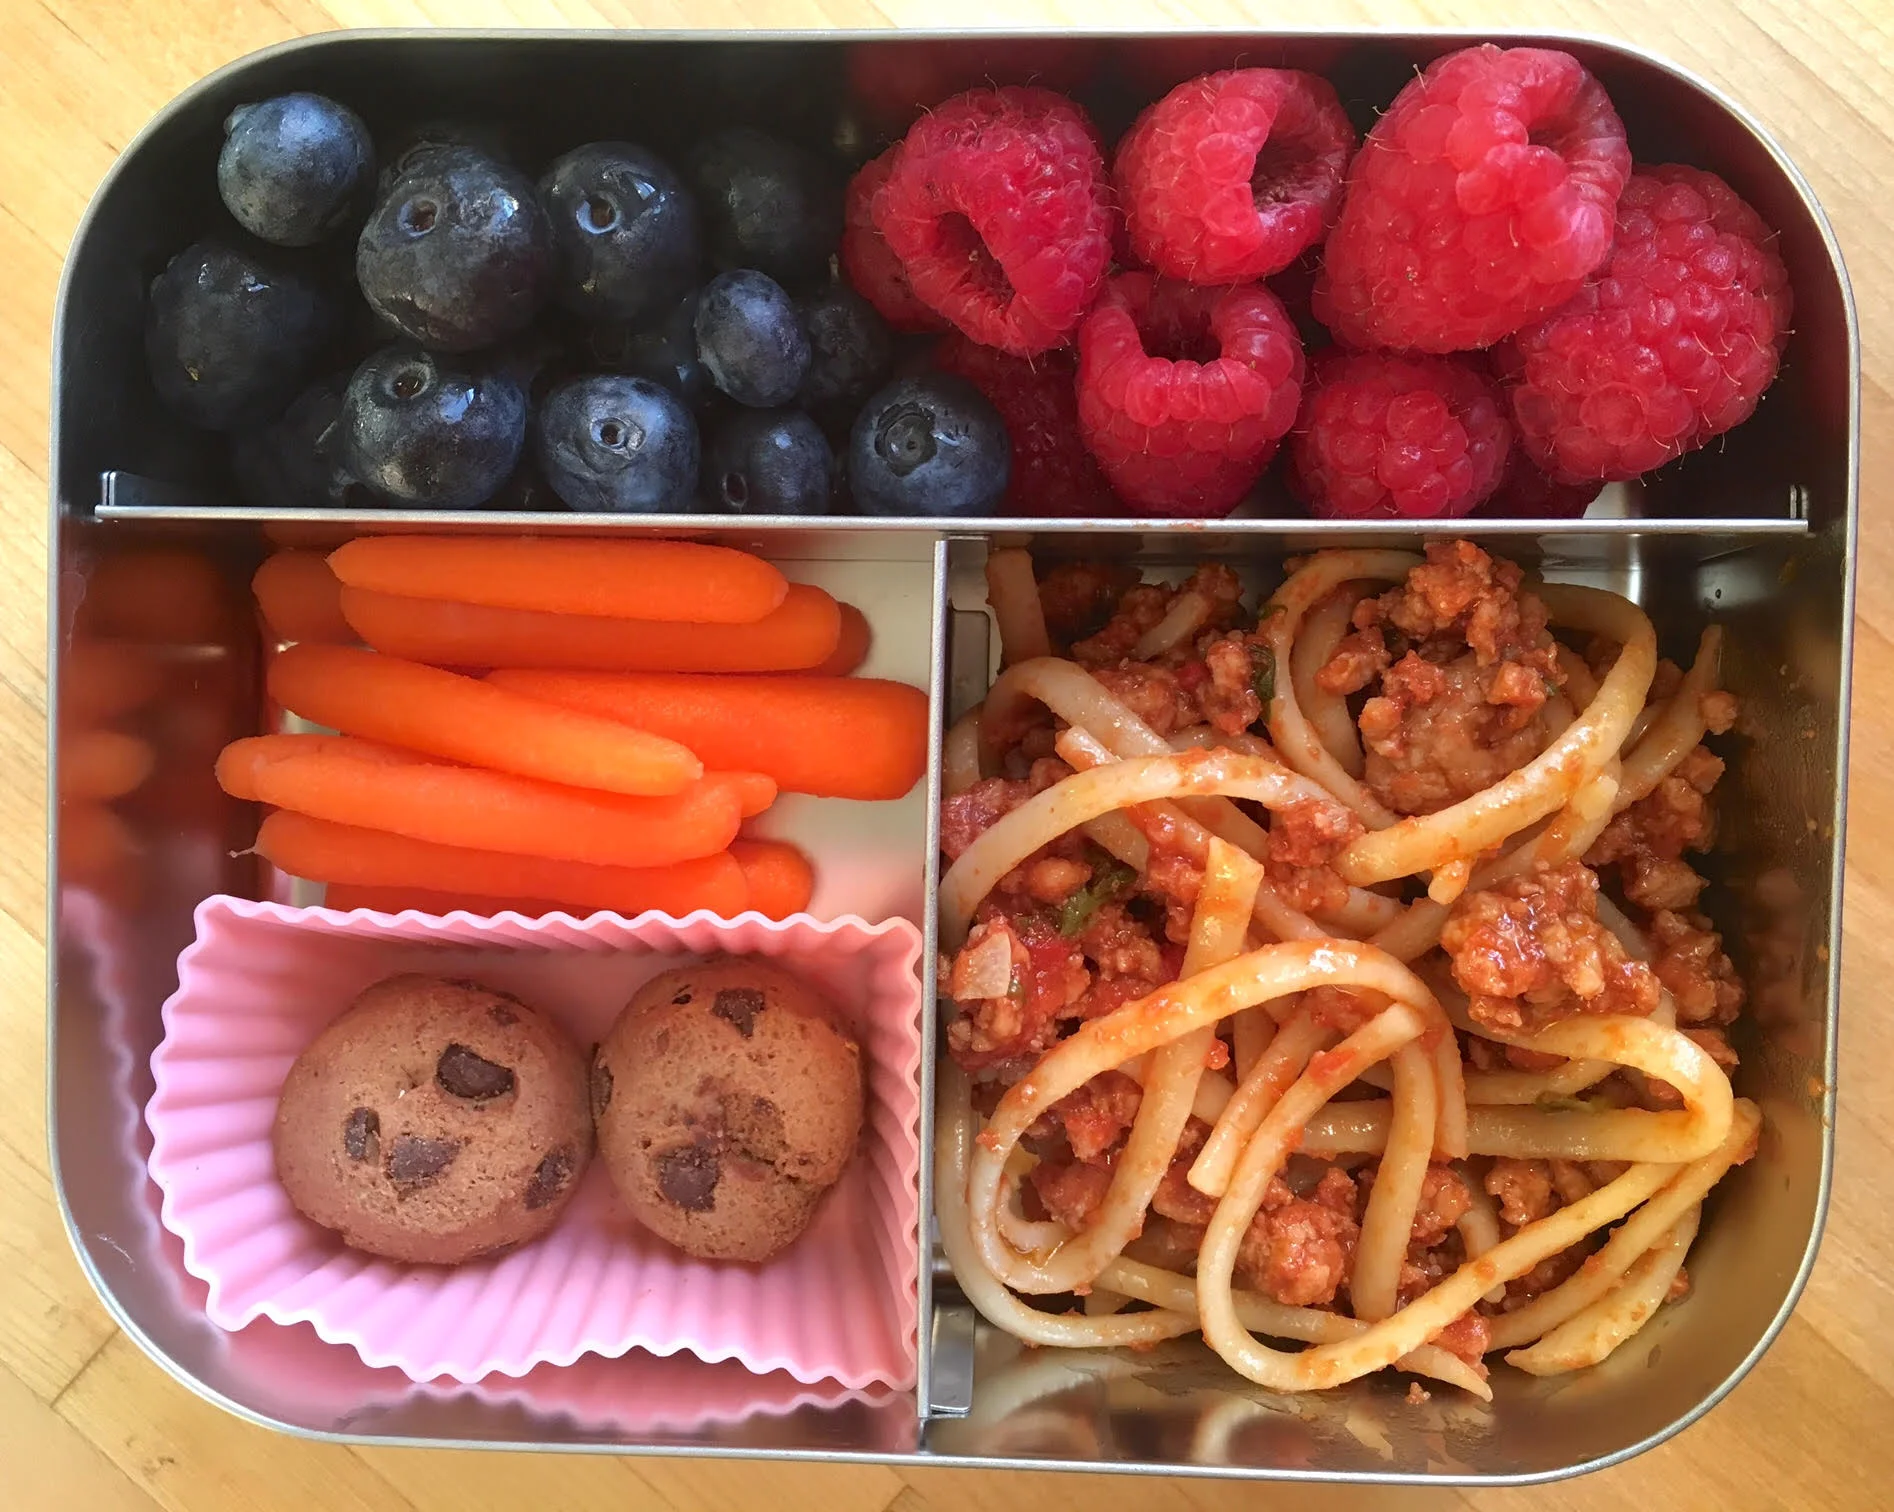
For your Valentine or for any time, these Gluten Free Brownies will absolutely hit the spot. Here I’ve made them into heart shaped bites for Valentine’s Day, but this is a recipe that I make whenever the mood strikes. They’re fudgy and satisfying, and perfect to stash away in your freezer.

I love these brownies because they satisfy my chocolate cravings immediately, and in 2 bites. Talk about instant gratification! I normally make these in an 8x8 pan, but I’ve used heart shaped molds here for Valentine’s Day. It works in virtually every shape, as long as you adjust the cooking time. I love that this recipe is easy and flexible like that. The heart shaped mini molds baked for 21 minutes, versus an 8x8, which takes 24-28. The larger heart took 23 minutes to bake. I love inviting my kids into the kitchen for this one!

Gluten Free Brownies for Valentines Day

If you don’t have oat flour and don’t want this to be gluten free, you can substitute ap flour here. If you have oats but no oat flour, you can use your blender or food processor to make your own oat flour. I hope you love these as much as we do! If you make this recipe, tag me @lalalunchbox and let me know!

Gluten Free Brownie Bites

Gluten Free Brownie Batter

1 cup sugar
10 tablespoons unsalted butter
3/4 cup unsweetened cocoa powder
1/4 heaping teaspoon flake salt
1 teaspoon vanilla extract
2 large eggs
1/2 cup oat flour

Preheat the oven to 325°F

Line an 8x8 pan with parchment paper. 

Melt the butter and place in a large bowl. Add the sugar and beat to combine. Next, incorporate the cocoa powder slowly and thoroughly. Continue with the salt, vanilla, eggs and flour making sure everything is fully mixed. The batter should be slightly pasty. Pour into your baking pan and bake for 25-28 minutes. 

Notes:

I like to cut mine into small pieces, so for us, this makes at least 20 brownies. 
I’ve used Dutch process cocoa here too, which makes the brownies even fudgier because there is no baking powder as a leavening agent. You can add 1/2 teaspoon of baking powder if you use Dutch process cocoa. I’ve also used half natural cocoa powder and half Dutch process and the outcome was fudgy and delicious. 


Easy Dinner Recipe: Strata

Eggs

If there's one thing all 5 of us always agree on, it's eggs. Strata is basically a frittata with bread and I love it because I can make it ahead of time and just reheat for dinner and I can also pop it into the lunchboxes! Score! 

I've made strata with spinach and with broccoli. I've made it with cheddar cheese and goat cheese. I've made it with olives and chick peas. But the version I keep coming back to has just tomatoes, basil and cheese. It's like having an egg and tomato sandwich with cheese, only better. Way better. Here's another thing I love about strata: it's a great way to use up bread that's getting stale. (here's another use for that)

Strata

Here's what you'll need: 
10 large eggs
1/2 cup of milk
1 teaspoon kosher salt
1 1/2 cups of crusty bread, cut into one inch cubes
1 pint of grape or cherry tomatoes, halved
1/4 cup fresh basil, chopped
1 tablespoon extra virgin olive oil
Optional: 1/2 cup shredded cheese or goat cheese

Strata slice

Here's what to do:
1. Preheat the oven to 375 F
2. In a large mixing bowl, whisk together the eggs, milk and salt
3. Add the bread and combine so that the bread is totally soaked in. You can pop this in the refrigerator for 2+ hours or proceed from here. 
4. Add the tomatoes, basil (and cheese, if using) to the bowl. Combine thoroughly. 
5. Heat olive oil in a large oven-safe skillet (I prefer cast iron) over medium heat. Swirl the oil to coat the bottom and the sides. 
6. Pour the mixture into the skillet, and make sure everything is evenly spread. 
7. Bake until the eggs are completely set and the edges are golden brown, about 35-40 minutes. 
8. Let the Strata cool in the pan for at least 15 minutes.
9. Use a spatula to flip it out of the pan onto a board and serve. 

Beet & Sweet Potato Soup

Ever since my husband and I became parents (almost 11 years ago!) we've been celebrating Valentine's Day with a home cooked meal instead of going out. He's quite talented in the kitchen but he's not home in time on weekdays to cook. Valentine's Day is one of those holidays where he lets his cooking skills shine, and frankly, I love it. This year, though, we're sharing the kitchen and I'm making one of our favorites as a starter: this beautifully red, earthy and delicious Beet Sweet Potato Soup. 

IMG_5323.JPG

Look at that color! This is Mother Nature at her best. Starting our special meal with a chock-full-of -vitamin soup is just perfect. Did you know that beets are loaded with folate (a B vitamin), potassium, fiber, magnesium and vitamin C? And sweet potatoes are an excellent source of vitamin A, vitamin B, potassium, manganese and fiber? It's a powerful combination!

My husband is the son of immigrants. He ate a lot of borscht as a kid, and while this isn't a traditional borscht, it's kind of related. The best part is, it's something we both love to gulp down. I may serve this in tea cups, because it's got the consistency of a smoothie, so why not drink it?! 
The prep takes about 10 minutes and it cooks for about 40 minutes. Pureeing takes about 5 minutes so this soup is ready in under an hour.

However you choose to celebrate, I hope it's festive. ❤

Here's what you'll need:
5 beets
2 sweet potatoes (I used the Japanese white flesh variety) 
3 tablespoons avocado or neutral oil
1 small onion, chopped
2 cups vegetable broth
2 cups water
1/4 cup fresh dill, chopped plus extra for garnish
Salt and pepper to taste
Optional: sour cream or sea salt yogurt to garnish

Here's how:
1. Peel the beets and sweet potatoes and cut into 2-3 inch chunks. I like to use gloves when I do this to prevent staining.
2. In a large soup pot, sauté the onions in the oil on medium heat.

IMG_5305.JPG

3. After about 5 - 7 minutes, add all of the beets and sweet potatoes and season to taste with salt and pepper. Stir for 2-3 minutes so that the oil and onions are evenly distributed.

IMG_5306.JPG

4. Add the vegetable broth and water and turn the heat up to high. Once boiling, reduce the heat to a simmer.
5. Add the fresh dill, stir, cover and cook for 40-45 minutes.

IMG_5311.JPG

6. Purée with a stick blender. Sometimes you'll miss a spot and there will be a chunk of beet or sweet potato. That's ok. Life isn't perfect; soup doesn't have to be either. 😊
7. Taste and see whether it needs more salt or pepper.
8. Pour into bowls and garnish with dill (and sour cream, if using).

FullSizeRender.jpg

Easy Pasta with Bolognese Sauce for Weeknights and School Lunch Leftovers

courtesy of The New York Times

courtesy of The New York Times

Marcella Hazan's recipe for Bolognese sauce was a game changer for me. It's rich, flavorful, and comforting, like an evening with an old friend, and satisfying in every way. But when my youngest child turned out to be allergic to dairy, I knew I had to make some modifications so that we could enjoy this dish as a family.

Over the years, I've made some version of Bolognese at least a hundred times and the truth is, it has changed far beyond Marcella's recipe. I'm not even sure I can still call it Bolognese! But I do. And realistically, for a working mom with three kids, the recipe has evolved to a point where it's easy and fast for me to make as well as delicious and safe for all of us to eat. 

Here's what I love best about Bolognese: my kids eat it hot or cold, and basically beg for it in their lunchboxes as leftovers. 

My kids love cold Bolognese with pasta in their lunchbox!

My kids love cold Bolognese with pasta in their lunchbox!

This recipe can have loads of variation (included below) which makes it incredibly approachable. I'm now able to get pasta with Bolognese on the table in 30 minutes or less, and while it's a far cry from Marcella's slow cooked masterpiece, it fits the bill in a pinch. 

Ingredients
2 tablespoons olive oil
2 small cloves of garlic, chopped
2-3 large carrots, chopped (optional)
1 chopped onion (optional) 
1/2 cup chopped celery (optional)
1/2 red bell pepper chopped (optional) 
1.5-2 pounds ground meat (I have used beef, veal, pork and turkey. My preference is beef or pork)
salt and pepper to taste
28 ounce container tomato puree or crushed tomatoes
pinch of ground nutmeg
3-4 tablespoons of fresh basil, chopped
1 pound of pasta
Freshly grated parmesan cheese (optional) 

Method
1. Put the oil in a pot on medium heat and add the garlic and onion (if using). After one minute, add the carrot celery and/or peppers (if using) and cook for about 2 minutes until the veggies are fragrant and evenly coated in oil. 

2. Add the ground meat and break up chunks with a wooden spoon, incorporating the veggies with the meat. Cook on low to medium heat until the meat is no longer raw and season with salt and pepper. 

3. Add the tomato and stir frequently until all ingredients are nicely combined. Add the pinch of nutmeg and stir again. 

4. Add half of the freshly chopped basil, stir and let the sauce simmer for another 15-20 minutes while you make 1 pound of pasta. 

5. Toss with cooked drained pasta and add remaining basil to garnish. 

Enjoy immediately and then enjoy leftovers the next day! 

Pizza Pockets

Pizza Pockets

Pizza. I said it and you got hungry, right? My two older kids love it, but if we eat pizza, it's always made at home. My youngest is dairy free and ordering a cheeseless slice is too hard sometimes. Pizza Pockets are a new fun way for us to eat pizza as a family and they're a great opportunity for us to customize our toppings, or fillings, as it were. The end result is a dish full of pull-apart pizza magic! It's hands-on fun for the family, and if you're a fan of the DIY meals like we are, you'll want to add this to your list. These are great for packing in those lunchboxes too, and so easy to add to the LaLa Lunchbox food library! 

Here's what you'll need: 
Pizza dough (I used multigrain that I bought at the supermarket)
Tomato sauce
Cheese
Fillings (we used sausage, kale and red peppers)

Here's what to do:
1. Preheat the oven to 425 F. Line a baking dish with parchment paper and brush with olive oil. Roll our your pizza dough on a floured surface until it's about 1/2 inch thick. Using a circle shaped cookie cutter, cut the dough into circles and set aside. 

dough circles

2. Add a spoon of sauce to the center of each dough circle. 

dough + sauce

3. Add your fillings. I sautéed sweet Italian sausage with kale, red onion and red bell peppers in advance but anything goes here! 

Pizza Pocket with topping

4. Add cheese. Looks like a mini pizza! 

Pizza Pocket with cheese

5. Fold up the sides into a ball, give it a little twist and place it with the seam down into your baking dish. I've marked the dairy free ones with an oregano leaf on top. Brush the tops with olive oil. 

Pizza Pockets ready to be baked

6. Bake at 425 for approximately 30-35 minutes. Here's what it looks like when done: 

Pizza Pockets fresh out of the oven

And the inside? Yummazing. These are easy to pull apart, delicious to eat and also great for lunchbox leftovers the next day! 

Pizza pocket deliciousness