Recipe

Chicken and Veggie Lo Mein

Chicken and Veggie Lo Mein

Chicken and Veggie Lo Mein

Chicken and Veggie Lo Mein is on repeat at my house these days. The veggies and the noodles may change depending on what I’ve got in the fridge and pantry, but the sauce! That’s the key here. 😍 

I switch frequently between gluten free pasta and other times I use regular pasta, depending on what I have in my pantry. I often add chicken to this recipe, but it’s definitely doable without any meat. I love this dish because it’s loaded with veggies, protein, and fiber — basically a “bowl in one!” 

veggie loaded

veggie loaded

I’ve adapted this recipe from my friend Karen @healthygffamily and my kids are psyched to get leftovers in their lunchboxes. Check this out if you’re looking for more pasta-inspired lunchboxes.

Chicken and Veggie Lo Mein

lo mein ingredients

lo mein ingredients

INGREDIENTS

Sauce
5 tablespoons tamari or soy sauce
1 tablespoon sesame oil
1 teaspoon sugar
1 teaspoon rice vinegar

Lo Mein
12 ounces of dry pasta (gluten free or regular)
1 tablespoon neutral oil
1 tablespoon sesame oil
2-3 cups chopped vegetables (I used broccoli, carrots, shitake mushrooms, snow peas and bell peppers here but you can use anything you’d like).

Chicken
4 boneless, skinless chicken thighs (we prefer the thighs for their juiciness but you can use any chicken part that you prefer)
1-2 tablespoons olive oil
salt and pepper to taste

METHOD

Pasta

  1. Cook pasta as directed.

Sauce

  1. Whisk the sauce ingredients together in a small bowl and set aside.

Chicken

  1. Preheat the oven to 375 F.

  2. Place the chicken parts on a parchment-lined baking sheet.

  3. Drizzle with olive oil and sprinkle with salt.

  4. Roast for approximately 25-30 minutes until the thighs are cooked through and still juicy.

  5. Remove from oven and slice into chunks.

Lo Mein

  1. Heat the neutral oil and sesame oil in a large skillet or wok. Add the vegetables and stir fry until crisp-tender, about 5 minutes, depending on which vegetables you use.

  2. With the heat set to medium low, add the cooked chicken and noodles to the pan with about half of the sauce. Toss to combine. Taste and add more sauce if desired.

chicken and veggie lo mein

chicken and veggie lo mein

Mango Salad

‘Tis the season when mangoes are starting to crop up everywhere and I couldn’t be happier! Ataulfo mangoes captured my heart years ago, and I look forward to their return every year. I can eat one every day, if given the opportunity. You too?

Mango Salad

Mango Salad

Mango

Mango

I developed this Mango Salad because I love mango salsa, and really wanted to just eat it with a fork. You know what I mean? That’s the situation here, and it’s incredibly satisfying. Feel free to eat this with a spoon, a fork, with chips, in a lettuce wrap, on avocado toast, whatever. The recipe is versatile. If you give this recipe a try, tag me @lalalunchbox.

Mango Salad ingredients

Mango Salad ingredients

MANGO SALAD

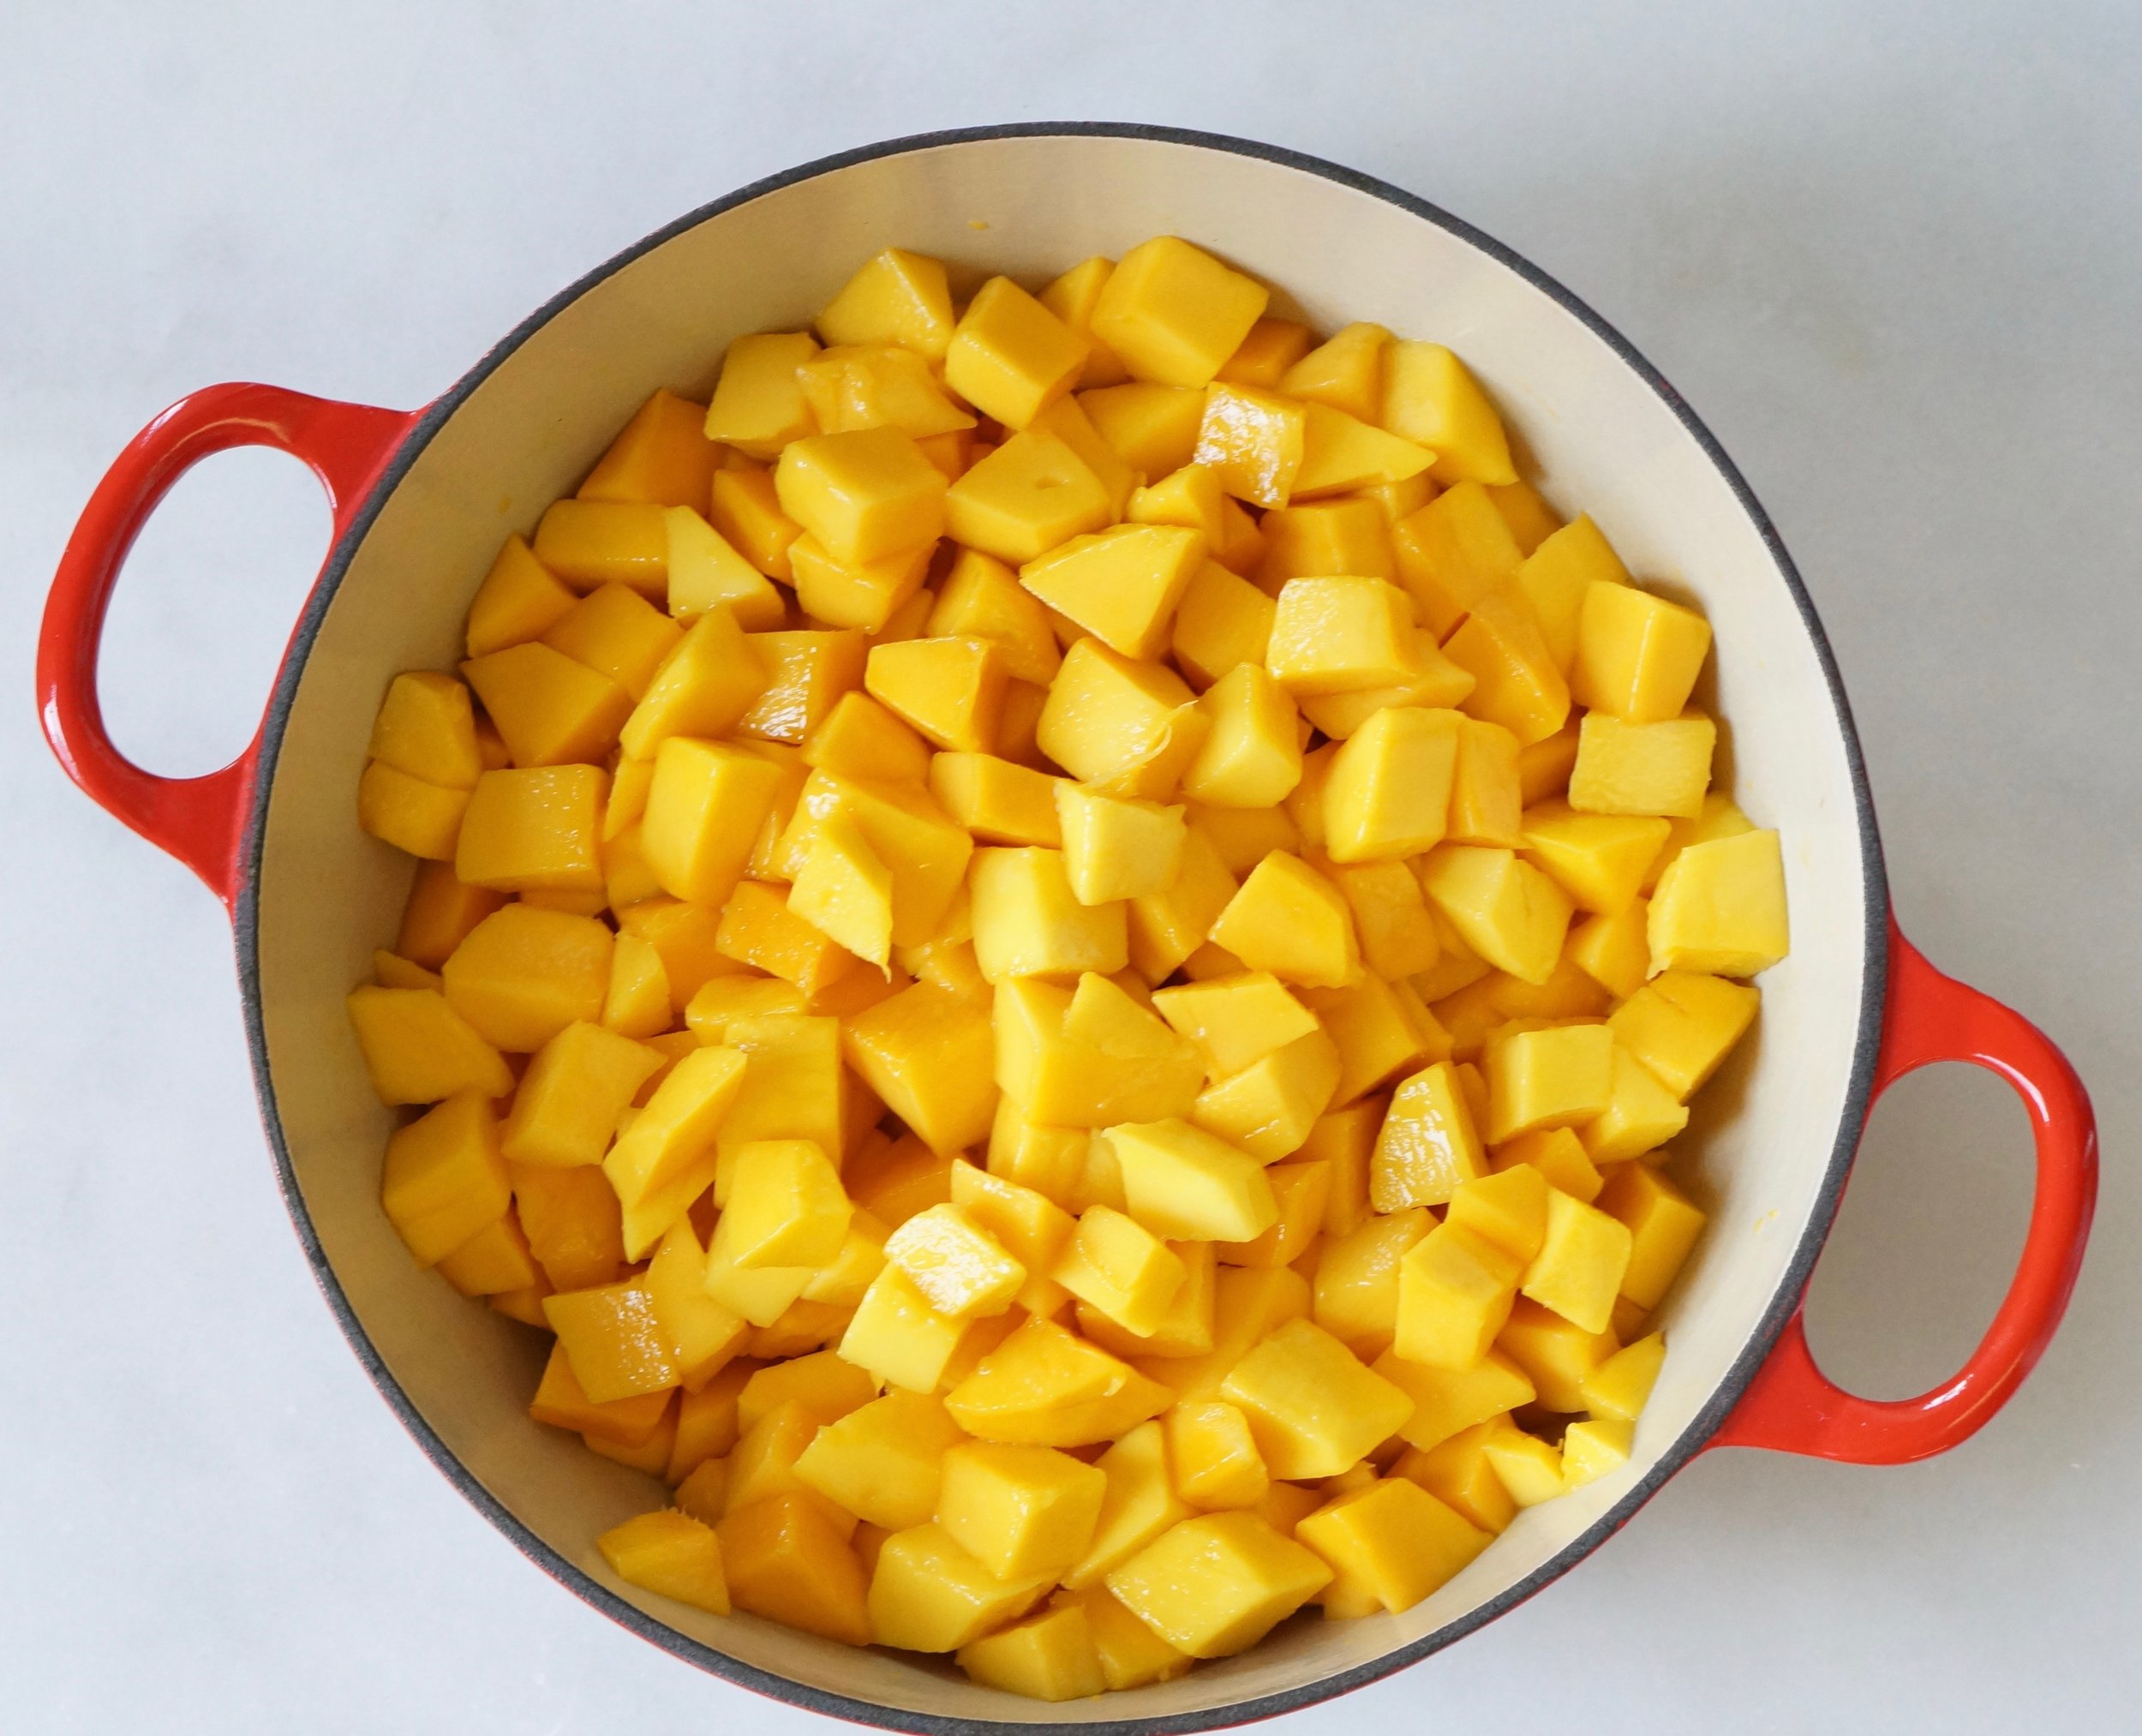
6 cups champagne/Ataulfo mangoes cut into 1 inch cubes (from 8 mangoes)
1 cup diced red onions
1/2 cup fresh squeezed lime juice
1 cup chopped parsley
1/2 cup chopped cilantro
1 tablespoon diced jalapeño (or to taste)
1/2 teaspoon flake salt
1/2 teaspoon lime zest
fresh cracked pepper to taste

Chop the mangoes and place them into a large bowl. In a separate bowl, add the chopped red onions and lime juice. Let that sit for at least 5 minutes so that the acid from the lime juice mellows the bite of the onion slightly. While that sits, add the chopped parsley and chopped cilantro to the mango, as well as the chopped jalapeño, if using. Combine thoroughly. Incorporate the lime-onions. Add salt, lime zest and cracked pepper and combine again. Eat immediately or store in the refrigerator for up to 3 days. The longer this sits, the more intense the flavors will become.

Gluten Free Brownies

For your Valentine or for any time, these Gluten Free Brownies will absolutely hit the spot. Here I’ve made them into heart shaped bites for Valentine’s Day, but this is a recipe that I make whenever the mood strikes. They’re fudgy and satisfying, and perfect to stash away in your freezer.

I love these brownies because they satisfy my chocolate cravings immediately, and in 2 bites. Talk about instant gratification! I normally make these in an 8x8 pan, but I’ve used heart shaped molds here for Valentine’s Day. It works in virtually every shape, as long as you adjust the cooking time. I love that this recipe is easy and flexible like that. The heart shaped mini molds baked for 21 minutes, versus an 8x8, which takes 24-28. The larger heart took 23 minutes to bake. I love inviting my kids into the kitchen for this one!

Gluten Free Brownies for Valentines Day

If you don’t have oat flour and don’t want this to be gluten free, you can substitute ap flour here. If you have oats but no oat flour, you can use your blender or food processor to make your own oat flour. I hope you love these as much as we do! If you make this recipe, tag me @lalalunchbox and let me know!

Gluten Free Brownie Bites

Gluten Free Brownie Batter

1 cup sugar
10 tablespoons unsalted butter
3/4 cup unsweetened cocoa powder
1/4 heaping teaspoon flake salt
1 teaspoon vanilla extract
2 large eggs
1/2 cup oat flour

Preheat the oven to 325°F

Line an 8x8 pan with parchment paper. 

Melt the butter and place in a large bowl. Add the sugar and beat to combine. Next, incorporate the cocoa powder slowly and thoroughly. Continue with the salt, vanilla, eggs and flour making sure everything is fully mixed. The batter should be slightly pasty. Pour into your baking pan and bake for 25-28 minutes. 

Notes:

I like to cut mine into small pieces, so for us, this makes at least 20 brownies. 
I’ve used Dutch process cocoa here too, which makes the brownies even fudgier because there is no baking powder as a leavening agent. You can add 1/2 teaspoon of baking powder if you use Dutch process cocoa. I’ve also used half natural cocoa powder and half Dutch process and the outcome was fudgy and delicious. 


Easy Dinner Recipe: Strata

Eggs

If there's one thing all 5 of us always agree on, it's eggs. Strata is basically a frittata with bread and I love it because I can make it ahead of time and just reheat for dinner and I can also pop it into the lunchboxes! Score! 

I've made strata with spinach and with broccoli. I've made it with cheddar cheese and goat cheese. I've made it with olives and chick peas. But the version I keep coming back to has just tomatoes, basil and cheese. It's like having an egg and tomato sandwich with cheese, only better. Way better. Here's another thing I love about strata: it's a great way to use up bread that's getting stale. (here's another use for that)

Strata

Here's what you'll need: 
10 large eggs
1/2 cup of milk
1 teaspoon kosher salt
1 1/2 cups of crusty bread, cut into one inch cubes
1 pint of grape or cherry tomatoes, halved
1/4 cup fresh basil, chopped
1 tablespoon extra virgin olive oil
Optional: 1/2 cup shredded cheese or goat cheese

Strata slice

Here's what to do:
1. Preheat the oven to 375 F
2. In a large mixing bowl, whisk together the eggs, milk and salt
3. Add the bread and combine so that the bread is totally soaked in. You can pop this in the refrigerator for 2+ hours or proceed from here. 
4. Add the tomatoes, basil (and cheese, if using) to the bowl. Combine thoroughly. 
5. Heat olive oil in a large oven-safe skillet (I prefer cast iron) over medium heat. Swirl the oil to coat the bottom and the sides. 
6. Pour the mixture into the skillet, and make sure everything is evenly spread. 
7. Bake until the eggs are completely set and the edges are golden brown, about 35-40 minutes. 
8. Let the Strata cool in the pan for at least 15 minutes.
9. Use a spatula to flip it out of the pan onto a board and serve. 

Beet & Sweet Potato Soup

Ever since my husband and I became parents (almost 11 years ago!) we've been celebrating Valentine's Day with a home cooked meal instead of going out. He's quite talented in the kitchen but he's not home in time on weekdays to cook. Valentine's Day is one of those holidays where he lets his cooking skills shine, and frankly, I love it. This year, though, we're sharing the kitchen and I'm making one of our favorites as a starter: this beautifully red, earthy and delicious Beet Sweet Potato Soup. 

IMG_5323.JPG

Look at that color! This is Mother Nature at her best. Starting our special meal with a chock-full-of -vitamin soup is just perfect. Did you know that beets are loaded with folate (a B vitamin), potassium, fiber, magnesium and vitamin C? And sweet potatoes are an excellent source of vitamin A, vitamin B, potassium, manganese and fiber? It's a powerful combination!

My husband is the son of immigrants. He ate a lot of borscht as a kid, and while this isn't a traditional borscht, it's kind of related. The best part is, it's something we both love to gulp down. I may serve this in tea cups, because it's got the consistency of a smoothie, so why not drink it?! 
The prep takes about 10 minutes and it cooks for about 40 minutes. Pureeing takes about 5 minutes so this soup is ready in under an hour.

However you choose to celebrate, I hope it's festive. ❤

Here's what you'll need:
5 beets
2 sweet potatoes (I used the Japanese white flesh variety) 
3 tablespoons avocado or neutral oil
1 small onion, chopped
2 cups vegetable broth
2 cups water
1/4 cup fresh dill, chopped plus extra for garnish
Salt and pepper to taste
Optional: sour cream or sea salt yogurt to garnish

Here's how:
1. Peel the beets and sweet potatoes and cut into 2-3 inch chunks. I like to use gloves when I do this to prevent staining.
2. In a large soup pot, sauté the onions in the oil on medium heat.

IMG_5305.JPG

3. After about 5 - 7 minutes, add all of the beets and sweet potatoes and season to taste with salt and pepper. Stir for 2-3 minutes so that the oil and onions are evenly distributed.

IMG_5306.JPG

4. Add the vegetable broth and water and turn the heat up to high. Once boiling, reduce the heat to a simmer.
5. Add the fresh dill, stir, cover and cook for 40-45 minutes.

IMG_5311.JPG

6. Purée with a stick blender. Sometimes you'll miss a spot and there will be a chunk of beet or sweet potato. That's ok. Life isn't perfect; soup doesn't have to be either. 😊
7. Taste and see whether it needs more salt or pepper.
8. Pour into bowls and garnish with dill (and sour cream, if using).

FullSizeRender.jpg