Dulce de Leche Birthday Cake

Dulce de Leche cake with Spiced Whipped Cream

I like to bake. I like to cook. The two things are not the same for me, though. When I cook, I don't usually follow recipes to the T. To me, that's part of the fun. Cooking is an art that improves over time. Baking is different. Baking is a science, with measurements that need to be exact. I happen to like both, but I cook much more frequently than I bake. 

One thing I love to bake is birthday cake. Who doesn't love birthdays?! I don't usually love cake (why eat cake when you can eat cookies?) but I love celebrating. So when I was asked to make a Dulce de Leche cake by my friends' sweet son for his 12th birthday, I was happy to oblige. 

The problem was, I had never made a dulce de leche cake. And I don't actually love dulce de leche, as it's usually too sweet for me. Still, I perused recipes. I reached out to folks on Instagram. And I tested several recipes. Would dulce de leche go better with a white cake or a chocolate cake? I had to find out. Ultimately I decided to go with white cake, and I used a tried and true recipe that my mother shared with me ages ago. (recipe below)

dulce de leche

As for the dulce de leche, I made my own. Dulce de Leche is a creamy caramel sauce made from milk and sugar. You can speed up the process (which takes 7 hours!) by using sweetened, condensed milk and heating it for a long time until it caramelizes. Several recipes suggested that I boil the can - the whole can, unopened - for 2-3 hours. Boiling the can sounded weird to me. Is that even safe? I didn't know, but I saw the same instructions in so many places, so I gave it a try. The outcome was great. A uniform caramel color with a creamy sweet deliciousness. Still, the idea didn't sit well with me. I didn’t feel safe about it  

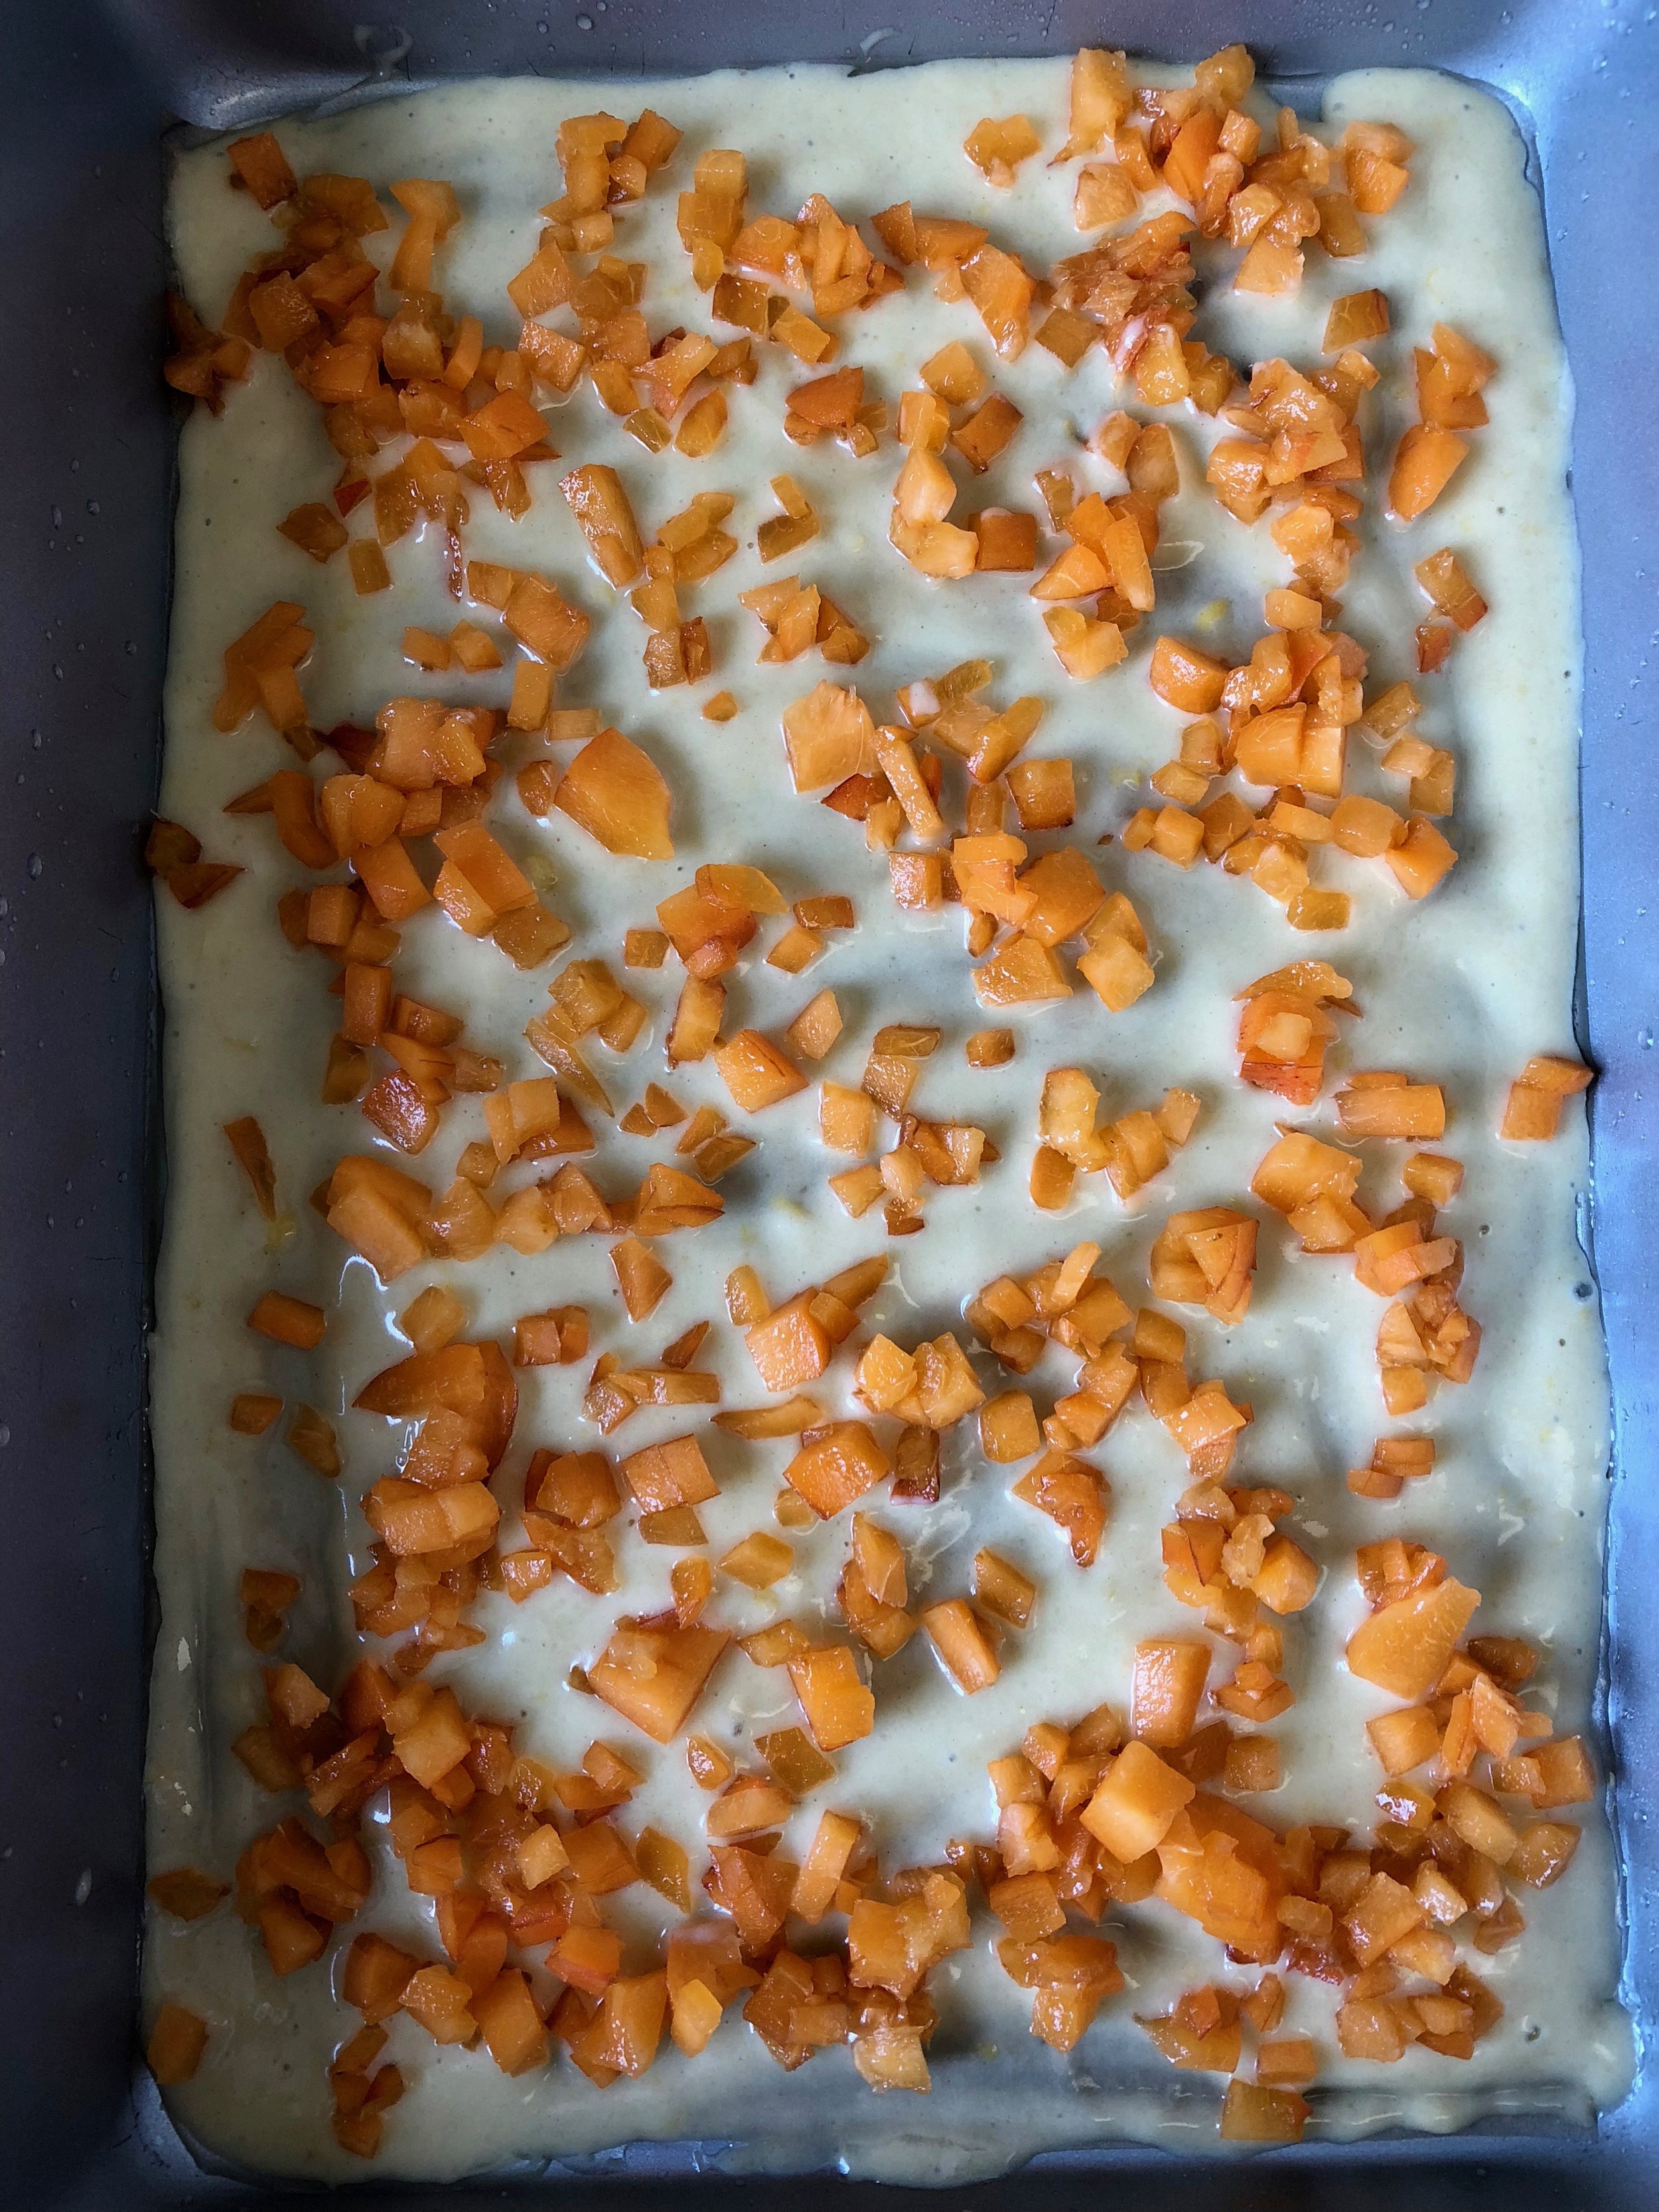
I wondered if I could get the same result by slow cooking condensed milk without using the can. I found several sources that suggested I could pour sweetened condensed milk into an 8x8 pan and put that dish inside of a 9x13 pan filled 3/4 of the way up with water. I placed it into an oven preheated to 400 degrees and cooked it for 90 minutes, stirring occasionally, until it became dulce de leche. When the cooking process was done, I whisked vigorously. The outcome wasn't uniformly colored, and there were some bits of condensed milk that became small clumps. At first I was disheartened by this. But ultimately I realized it's these small bits that make the texture interesting. They give life to the dulce de leche. So I went with it. 

Whipped cream frosting for the dulce de leche cake

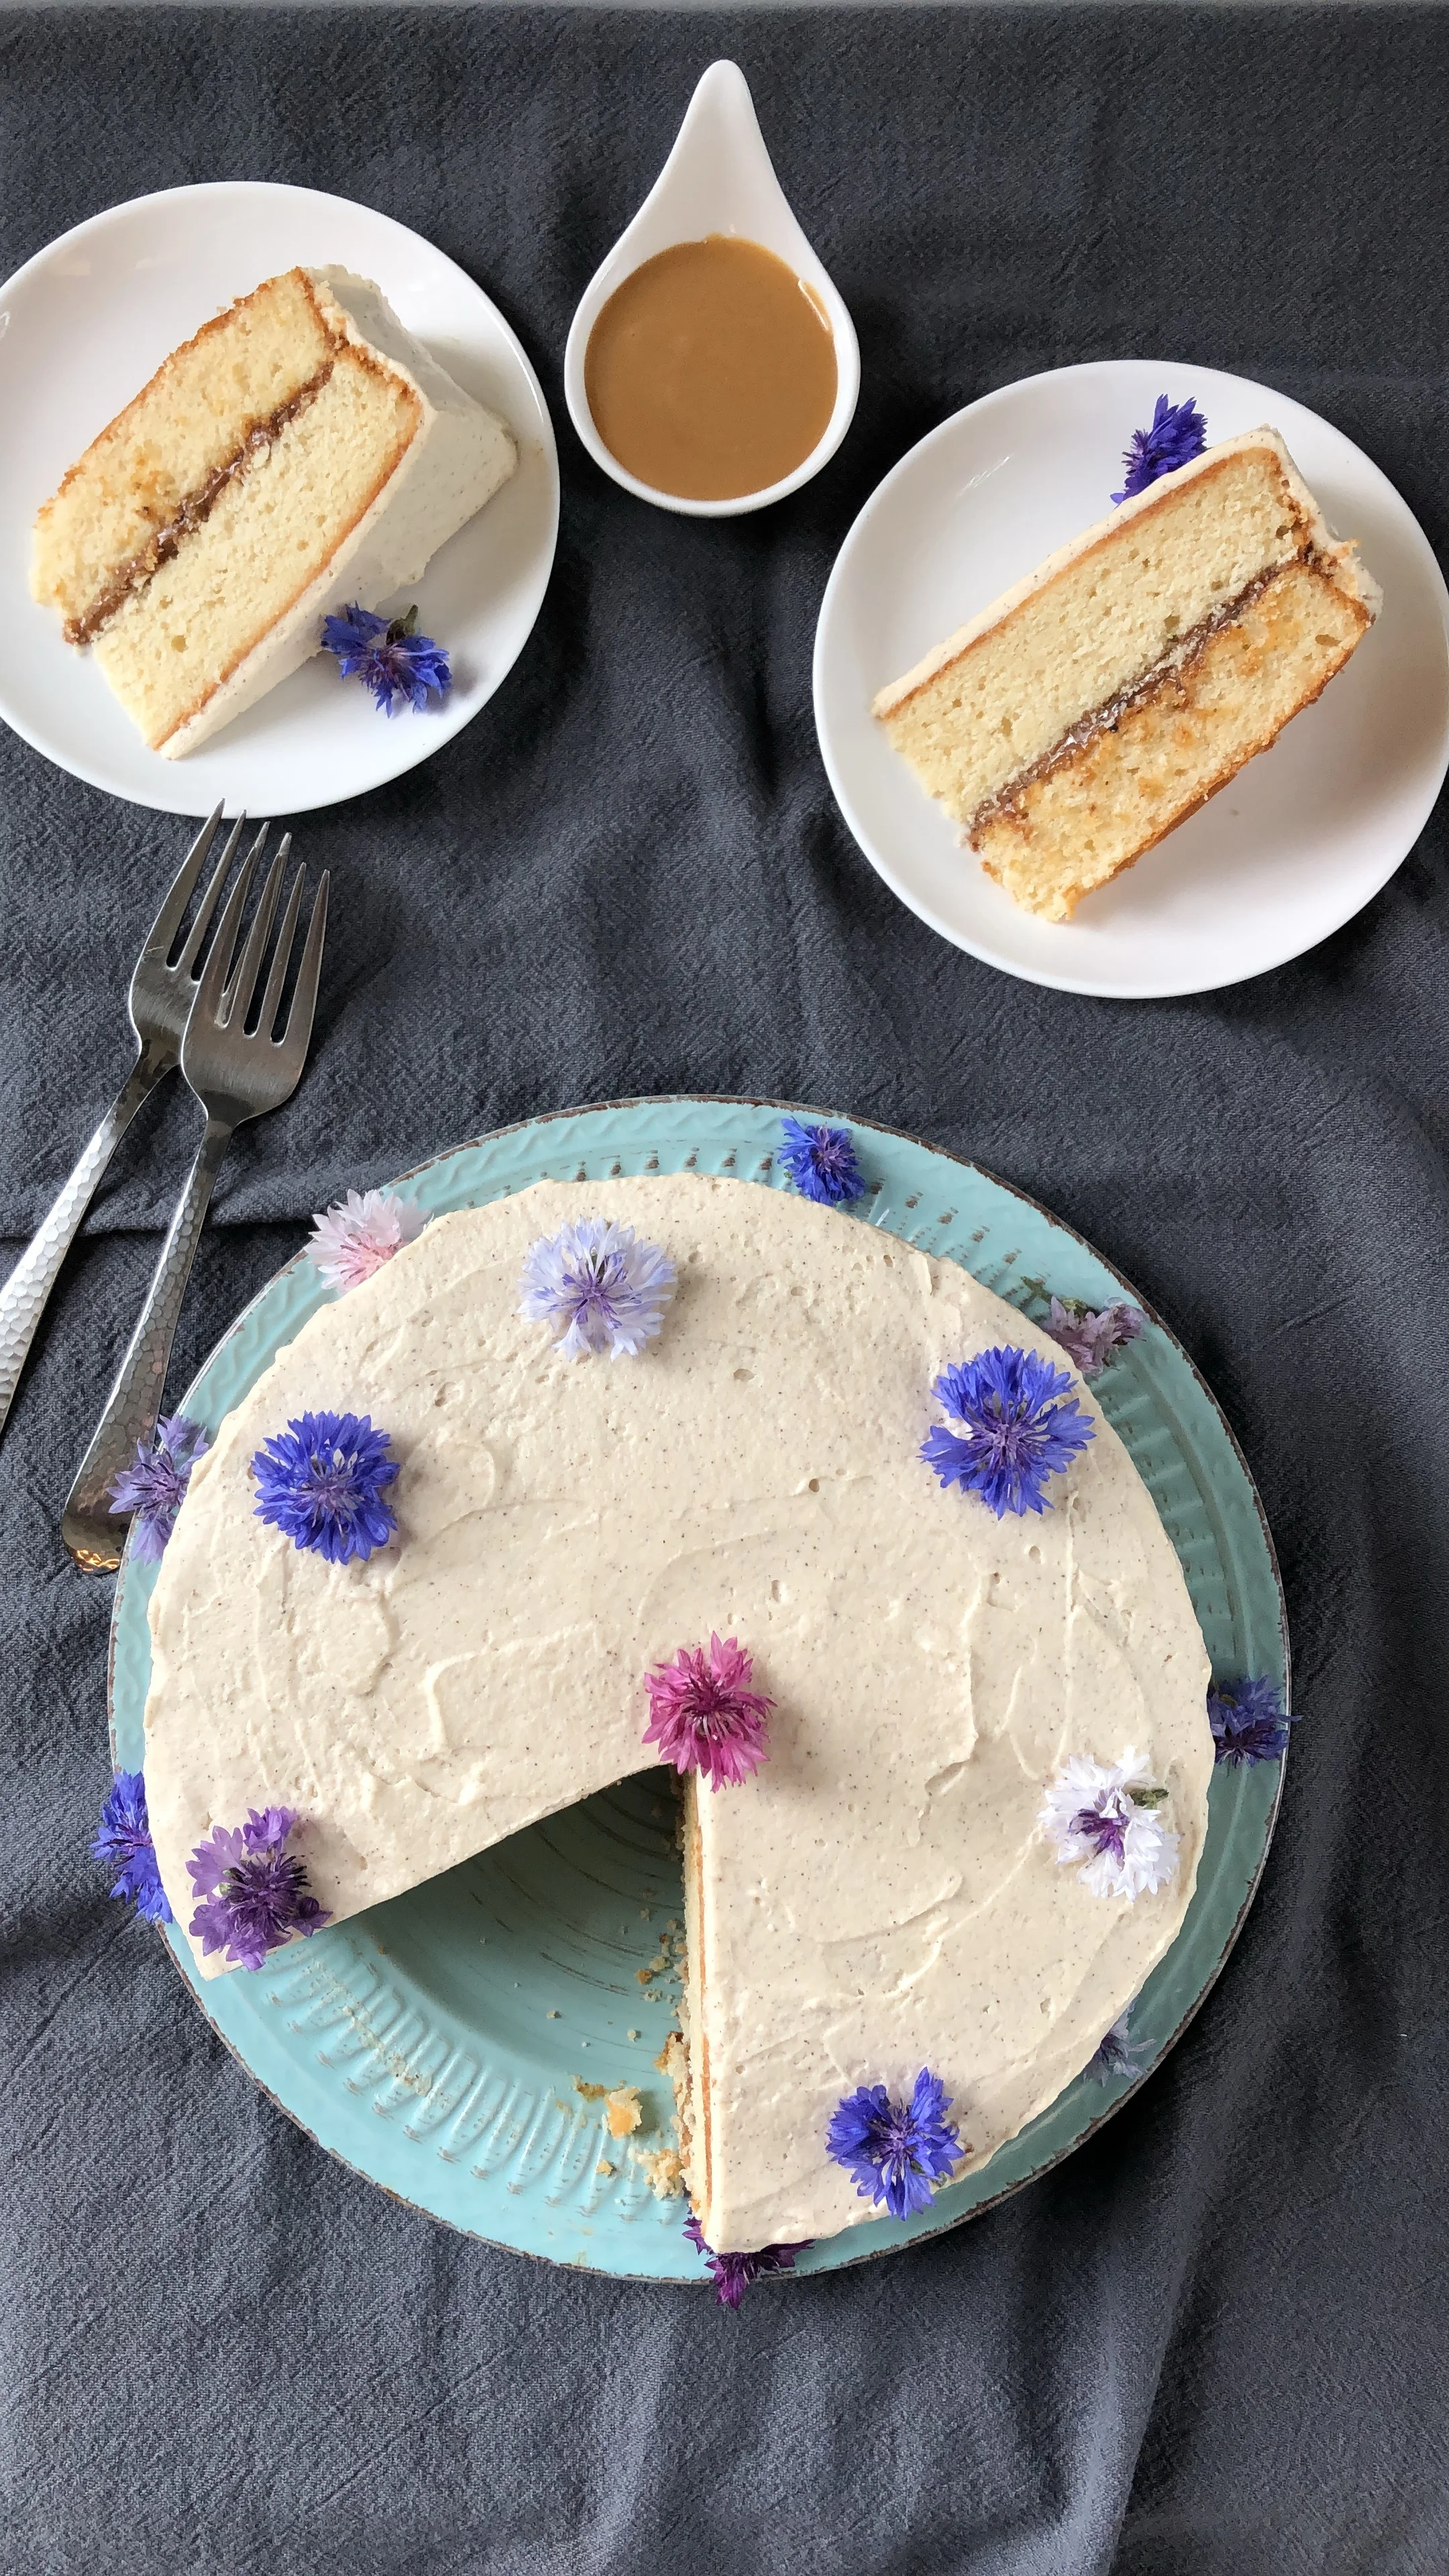
I used the dulce de leche as the glue that held the two cake layers together, and also in the frosting. Instead of going with a buttercream frosting or anything that required confectioners sugar, I went with a whipped cream frosting. (recipe below) The results were fabulous! This cake went over so well, and frankly, I was relieved. I will absolutely make this again!

White Cake (makes two layers) 

  • 1 cup butter
  • 1-1/2 cups sugar (divided)
  • 1 teaspoon vanilla extract
  • 3 cups all-purpose flour
  • 1 tablespoon baking powder
  • 1/2 teaspoon salt
  • 1-1/4 cups milk
  • 5 large egg whites

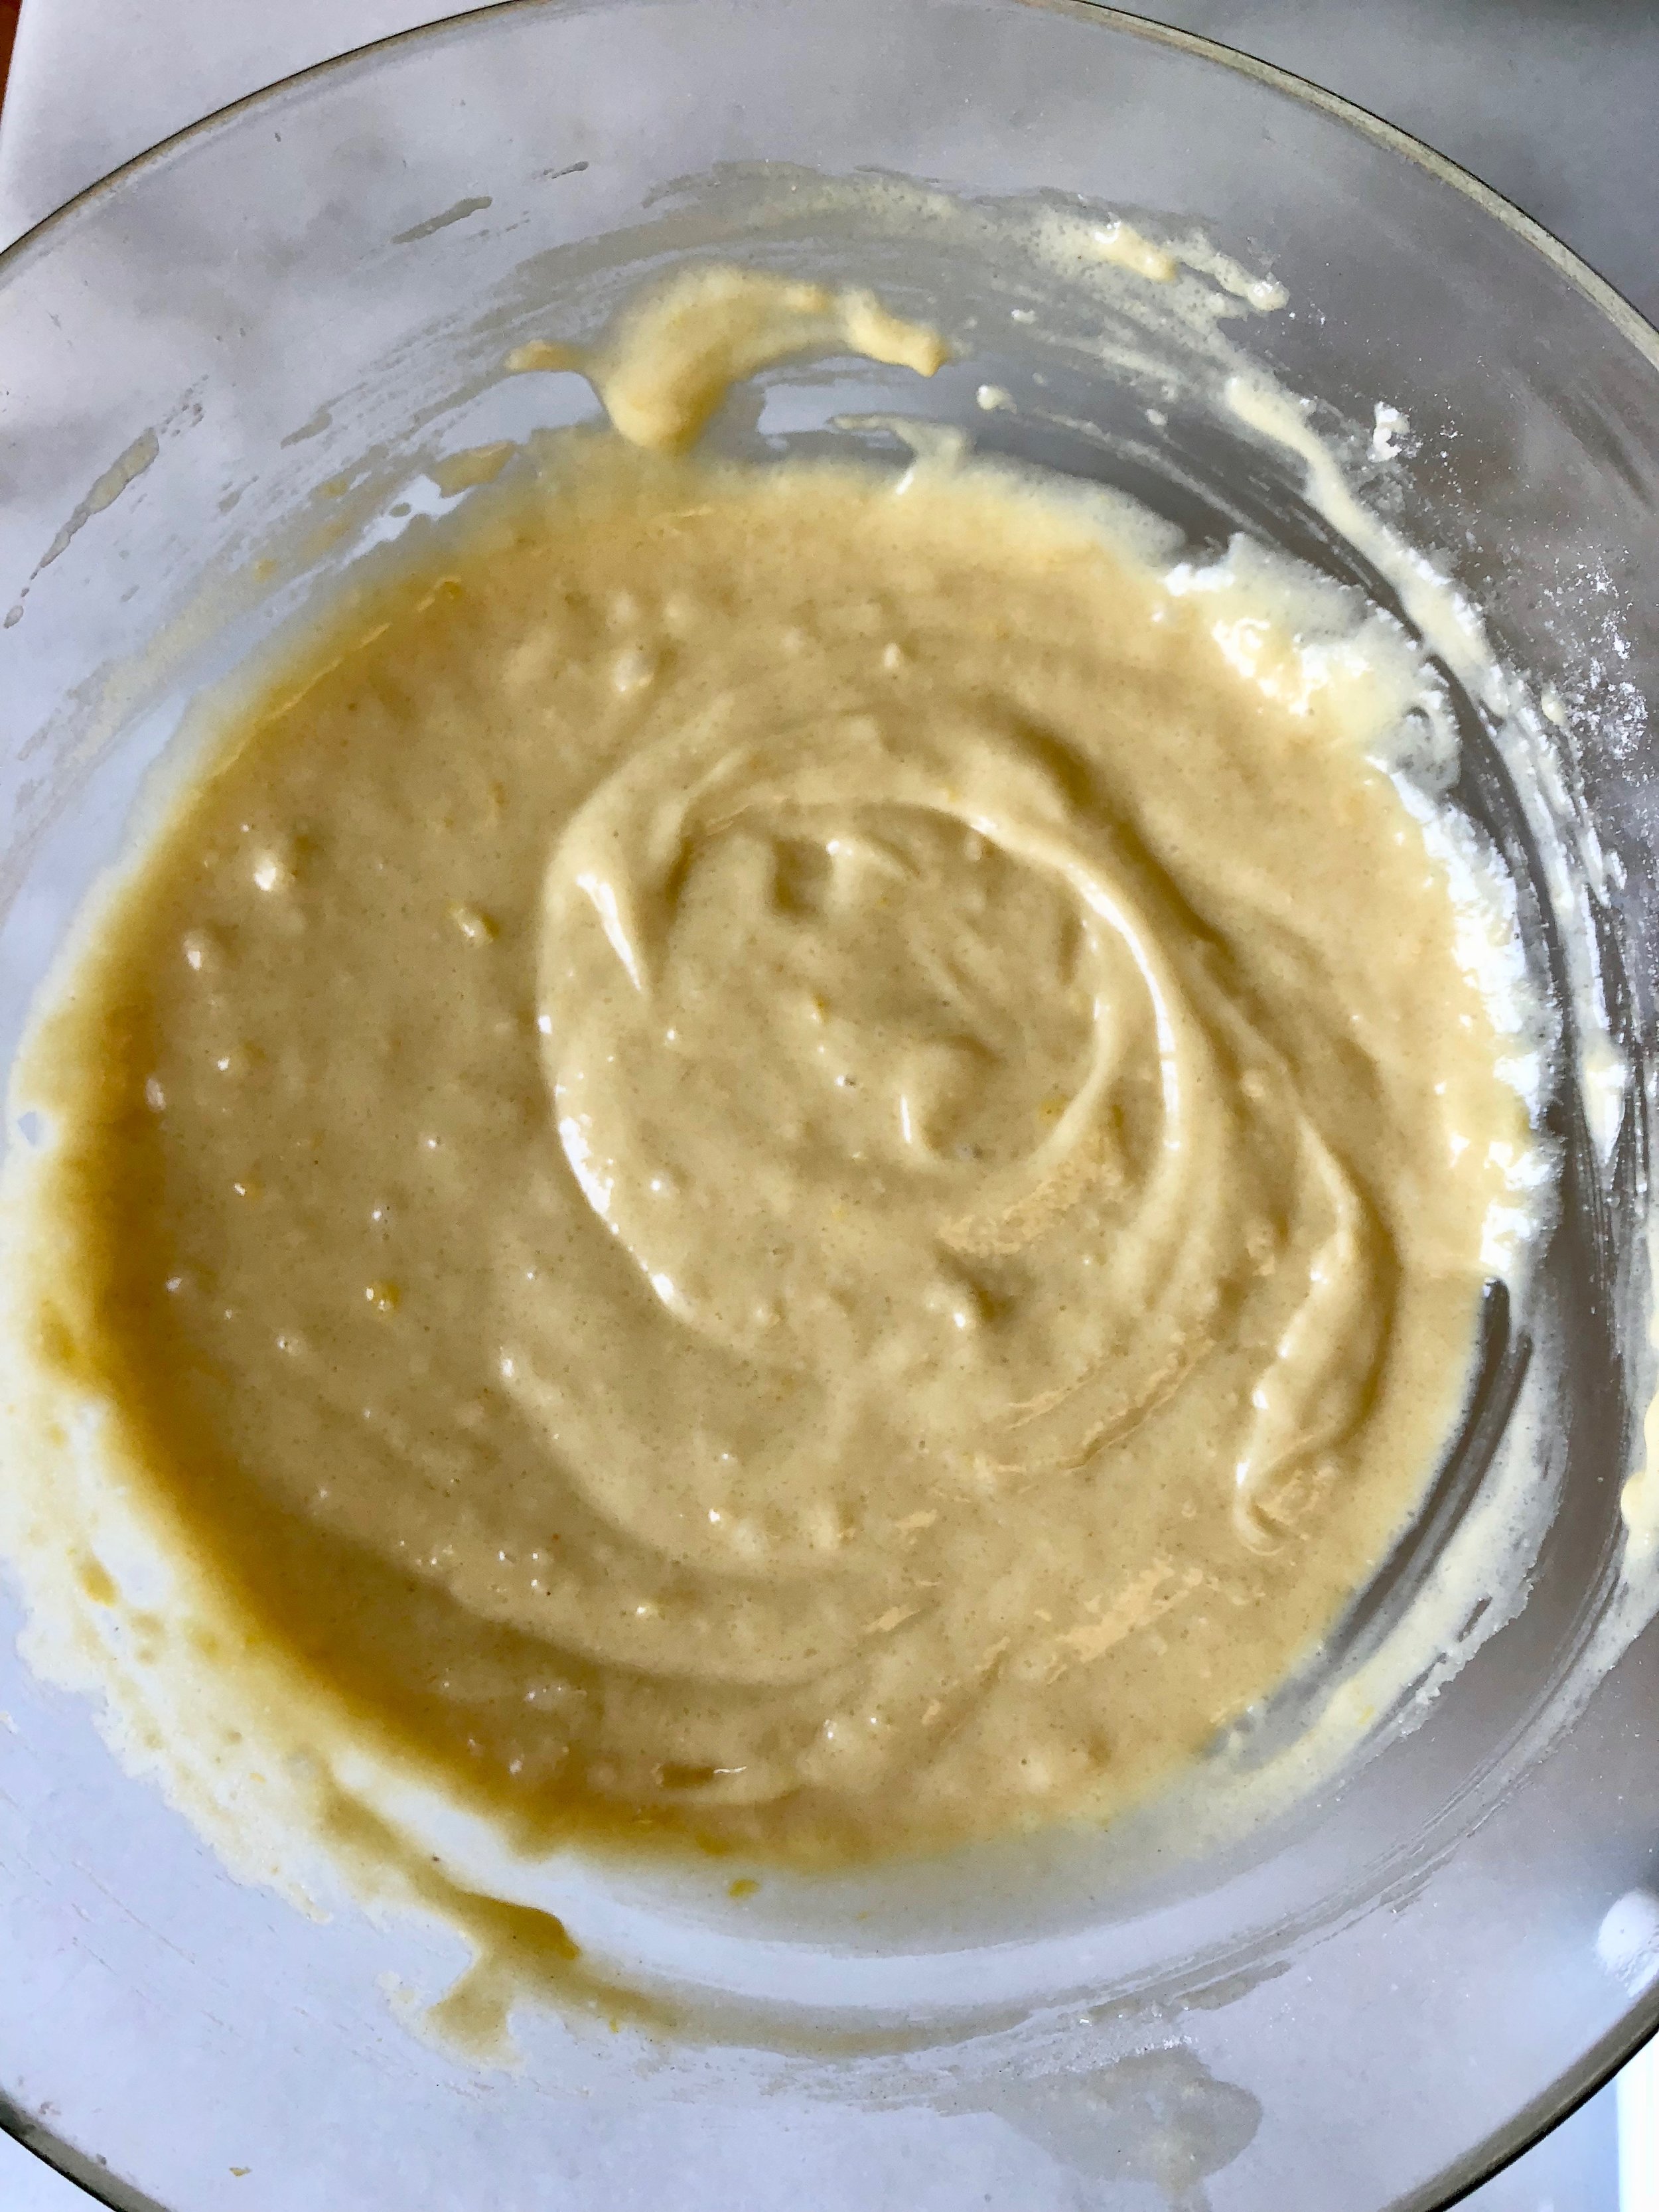
Preheat the oven to 375 degrees. Grease the sides and bottom of two 9 inch cake pans. In a large bowl or an electric mixer beat the butter and 1-1/4 cups of the sugar until the mixture is smooth and creamy. If your butter is already at room temperature, you can do this by hand. Add the vanilla extract. In a separate bowl, combine flour, baking powder and salt. Add the flour mixture to the butter mixture in parts, alternating with the milk and gently mixing after each addition. In another bowl, beat the egg whites until they stand in soft peaks. Still beating, gradually add the remaining 1/4 cup sugar and beat until the mixture stands in stiff peaks. Gently fold the beaten egg whites into the batter. Pour the batter into the prepared cake tins. Bake about 32-34 minutes or until a cake tester inserted into the center comes out clean.
Let cool completely before taking out of the pan. Use a very sharp long knife to flatten the tops of each layer. Spread the dulce de leche generously on top of one layer and then place the second layer on top of that. Frost with spiced whipped cream and enjoy! Serve with extra dulce de leche on the side (optional) 

Spiced Whipped Cream
2 cups heavy whipping cream
2 teaspoons cinnamon
1/4 cup dulce de leche
pinch of salt

Using the whisk attachment of your standing mixer or a hand mixer, whisk the heavy cream on high until it begins to change form into whipped cream. Once you see that change, add the cinnamon, dulce de leche and salt and continue mixing until desired consistency. I prefer it well whipped, as I think it spreads best onto cakes. 

dulce de leche cake

Dairy Free S'mores Parfaits

campfire for s'mores

We kick off the start of summer every year with s'mores around a campfire on Memorial Day weekend. And though my kids absolutely love s'mores, we usually never have them after that. 

It's kind of a shame really. S'mores are basically the unofficial summer dessert, so why do we limit it to just once? I'll tell you why: campfires are a rare treat for us. No campfire, no s'mores. 

Until now. 

This year on Memorial Day weekend, I did something unexpected: I bought a container of fluff. My kids were flummoxed. I've never bought fluff in all my years as a parent. But somehow in the grocery store, I got the idea to combine fluff with brownies, and this recipe came into existence.  

Everyone cheered. But I still had a ton of fluff leftover. What to do? I set out to create a s'mores recipe that didn't require a campfire. It worked! My kids have been happily having s'mores parfaits all summer for the first time ever. Do they have that toasted marshmallow flavor? Nope. But no one seems to be complaining. 

sharing s'mores

The first step to making these s'mores parfaits is to make the chocolate pudding. I've used Ghirardelli 72% cocoa squares, which have a deep cocoa flavor and are dairy free. I added avocado to make it super creamy and plant-based milk to keep it dairy free. Because fluff is so sweet, and graham crackers are also usually sweet, I didn't want to overdo it and add sugar. I wanted the chocolate flavor to ground this dessert. The creaminess of the avocado tempers the bite of the cocoa, and lightens the flavor overall, making this a universally loved dessert around here. 

s'mores parfait ingredients

As an aside, I've been loving a yogurt called White Moustache recently, and they come in little 8 ounce glass jars. I keep the jars and use them for a million things, and these s'mores parfaits are just one example. An 8 ounce jar makes this dessert perfect for sharing, as it's quite large for just one person. Of course, you can modify the size of the container that you use. 

You can also use chocolate chips in place of the chocolate squares. Be sure to use chips that are high in cocoa content - I recommend 60% or more - to maintain the balance. I've also used the ghirardelli 60% cocoa squares with great success here, which yields a lighter cocoa flavor. 

All you'll need to make this parfait is a blender. If you don't have a microwave to melt the chocolate, use a double boiler and melt it old school on the stove top. 

The trickiest part of putting it all together is layering the graham cracker crumbs, chocolate pudding and fluff. The fluff is the hardest part, because quite frankly, it's sticky, so you'll be either rinsing your hands a lot, or licking them! And even if you don't master the layering on your first go, I guarantee that you'll have a good time licking your fingers! 

Dairy free s'mores parfaits

Dairy free s'mores parfaits

Ingredients
10 ghirardelli 72% cocoa squares, melted (or 3/4 cup chocolate chips, at least 60% cocoa)
1 ripe avocado, peeled and pitted
1/2 cup milk or plant milk
2 tablespoons unsweetened cocoa powder
2 teaspoons vanilla extract
Pinch of sea salt

1/2 cup (heaping) marshmallow fluff

8 full rectangles of graham crackers, crushed into crumbs

2 8 oz glass jars

Berries, for garnish

Makes 2 8 oz parfaits, (serves 4 total)

Method
1. Melt the chocolate. I used my microwave on high for about one minute and stirred until everything was melted and uniform. 

2. Combine melted chocolate, avocado, milk, cocoa powder, vanilla extract and salt in a blender. Purée on high for about 30-60 seconds until smooth and creamy. Scrape down the sides to make sure all ingredients are included. 

3. Crush graham crackers, either with a cuisinart or the old fashioned way (like I did) in a bag using a rolling pin. Make sure the bag is closed so that crumbs don't go flying everywhere! 

4. Separate the graham crackers into four approximately equal amounts. Use the first two piles to line the bottom of the two glass jars. Use the back of a spoon to pat down. 

5. Carefully spoon in some chocolate pudding on top of the graham cracker layer. Pat down. 

6. Next add about a heaping 1/8 cup of marshmallow fluff to each cup and use your fingers to pat down as much as possible. 

7. Repeat each of those layers until the cup is filled and refrigerate for at least an hour. 

8. Garnish with berries (and/or flake salt) and serve. 

These lasted beautifully in my refrigerator (covered) for two days, and I was happy to see that the fluff stayed ooey and gooey, just like in a s'more. 

You can pretend it's summer all year round with this recipe, so when it's the dark of winter and you need a little sprinkling of summer, whip these up! 

s'mores parfaits

Tomato Tarte Tatin with Caramelized Onions

summer sungold tomatoes

summer sungold tomatoes

Brunch was always something I looked forward to at the home of our longtime family friends, Rachel and Yehuda.  Their easy company and Rachel's delicious cooking guaranteed a lovely afternoon. They entertained gracefully and graciously and Rachel had a knack for finding great recipes. She had a knowledgeable palate, and could recreate dishes that she loved in restaurants or read in print seemingly effortlessly. After coming across a recipe for Tomato Tarte Tatin from Melissa Clarke in the New York Times, she decided to give it a try. It immediately became one of her favorite dishes.

When Rachel passed away recently from ovarian cancer, the world lost one of it's kindest people. Yehuda and their children planned a celebration of her life, as a way for her loved ones to gather together and collectively remember all of the joy that Rachel brought to them over the years. Yehuda reached out to some folks, including me, and asked us to bring some of Rachel's favorite dishes with recipes that he provided. I was asked to make the Tomato Tarte Tatin. Admittedly, I was nervous. I intended to make at least one as a trial run, but time slipped away from me. 

tomato tarte tatin

On the day of the celebration, I kept thinking of something my grandma used to say about never bringing something you've never made before to a dinner party. Gulp. And because this tarte is fully contained in puff pastry, I wasn't able to taste it ahead of time. But wow did it smell delicious! It seemed promising.

When I arrived, I was struck. There were photos everywhere of Rachel (and her loved ones). They told a powerful story of a humble, wise, happy woman who traveled, spent time with people she cared about, danced, cooked, worked and raised kids. It was an eye opening way to mourn and to celebrate the life of those who we've lost. 

One other person was asked to make the tarte, so if mine was a complete fail, at least there was a different version available. The evening was bittersweet, as you can imagine, and as it turned out, my tarte was delicious! And so was the other version! Simple, yet sophisticated flavor. I wanted to eat it forever. 

Today I remember and honor Rachel's memory regularly by making this tarte. I've adapted the recipe slightly and have gotten it to a place that feels absolutely right for us. This is the dish that I bring to potluck dinners. This is the dish that I bring to brunch. This is the dish that I make for guests. And I think Rachel would be absolutely delighted by that (as would my grandma, knowing that I'm representing with a known quantity of deliciousness). It's also gorgeous to look at, particularly if you buy mixed colored tomatoes. It's an inverted dish, so once it's done cooking, you flip it over onto a serving plate and the bottom becomes the top. I got a little fancy with it a few times and used leftover puff pastry dough to decorate the top. It can be a fun reveal if you present both sides, but that's not necessary. While this tarte is best to make in summer when cherry and grape tomatoes are at their peak, it is perfect any time of year. 

unbaked tomato tarte tatin

Ingredients

  • 1 14-ounce package all-butter puff pastry
  • 2 tablespoons unsalted butter
  • 3 red onions, halved and thinly sliced
  • 2 tablespoons + 1 pinch sugar
  • 1 tablespoon sherry vinegar
  • 1/3 cup chopped pitted Kalamata olives
  • 2 pints cherry or grape tomatoes
  • 1 tablespoon chopped fresh thyme leaves plus extra for garnish
  • Kosher salt, to taste
  • Freshly ground black pepper, to taste
puff pastry top tomato tarte tatin

Method

Preheat oven to 425 degrees. Thaw the puff pastry until it's still chilly, but not frozen. Unfold it and cut into a 10-inch round. Save the scraps if you want to decorate the top/bottom. Place in the refrigerator until ready to use. 

Melt butter in a large skillet over medium heat. Add onions and a pinch of sugar and cook, stirring, until onions are golden and caramelized, 20 - 25 minutes. Add 2 tablespoons water and let cook off, scraping brown bits from bottom of pan. Transfer onions to a bowl and set aside.

In a sauce pan, combine 2 tablespoons sugar and 3 tablespoons water. Cook over medium heat and swirl pan gently without stirring until sugar melts and turns amber, about 10 minutes. Add vinegar and swirl gently. Turn off heat. 

Pour the sugar, water and vinegar caramel into a 9 inch cake pan. Sprinkle olives over caramel. Add the tomatoes over olives, then spread the onions on top. Season with thyme leaves, salt and pepper. Top with puff pastry round, tucking edges into pan. Cut several long vents in top of pastry to let the steam out during the cooking process.

Bake tarte until the crust is puffed and golden, about 35 minutes. Let stand for 5-10 minutes, then run a knife around pastry to loosen it from pan, and flip tart out onto a serving platter. Garnish with thyme leaves and serve warm.

tomato tarte tatin

Our Favorite Lunchboxes

When I was a kid, my mom sent us off to school with lunch packed in brown bags. Between the weight of the apple and the constant shuffling of stuff against the bag in my backpack, sandwiches never stood a chance. It was a good day when the cookie wasn't crumbled. The earth shifted on the day that my mom decided to pack tortellini for me in a plastic container. 

PlanetBox Rover

PlanetBox Rover

Today's kids are so much luckier. There's no shortage of amazing lunchbox options out there and thankfully, they don't necessarily involve smushed sandwiches or bruised fruit.

We have six lunchboxes that we have been happily relying on for the last several years (PlanetBoxYumbox, Lunch Buddy OfficialOmiebox, Monbento and Lunchbots)  

Planetbox Launch

Planetbox Launch

Each option has pros and cons. I love that the PlanetBox is stainless steel with perfectly sized compartments and a small area for a treat (available in the Rover). We have the carrying bag that has a perfect space for a bus snack and a water bottle. The PlanetBox is expensive, but we've been using ours for over 5 years without any issues so I view it as an investment. There are also stainless steel containers that fit inside so you can pack liquids or things like yogurt and not worry about leakage. We have the Shuttle, the Rover, and the Launch which all fit a great amount of food for lunch. The Launch fits a ton of food - it's great for growth spurts! 

Yumbox

Yumbox

We have two versions of the Yumbox – one with three compartments and one with five. Both are easy to open, a great size and leakproof so I can pack things like hummus without concern that it'll be all over the apple slices. I wish it were easier to clean the skinny grooves on the underside of the tray, but these boxes have been in our arsenal for years and are still going strong. 

Lunch Buddy Official 3-in-1

Lunch Buddy Official 3-in-1

Thanks to our friends at Kivanta, we now have a great new Lunch Buddy Official lunchbox. It has been a wonderful new addition to our lunchbox collection!

This is a stainless steel 3-in-1 two tiered box (second tier not shown here). You don't need to use both levels every time, so it's got built in flexibility for lunch packers. It's easy to clean and I love the simple design, but if you're outside of the EU (like I am), this might be pricey to ship. 

Omiebox

Omiebox

The Omiebox has a neat design that makes it possible to pack both hot and cold foods for school. Score! Here's a tip to keep hot foods hot: fill the thermos part with boiling water and let it sit for one minute. Pour out the water and fill with hot food. That'll extend the amount of time that hot food stays hot. Similarly, pop the thermos into the freezer for a few minutes before filling it with cold food (like yogurt). This box is heavier than other lunchboxes and the top of the thermos is sometimes a challenge for my kids to open, but their teachers have been helpful in those situations. 

Monbento

Monbento

The Monbento is my oldest child's favorite box. She likes that it has two tiers, and says that it feels like a lunchbox designed for older kids. I like that it makes her happy! The box is plastic and comes in many colors. You can pack just one layer or two, and I like having that flexibility. This box also fits in a wide range of insulated lunch bags. I use silicone cupcake liners to separate items in this box. My favorite part about this Monbento is that it is super easy to clean. Really, you can't go wrong with that. p.s. here's the link to that cute panda salad dressing container.

Lunchbots

Lunchbots

The Lunchbots container is great because it's compact and fits into a variety of lunch bags. It's also super easy to clean and fits a surprisingly large amount of food. I wish that it were leakproof and I wish that the top had a sturdy clasp to stay put, but we have had no problem keeping it closed with a rubber band.

Lunch quantity sometimes is a difficult thing... there are days that my kids are super hungry and days that they seem to exist on fumes.  It's comforting to know that some of these boxes have room to accommodate an extra large lunch, for those days when the lunches that my kids pick in advance are on the large side. 

While there's never a shortage of information out there about what to pack, it's also fun to think about where to pack lunch. Check out more of our favorite lunch accessories here. For lunch packing ideas and inspiration, be sure to check out our Instagram where we post daily pics. 


* note: This page contains affiliate links. While I am not paid to provide these reviews, I will receive a tiny commission if you make purchases from here. These purchases will help to keep this blog going, so thank you in advance! 

Olive Oil Apricot Cake (Dairy Free)

I've been in an olive oil groove lately with my baking. It started with this cake, and then I went back and remade this cookie recipe, and well, I'm having so much fun with all of it, why stop now? 

olive oil apricot cake

Apricots have started appearing in the markets and I couldn't be happier about it. Sure, apricots are a perfect snack all by themselves, but their slight tang is a perfect balance for sweet baked goods. I set to work on a dairy free cake recipe that incorporated apricots and cherries and all I can tell you is that this cake tastes like summer in every bite! 

apricots

It's got tangy apricots, rich, fruity olive oil, sweet cherries and bright lemon zest. Loads of fruit flavor in every bite. I made this cake so many times that I found myself eating it for breakfast! I've made the recipe dairy free by using coconut yogurt, but you can easily swap in plain yogurt if you'd prefer. I've also tested it with oat flour instead of all purpose flour and while it was still delicious, it was noticeably more dense and needed more baking time. I prefer the AP flour recipe, but feel free to test it out with oat flour if you're looking for something gluten free. 

Give this one a go. You won't be sorry! 

Ingredients:
3/4 cup plain coconut yogurt (I used a brand that is cultured coconut cream, without fillers)
1/3 cup fruity olive oil (the taste really comes through here)
2 large eggs + 1 large egg yolk
2/3 cup sugar
zest of 2 whole lemons
1 teaspoon vanilla extract
1 1/2 cups flour
1 3/4 teaspoons baking powder
1/2 teaspoon baking soda
1/4 heaping teaspoon salt
pinch of nutmeg
4 apricots
25-30 cherries
confectioner's sugar for dusting

Method: 
Preheat the oven to 350.
Line a 9x13 pan with parchment paper and grease the sides.
In a large bowl, whisk together the wet ingredients: yogurt, olive oil, eggs and the yolk (one at a time), zest and vanilla. Add the sugar and combine. 

apricot olive oil cake wet ingredients

In a separate bowl, mix together the dry ingredients: flour, baking powder, baking soda, salt and nutmeg. Slowly add the dry ingredients to the wet ones and combine thoroughly to form a batter. 

olive oil apricot cake batter

Take 2 apricots and chop into a small dice. Do the same with 20 cherries. Set aside. 
Slice the remaining apricots and cherries into thin slices. Set aside separately. 
Spread a thin layer of batter on the bottom of the pan.

olive oil apricot cake batter layer 1

Top with diced apricots.

add diced apricots

Add another layer of batter (don't worry if it's not all perfectly covered). Spread a thin layer of diced cherries on top.

olive oil apricot cake cherry layer

Add the remaining batter on top and place your sliced cherries and apricots on top.

add sliced fruit on top of olive oil cake


Bake for approximately 35-40 minutes, or until a cake tester comes out clean. Once completely cooled, dust with confectioners sugar. Makes about 15 squares (or more/less depending on how you slice it). 

olive oil apricot cake